No special pulleys needed
this is the procedure to removing and replacing the timing belt
I would also do replace the water pump as you have every thing out
Removal
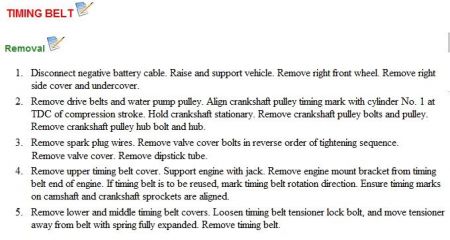
Disconnect negative battery cable. Raise and support vehicle. Remove right front wheel. Remove right side cover and undercover.
Remove drive belts and water pump pulley. Align crankshaft pulley timing mark with cylinder No. 1 at TDC of compression stroke. Hold crankshaft stationary. Remove crankshaft pulley bolts and pulley. Remove crankshaft pulley hub bolt and hub.
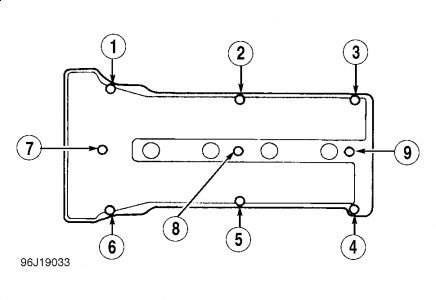
Remove spark plug wires. Remove valve cover bolts in reverse order of tightening sequence. See Fig. 1 . Remove valve cover. Remove dipstick tube.
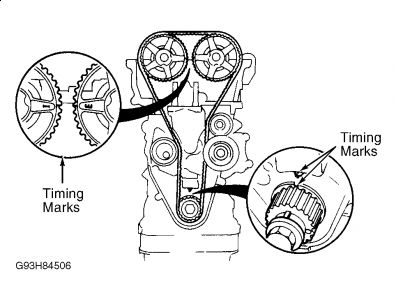
Remove upper timing belt cover. Support engine with jack. Remove engine mount bracket from timing belt end of engine. If timing belt is to be reused, mark timing belt rotation direction. Ensure timing marks on camshaft and crankshaft sprockets are aligned. See Fig. 2 .
Remove lower and middle timing belt covers. Loosen timing belt tensioner lock bolt, and move tensioner away from belt with spring fully expanded. Remove timing belt.

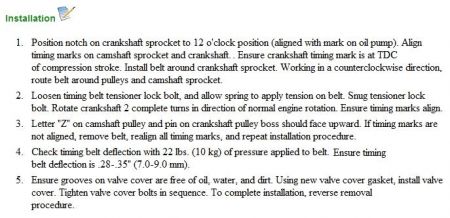
Position notch on crankshaft sprocket to 12 o'clock position (aligned with mark on oil pump). Align timing marks on camshaft sprocket and crankshaft. See Fig. 2 above . Ensure crankshaft timing mark is at TDC of compression stroke. Install belt around crankshaft sprocket. Working in a counterclockwise direction, route belt around pulleys and camshaft sprocket.
Loosen timing belt tensioner lock bolt, and allow spring to apply tension on belt. Snug tensioner lock bolt. Rotate crankshaft 2 complete turns in direction of normal engine rotation. Ensure timing marks align.
Letter "Z" on camshaft pulley and pin on crankshaft pulley boss should face upward. If timing marks are not aligned, remove belt, realign all timing marks, and repeat installation procedure.
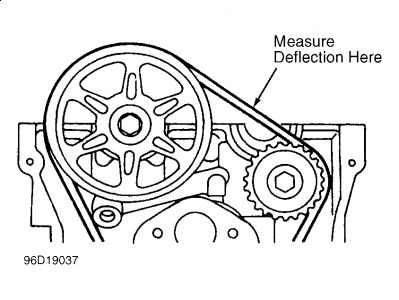
Check timing belt deflection with 22 lbs. (10 kg) of pressure applied to belt. See Fig. 3 below. Ensure timing belt deflection is .28-.35" (7.0-9.0 mm).
Ensure grooves on valve cover are free of oil, water, and dirt. Using new valve cover gasket, install valve cover. Tighten valve cover bolts in sequence. See Fig. 1 above. To complete installation, reverse removal procedure.
Monday, August 3rd, 2020 AT 1:59 PM
(Merged)
