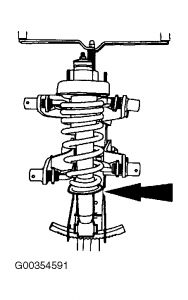
Shock Absorber and Spring Assembly
Removal & Installation
Remove the wheel and tire assembly.
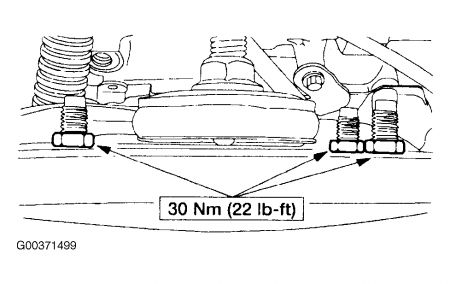
Remove and discard the nuts.
Fig. 45: Identifying Shock Absorber Upper Mounting Plate-To-Frame Nuts

Remove the nut and the stabilizer bar link. Discard the nut.
Remove the nut and the bolt. Discard the nut.
Remove the bolt, flag nut and the shock absorber and spring as an assembly. Discard the flag nut.
Using a suitable spring compressor, compress the spring until the tension is released from the shock absorber.
Fig. 48: Using Spring Compressor

While holding the flats of the washer, remove the nut. Remove the shock absorber. Discard the nut.
Remove the washer, bushing (18A103) and the upper mount (18178).
Remove the insulator (5536).
Remove the dust shield.
NOTE:Snug the shock absorber to lower arm bolt and flag nut. Do not tighten to specification until the installation procedure is complete and the weight of the vehicle is resting on the wheel and tire assemblies.
To install, reverse the removal procedure.
Tuesday, February 3rd, 2009 AT 6:53 AM


