The sequence for bleeding is right rear, left front, left rear and right front.
If the vehicle is equipped with power brakes, remove the vacuum by applying the brakes several times. Do not run the engine while bleeding the brakes.
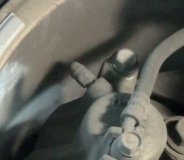
Clean all the bleeder screws. You may want to give each one a shot of penetrating solvent to help loosen the fitting. Seizure is a common problem with bleeder screws, which then break off, sometimes requiring replacement of the part to which they are attached.
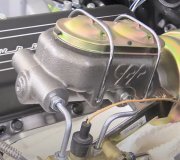
Check the fluid level in the master cylinder and fill with DOT 3 brake fluid, if necessary.
Brake fluid absorbs moisture from the air. Don't leave the master cylinder or the fluid container uncovered any longer than necessary. Be careful handling the brake fluid, it is a great paint remover. If any brake fluid spills on the vehicle's finish, flush off with water immediately. Check the level of the fluid often when bleeding, and refill the reservoirs as necessary. Don't let them run dry, or you will have to repeat the process.
Attach a length of clear vinyl tubing to the bleeder screw at the wheel cylinder or caliper. Insert the other end of the tube into a clear, clean jar half filled with brake fluid. Start at a rear cylinder first, then bleed the opposite side front cylinder.
Have your assistant slowly depress the brake pedal. As this is done, open the bleeder screw 1/3-1/2 of a turn on wheel cylinders and at least one turn on calipers, and allow the fluid to run through the tube. Then close the bleeder screw before the pedal reaches the end of its travel.
Have your assistant slowly release the pedal after the bleeder screw is closed. Repeat this process until no air bubbles appear in the expelled fluid.
Repeat the procedure on the other calipers and cylinders, checking the level of fluid in the master cylinder reservoir often.
After you're done, there should be no sponginess in the brake pedal feel. If there is, either there is still air in the line, in which case the process should be repeated, or there is a leak somewhere, which of course must be corrected before moving the vehicle.
Thursday, June 19th, 2008 AT 10:43 PM


