Hi and thanks for using 2CarPros.
Most often when the brake pedal goes to the floor, it is one of two problems. First, check the brake fluid level. If it is empty, refill it and apply the brakes. Check for leaks due to a bad brake component, rusted steel brake hose, or a blown rubber brake hose at the caliper.
If the master cylinder has fluid and isn't low, suspect a bad master cylinder. What happens is the plungers in the MC allow fluid to bypass them. The result is the pedal goes to the floor. Take a look through this link:
https://www.2carpros.com/articles/brake-pedal-goes-to-the-floor
Now, if there are no leaks and you need to replace the brake master cylinder, here is a link that shows in general how it is done:
https://www.2carpros.com/articles/how-to-replace-a-brake-master-cylinder
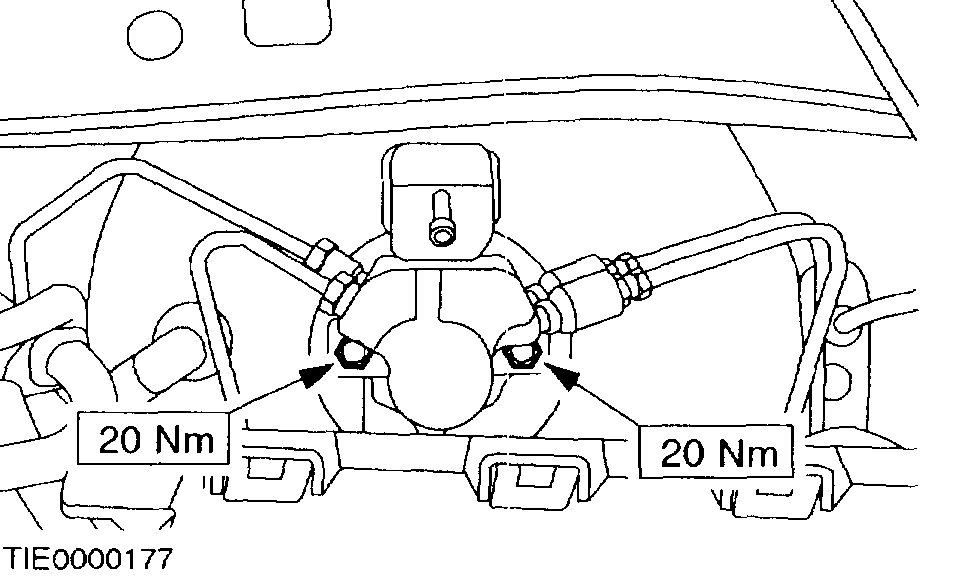
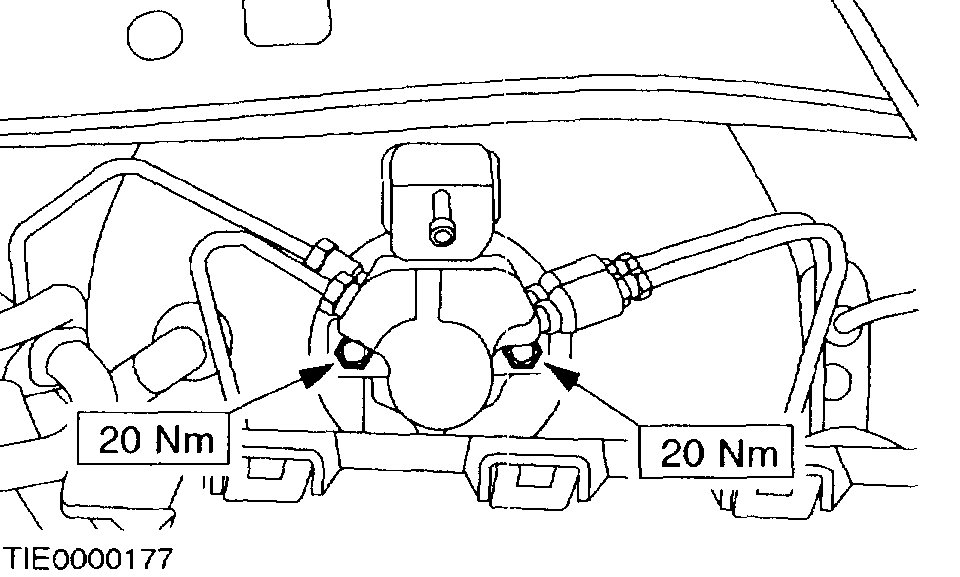
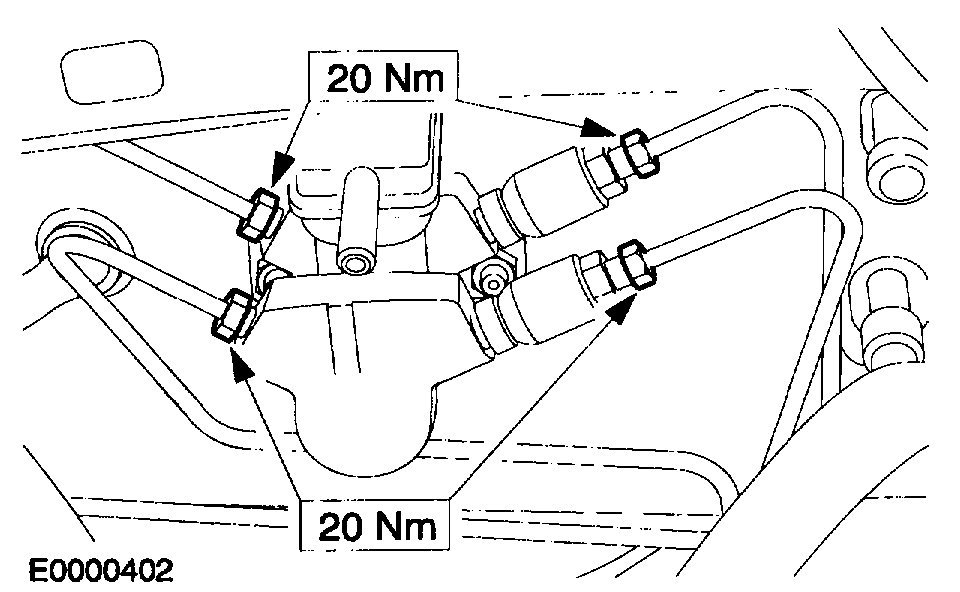
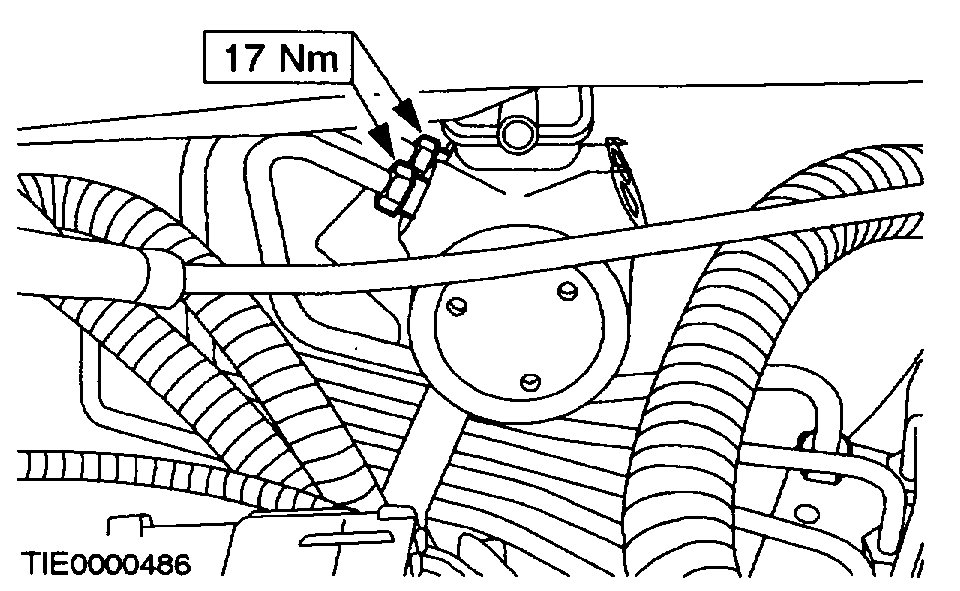
Here are the directions specific to your vehicle for replacement. The attached pictures correlate with these directions.
Brake Master Cylinder
Removal
All Vehicles
1. CAUTION: If brake fluid is spilt on the paintwork, the affected area must be immediately washed down with cold water.
Disconnect the battery ground cable.
Picture 1
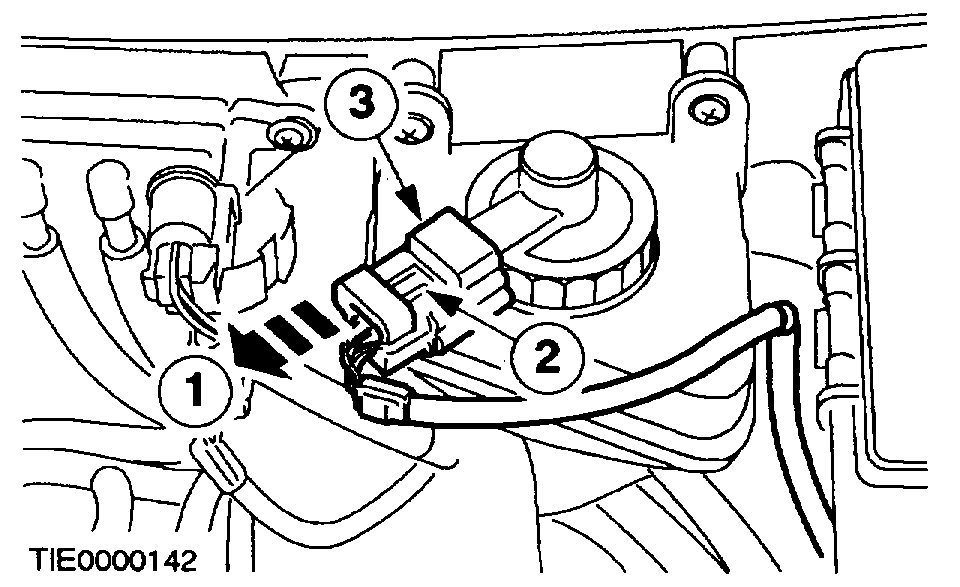
2. Disconnect the electrical connector from the filler cap.
1 Pull back the tab.
2 Depress the clips.
3 Disconnect the electrical connector.
Picture 2
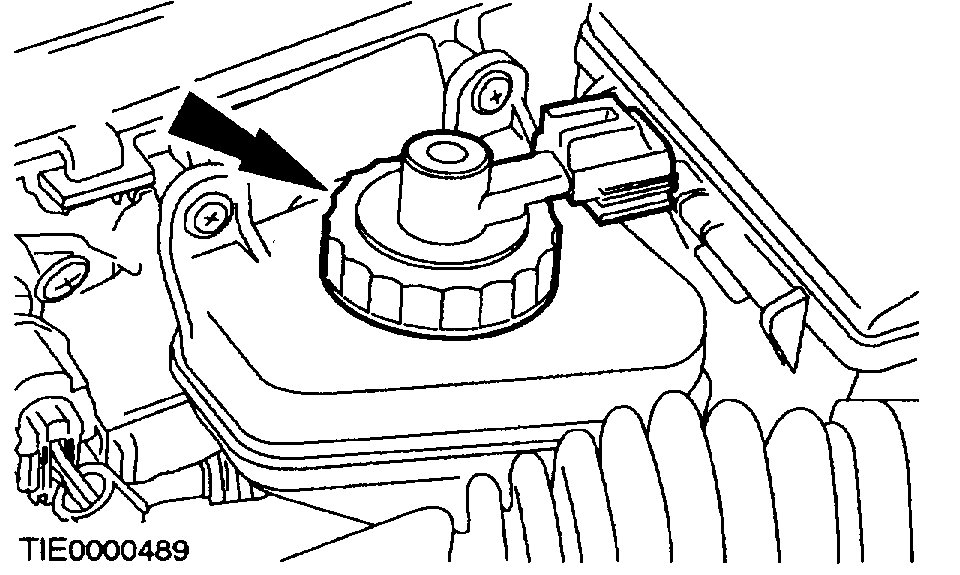
3. CAUTION: Make sure the filler cap does not become contaminated.
Remove the brake fluid reservoir filler cap.
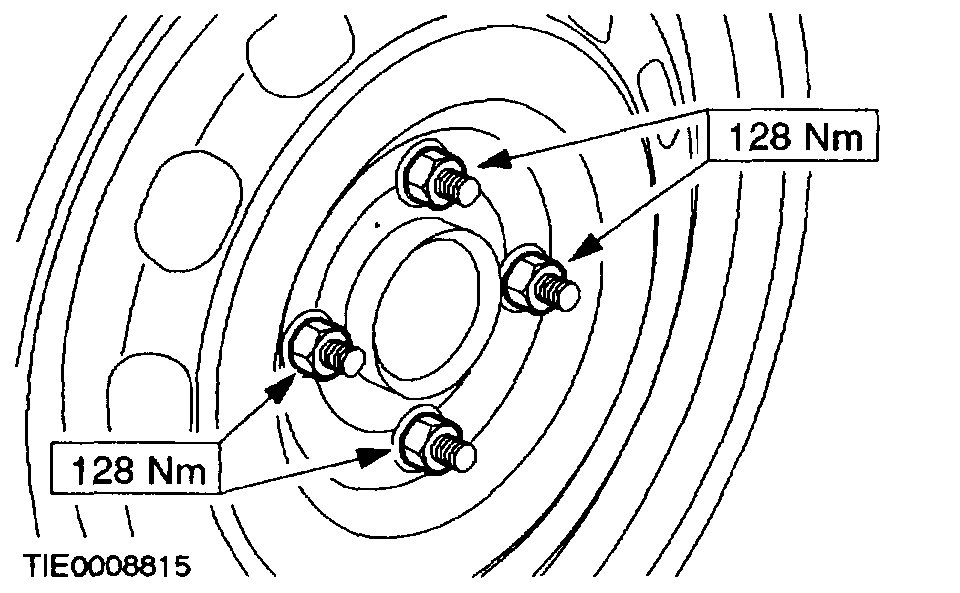
4. Loosen the wheel nuts of both front wheels.
5. Raise and support the vehicle.
6. Remove the front wheels.
Picture 3
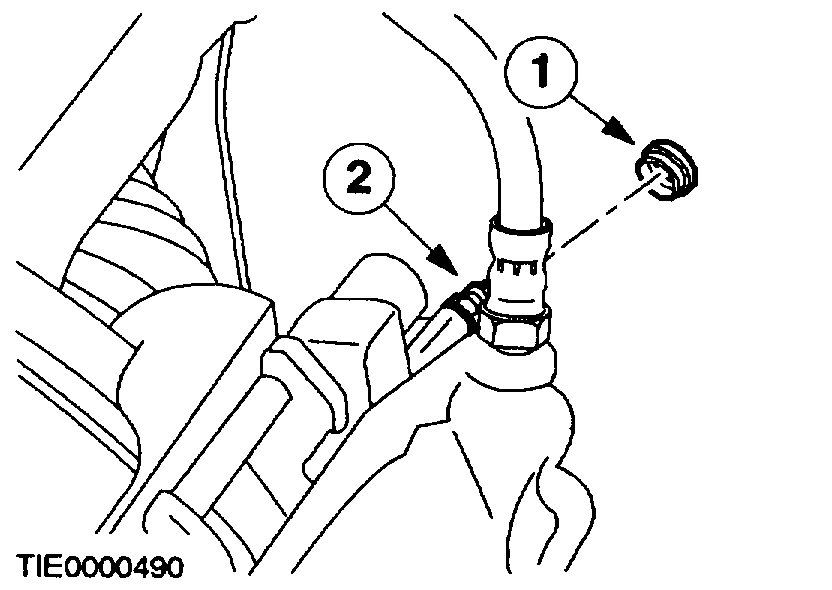
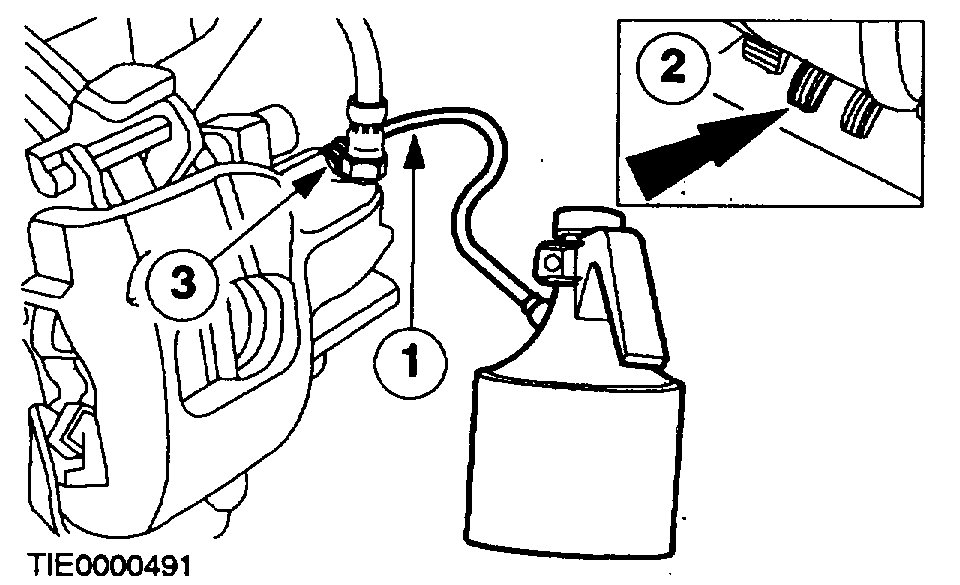
7. Loosen the bleed nipple.
1 Remove the dust cap.
2 Loosen the bleed nipple.
Picture 4
8. NOTE: Carry out this process on both the front brake lines.
Drain the brake fluid reservoir.
1 Connect a bleed tube to the bleed nipple and into a suitable container.
2 Pump the brake pedal until no more fluid is expelled.
3 Tighten the bleed nipple.
9. Lower the vehicle.
10. Install the brake fluid reservoir cap.
11. Remove the air cleaner.
12. Remove the air cleaner outlet tube.
Picture 5
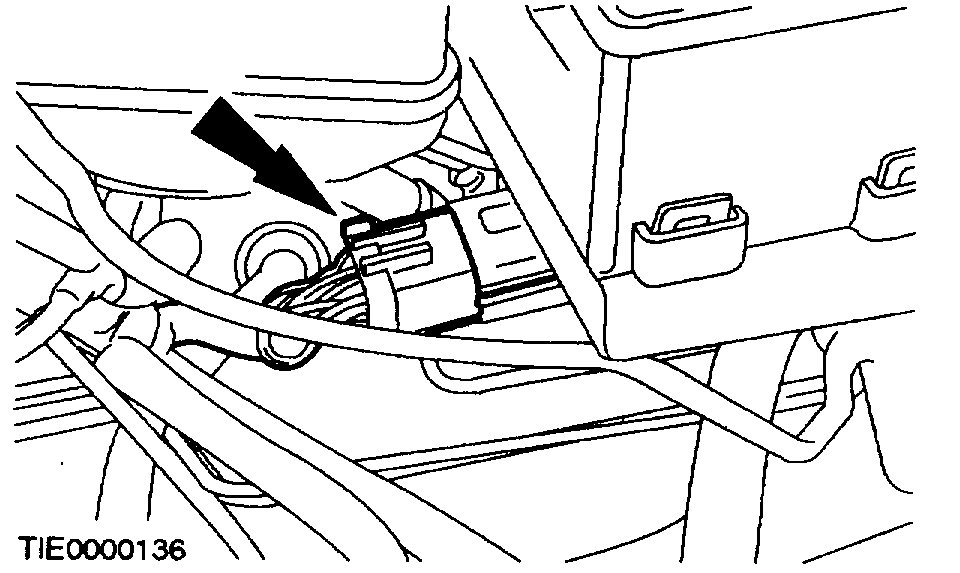
13. Disconnect the central electrical box electrical connector.
Picture 6
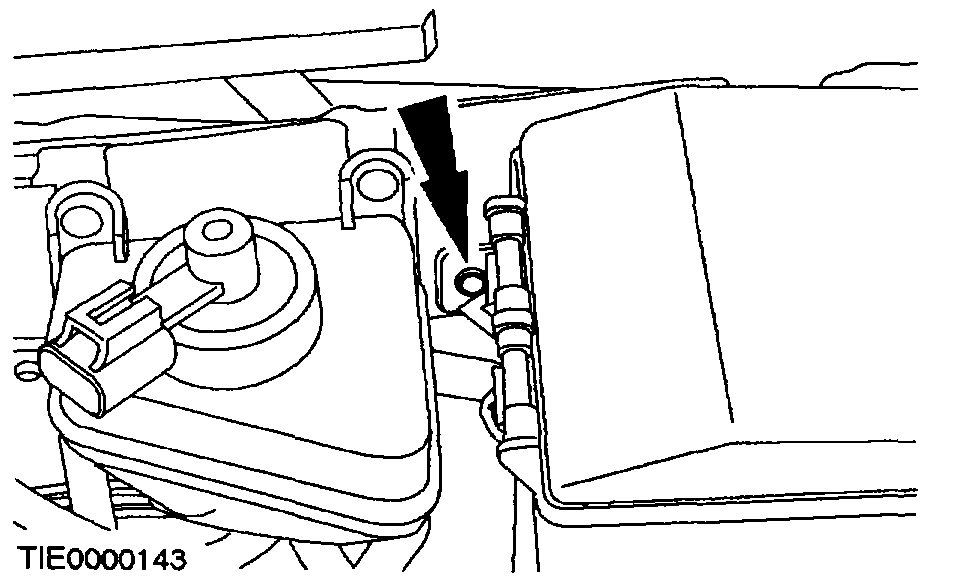
14. Remove the central electrical box retaining screw.
Picture 7
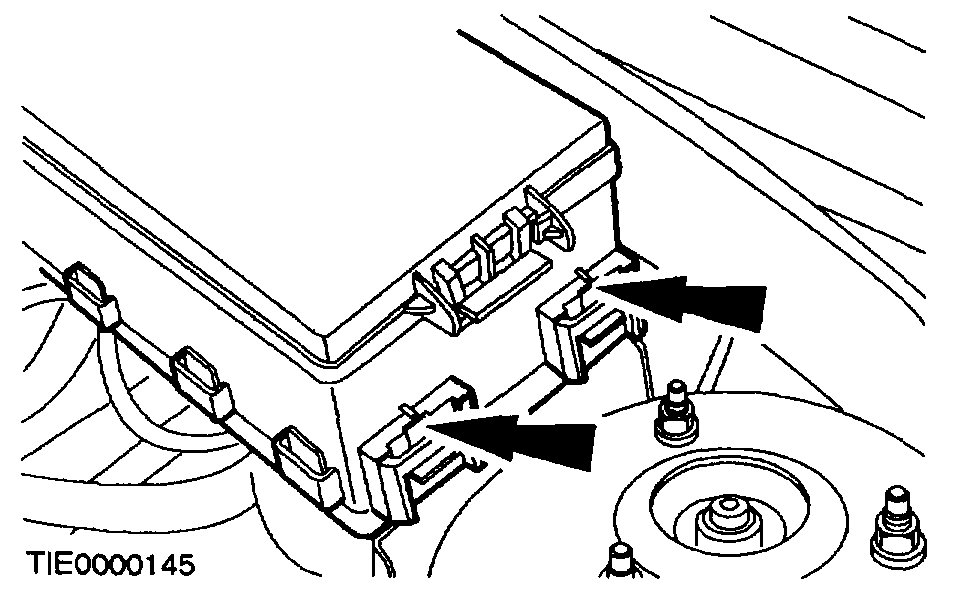
15. Detach the central electrical box.
Relocate to the air cleaner position.
Picture 8
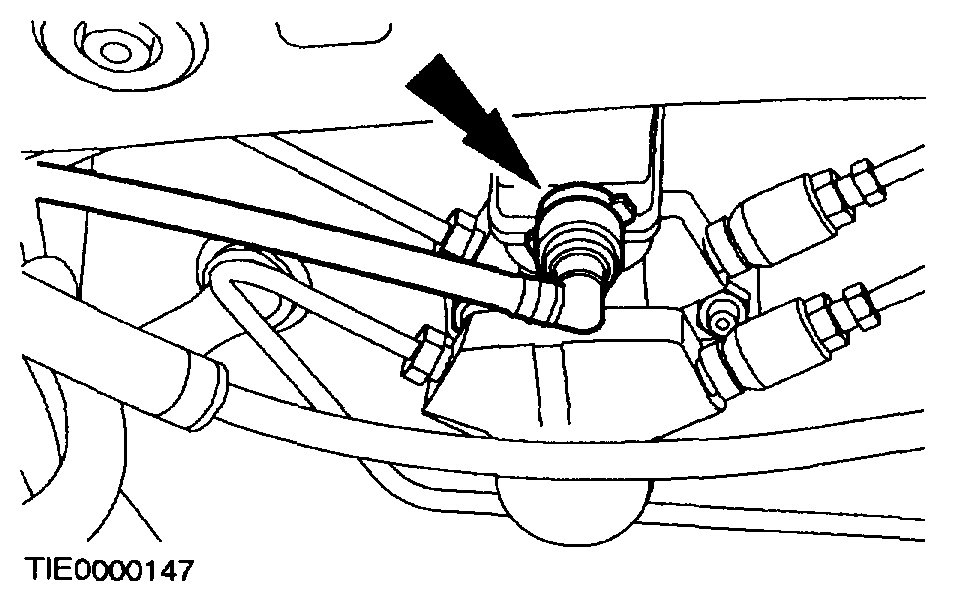
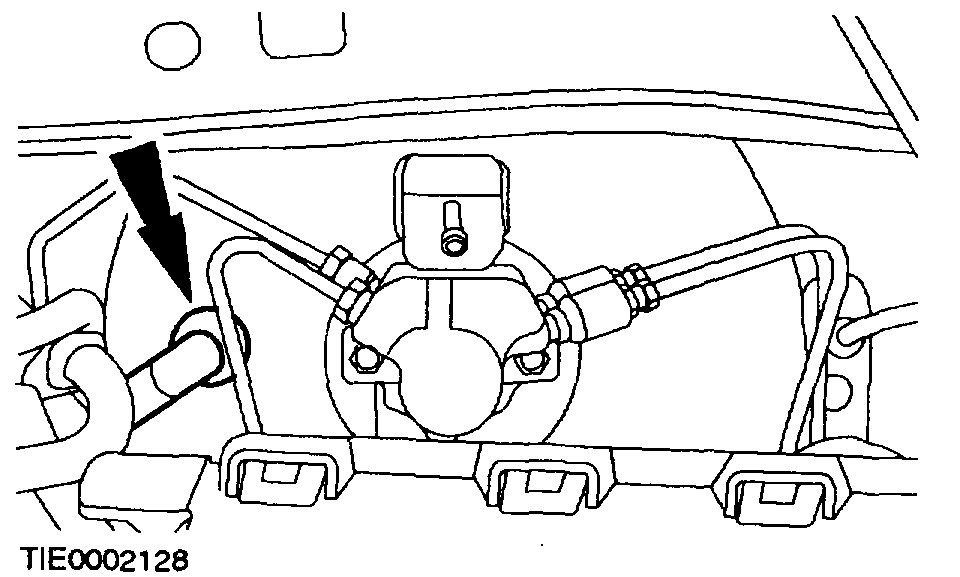
16. Disconnect the brake fluid feed tube.
Picture 9
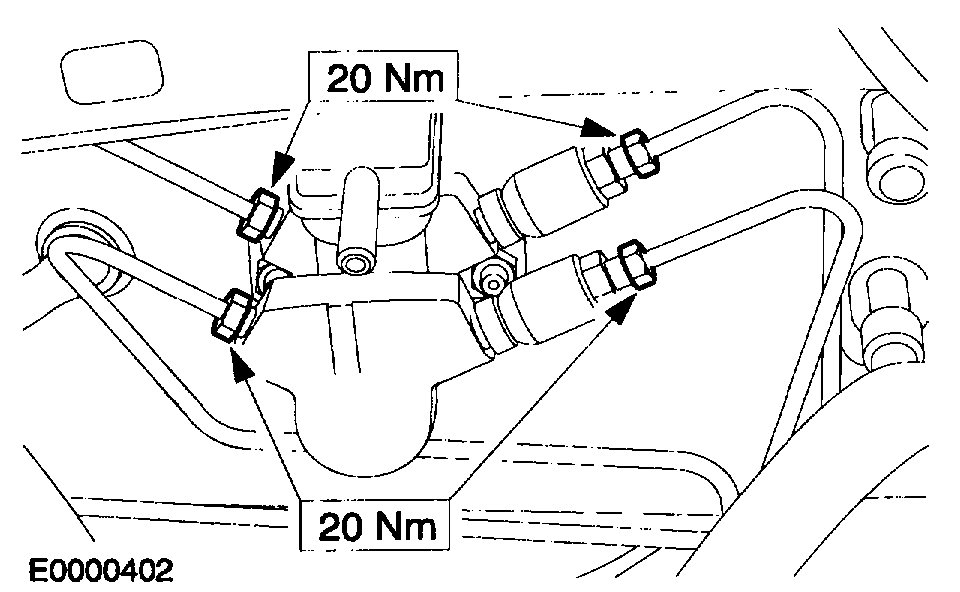
17. CAUTION: Cap the brake tube connections to prevent fluid loss or dirt contamination.
Disconnect the brake tubes.
Picture 10
Vehicles with anti-lock brakes
18. CAUTION: Cap the brake tube connection to prevent fluid loss or dirt contamination.
Disconnect the brake tubes.
Picture 11
All Vehicles
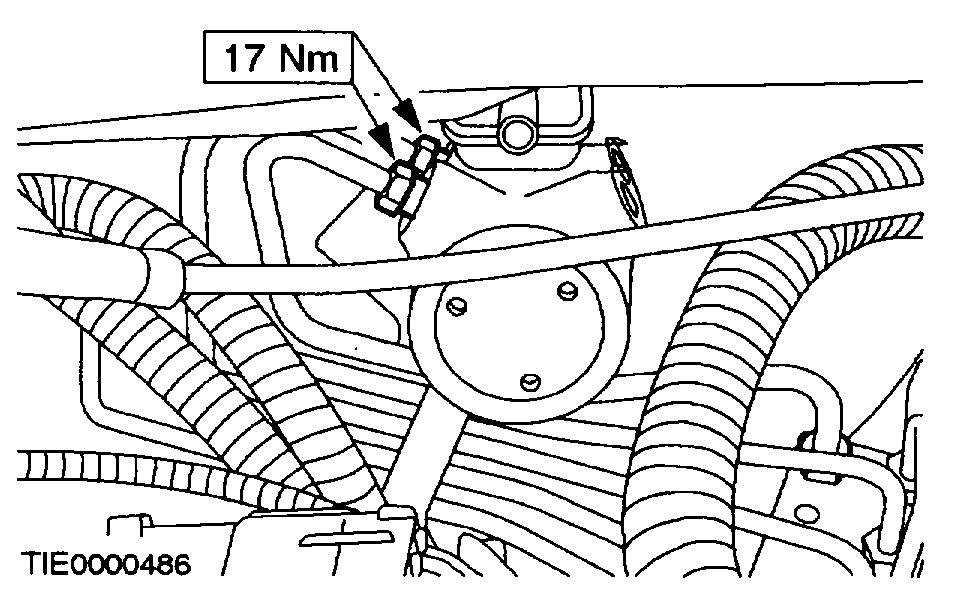
19. CAUTION: Before removing the master cylinder make sure that the booster vacuum is exhausted. This may be done by removing the vacuum pipe from the brake booster.
Remove the brake booster vacuum hose.
Picture 12
20. Remove the master cylinder.
Installation
Picture 13
Picture 14
All Vehicles
1. CAUTION: Before installing the master cylinder make sure that the vacuum seal is in place and that the mating faces are clean.
NOTE: After installation, bleed the brake system.
To install, reverse the removal procedure.
Picture 15
Vehicles with anti-lock brakes
Picture 16
All Vehicles
________________________________
If you find a brake caliper, wheel cylinder, rubber hose or any of the components leaking, let me know what you find and I will help you get it fixed.
I hope this helps.
Take care,
Joe
Images (Click to make bigger)
Monday, March 15th, 2021 AT 7:28 PM
(Merged)
