Welcome back:
If the system has been opened, you really should try bleeding the air out. Here are the directions specific to your vehicle for the process.
___________________________________________
Brake System Bleeding
General Equipment
Brake/Clutch System Pressure Bleeder/Filler
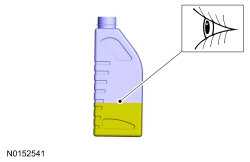
Fluid Container and Hose
Pressure
WARNING: Do not use any fluid other than clean brake fluid meeting manufacturer's specification. Additionally, do not use brake fluid that has been previously drained. Following these instructions will help prevent system contamination, brake component damage and the risk of serious personal injury.
WARNING: Carefully read cautionary information on product label. For emergency medical information seek medical advice. In the USA or Canada on Ford/Motorcraft products call the Poison Control Center at: 1-800-959-3673. For additional information, consult the product Material Safety Data Sheet (MSDS) if available. Failure to follow these instructions may result in serious personal injury.
WARNING: Do not allow the brake master cylinder to run dry during the bleeding operation. Master cylinder may be damaged if operated without fluid, resulting in degraded braking performance. Failure to follow this instruction may result in serious personal injury.
NOTICE: Do not spill brake fluid on painted or plastic surfaces or damage to the surface may occur. If brake fluid is spilled onto a painted or plastic surface, immediately wash the surface with water.
NOTE: Pressure bleeding the brake system is preferred to manual bleeding.
NOTE: The HCU bleeding procedure and a second brake system pressure bleed must be carried out if a new HCU has been installed.
All Vehicles
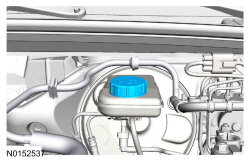
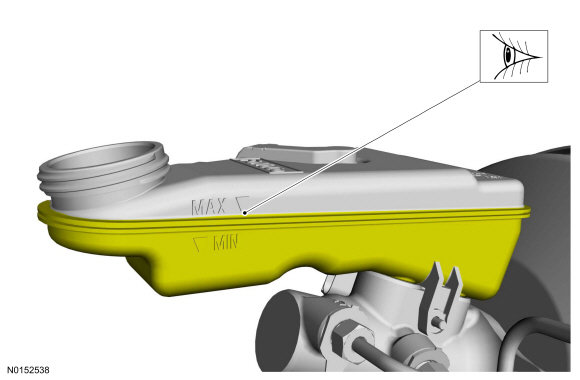
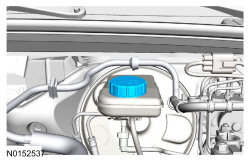
NOTE: Make sure the area around the master cylinder cap is clean and free of foriegn material.
Picture 1
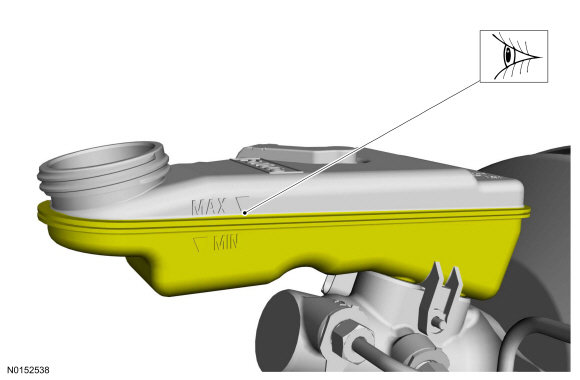
Fill the reservoir with clean, specified brake fluid. Refer to Specifications in this section.
Picture 2
NOTE: Master cylinder pressure bleeder adapter tools are available from various manufacturers of pressure bleeding equipment. Follow the instructions of the manufacturer when installing the adapter.
Install the bleeder adapter to the brake master cylinder reservoir and attach the bleeder tank hose to the fitting on the adapter.
NOTE: Make sure the bleeder tank contains enough specified brake fluid to complete the bleeding operation. Refer to Specifications in this section.
Open the valve on the bleeder tank.
Apply 207-345 kPa (30-50 psi) to the brake system.
With the vehicle in NEUTRAL, position it on a hoist. Section 100-02.
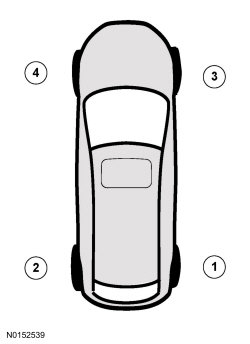
Bleeding steps must be followed in the order indicated in the graphic.
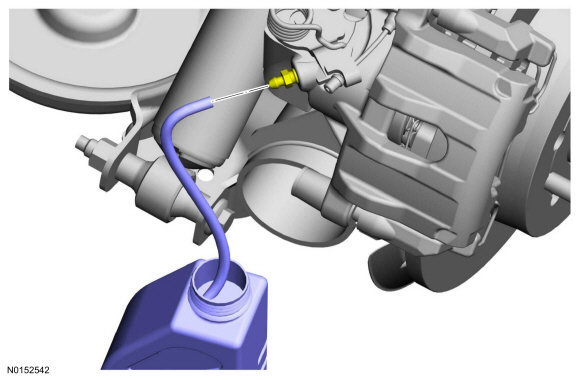
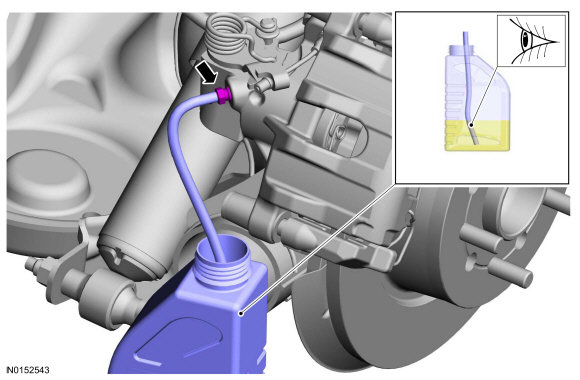
Pictures 3 - 6
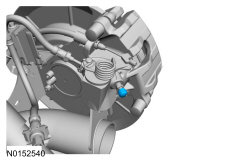
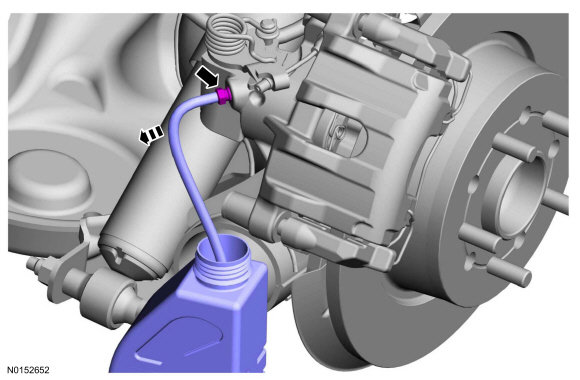
Loosen the bleeder screw 180° and leave open until clear bubble free brake fluid flows and then tighten the bleeder screw.
See pic 7
Vehicles with rear integral parking brake calipers
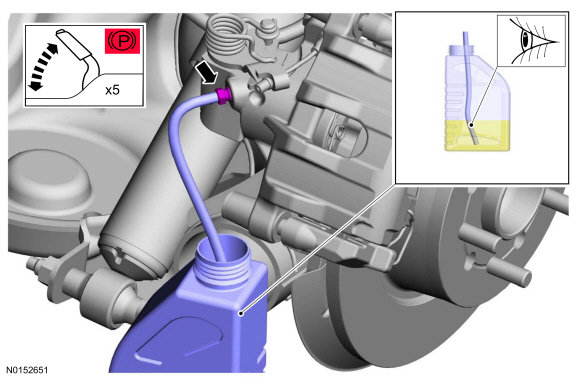
NOTE: Due to the complexity of the fluid path within the rear integral parking brake calipers, it is necessary to press and release the parking brake during the bleed procedure.
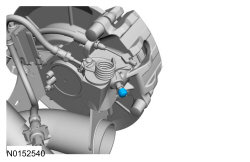
Apply and release the parking brake 5 times. Loosen the rear bleeder screw. Leave open until clear, bubble-free brake fluid flows, then tighten the rear bleeder screw.
Repeat until clear, bubble-free fluid comes out.
See picture 8
All vehicles
Tighten the bleeder screw to specification. Refer to Specifications in this section.
Remove the fluid container and hose.
See pictures 9 - 10
Repeat steps 7-13 at the remaining wheel ends.
Close the bleeder tank valve and the pressure. Remove the tank hose from the adapter and remove the adapter.
Fill the reservoir with clean, specified brake fluid. Refer to Specifications in this section.
See pictures 11 - 12
Vehicles with a new HCU installed.
NOTE: The HCU bleeding procedure and a second brake system pressure bleed must be carried out if a new HCU has been installed.
Using the diagnostic scan tool, follow the ABS Service Bleed instructions.
Repeat the brake system pressure bleeding steps.
____________________________________________________
Let me know if this helps.
Take care,
Joe
Images (Click to make bigger)
Wednesday, January 16th, 2019 AT 9:12 PM
