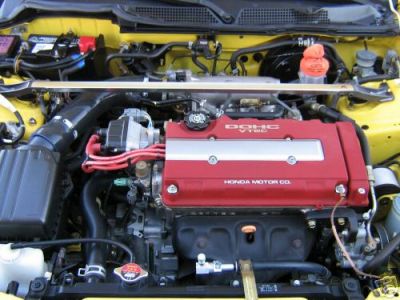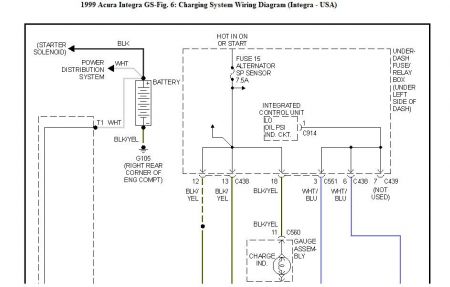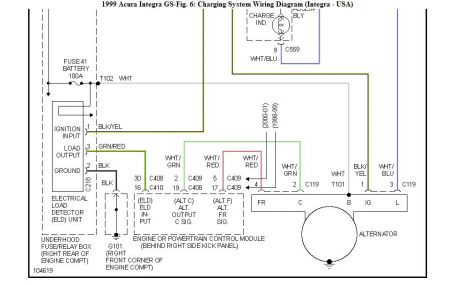
I don't know where Mitchell got their information from. The battery is on the other side of the engine bay. This is what what my buddies at Honda-tech has to offer. Obviously, you should remove the negative battery terminal before you start any of the work.
1. Jack up the car and put it on jack stands. You don't have to remove the wheel. Remove the big plastic splash shield under the car.
2. Unbolt the upper alternator bracket ant take it out. Leave the bottom alternator bracket in place. Take out the alternator pin bolt and nut. Take out the alternator belt adjuster nut and alternator belt.
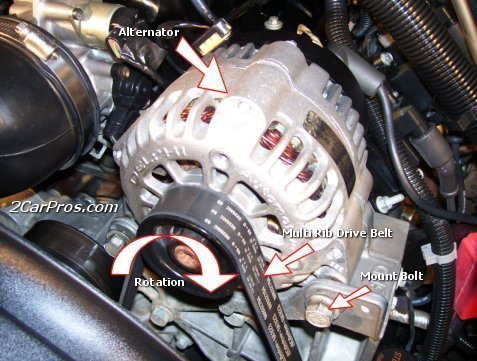
3. From under the car pull back the rubber cover on the alternator and unbolt the bolt in order to lift the 2 wires of the alternator. Squeeze the tab on the green circular P connector and pull it free from the alternator (do this from the top). The wire harness that is attached to the green circular P connector has a gray tab that is inserted in a square opening on the alternator. Use a really long needle nose pliers to squeeze the gray tab and push it through the square opening.
4. Unbolt all the brackets and push aside all the hoses and wire harnesses around the top of the alternator area.
5. Unbolt the power steering hose. There are 2 bolts.
6. Have someone below the car pushing the alternator up and have the other person on top pulling it and wiggling it around to get it clear. You have to move it around quite a bit to get it to clear the Master Cylinder and the end of the fuel rail.
Have fun...
Saturday, December 27th, 2008 AT 12:42 AM


