Hi,
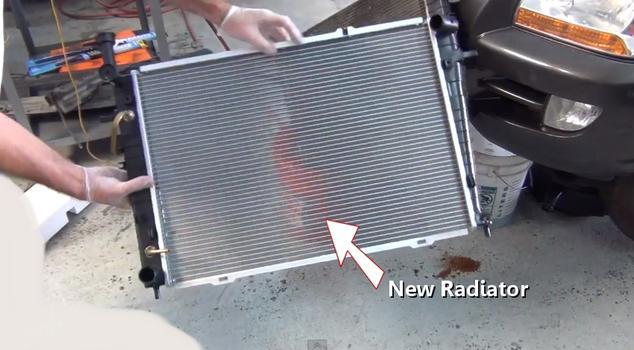
Replacing the radiator will take a little time to complete, but it really isn't that hard to do. First, here is a link that shows in general how it is done. You can use this as a guide.
https://www.2carpros.com/articles/how-to-replace-a-car-radiator
Here are the directions specific to your vehicle. The pics below correlate with the directions.
REMOVAL
CAUTION: The radiator is pressurized. Wait until engine cools down before working on the radiator.
1) Set the vehicle on a lift.
2) Disconnect the ground cable from the battery.
3) Lift up the vehicle.
4) Remove the under cover.
5) Remove the heat shield cover from radiator. (AT model)
6) Drain engine coolant completely.
7) Disconnect the radiator main fan motor connector (A) and sub fan motor connector (B).
8) Disconnect the radiator outlet hose from thermostat cover.
9) Disconnect the ATF cooler hoses from ATF pipes. (AT model) Plug the ATF pipe to prevent ATF from leaking.
10) Lower the vehicle.
11) Disconnect the over flow hose.
12) Remove the reservoir tank.
13) Remove the hood stay holder.
14) Remove the air intake duct.
15) Disconnect the radiator inlet hoses from the engine.
16) Remove the radiator upper brackets.
17) Lift the radiator up and away from vehicle.
INSTALLATION
1) Attach the radiator lower cushion to the hole on the radiator lower bracket.
2) Install the radiator to vehicle.
NOTE: Make pins on the lower side of radiator be fitted into the radiator lower cushions on body side.
3) Install the radiator upper brackets and tighten the bolts.
4) Connect the radiator inlet hose.
5) Install the air intake duct.
6) Install the hood stay holder.
7) Install the reservoir tank.
8) Connect the over flow hose.
9) Lift up the vehicle.
10) Connect the ATF cooler hoses. (AT model)
11) Connect the radiator outlet hose.
12) Connect the radiator main fan motor connector (A) and sub fan motor connector (B).
13) Install the heat shield cover. (AT model)
14) Install the under cover.
15) Lower the vehicle.
16) Connect the battery ground cable to battery.
17) Fill engine coolant.
18) Check the ATF level.
INSPECTION
1) Remove the radiator cap, fill the radiator with engine coolant, and then install the tester to the installation position of cap.
2) Apply a pressure of 157 kPa (1.6 kg/cm2, 23 psi) to the radiator and check the following points:
Leakage from the radiator or its vicinity
Leakage from the hose or its connections
CAUTION:
Engine should be turned off.
Wipe engine coolant from check points in advance.
Be careful of engine coolant from spurting out when removing the tester.
Be careful not to deform the filler neck of radiator when installing and removing the tester
Check out the diagrams (Below). Please let us know if you need anything else to get the problem fixed.
Images (Click to make bigger)
Thursday, March 11th, 2021 AT 9:07 PM


