Good afternoon,
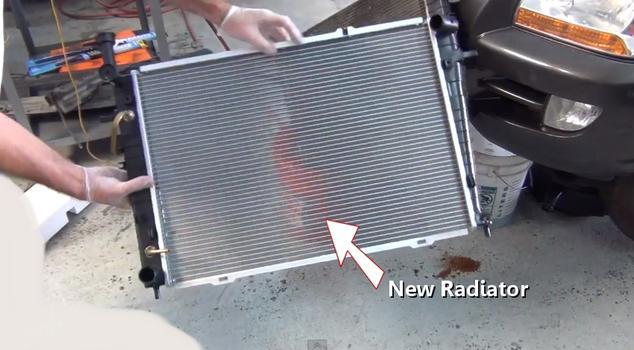
I attached the procedure below for the radiator replacement.
https://www.2carpros.com/articles/how-to-replace-a-car-radiator
https://www.2carpros.com/articles/replace-radiator-hoses
https://www.2carpros.com/articles/coolant-flush-and-refill-all-cars
Yes, replace both hoses and the thermostat as well.
https://www.2carpros.com/articles/replace-thermostat
Roy
NO.2 RADIATOR ASSEMBLY
REPLACEMENT
1. DRAIN COOLANT
2. DISCONNECT RADIATOR HOSE INLET
3. DISCONNECT RADIATOR HOSE OUTLET
4. DISCONNECT OIL COOLER INLET HOSE NO.1
5. DISCONNECT OIL COOLER OUTLET HOSE NO.1
6. REMOVE FRONT BUMPER COVER
7. REMOVE AIR CLEANER CAP SUB-ASSEMBLY
8. REMOVE AIR CLEANER FILTER ELEMENT SUB-ASSEMBLY
9. REMOVE AIR CLEANER INLET NO.2
10. REMOVE AIR CLEANER CASE
11. REMOVE AIR CLEANER BRACKET
12. REMOVE AIR CLEANER INLET NO.1
imageOpen In New TabZoom/Print
13. REMOVE HOOD LOCK RELEASE LEVER PROTECTOR
a. Release the 4 claws and remove the hood lock release lever protector.
imageOpen In New TabZoom/Print
14. REMOVE HOOD LOCK ASSEMBLY
a. Remove the 3 bolts and separate hood lock.
imageOpen In New TabZoom/Print
15. REMOVE RADIATOR SUPPORT SUB-ASSEMBLY UPPER
a. Disconnect the horn connectors.
b. Remove the 5 bolts and the radiator upper support.
imageOpen In New TabZoom/Print
16. REMOVE FAN SHROUD
a. Disconnect the engine coolant reservoir hose.
b. Disconnect the fan motor connector.
c. Remove the 4 bolts and the fan shroud.
imageOpen In New TabZoom/Print
17. REMOVE RADIATOR SUPPORT SUB-ASSEMBLY UPPER LH
a. Remove the 3 bolts and the radiator support upper LH.
imageOpen In New TabZoom/Print
18. REMOVE RADIATOR SUPPORT SUB-ASSEMBLY UPPER RH
a. Remove the 3 bolts and the radiator support upper RH.
imageOpen In New TabZoom/Print
19. REMOVE RADIATOR SUPPORT SUB-ASSEMBLY LOWER RH
a. Remove the 3 bolts and the radiator support lower LH.
imageOpen In New TabZoom/Print
20. REMOVE RADIATOR SUPPORT SUB-ASSEMBLY LOWER RH
a. Remove the 3 bolts and the radiator support lower RH.
21. REMOVE NO.2 RADIATOR ASSEMBLY
22. INSTALL NO.2 RADIATOR ASSEMBLY
Thermostat
THERMOSTAT
REPLACEMENT
1. DRAIN COOLANT
2. REMOVE BATTERY
3. REMOVE AIR CLEANER CAP SUB-ASSEMBLY
4. REMOVE AIR CLEANER FILTER ELEMENT SUB-ASSEMBLY
5. REMOVE AIR CLEANER INLET NO.2
6. REMOVE AIR CLEANER CASE
7. REMOVE AIR CLEANER BRACKET
8. REMOVE AIR CLEANER INLET NO.1
9. REMOVE STARTER ASSEMBLY
10. DISCONNECT RADIATOR HOSE OUTLET
imageOpen In New TabZoom/Print
11. REMOVE WATER INLET
a. Disconnect the wire harness clamp.
b. Remove the bolts, the 3 nuts and the water inlet.
12. REMOVE THERMOSTAT
Images (Click to make bigger)
Wednesday, March 17th, 2021 AT 3:35 PM


