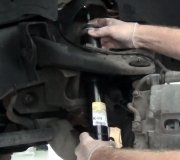
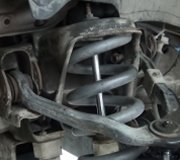
Replacement procedures for your lower control arm are below.
REMOVAL:
Raise and safely support vehicle.
Remove the tire and wheel assembly.
Remove the nut attaching the stabilizer link to stabilizer bar.
Remove the ball joint cotter pin and nut.
Care must be exercised to prevent the axle shaft joints from being over-extended. When either end of the shaft is disconnected, over-extension of the joint could result in separation of internal components and possible joint failure. Failure to observe this can result in interior joint or boot damage and possible joint failure.
Remove the ball joint from the steering knuckle using a suitable tool.
Remove the bolts attaching control arm to subframe.
Remove the control arm from the vehicle.
INSTALLATION:
Install control arm into position and install bolts (leave loose to allow movement) attaching control arm to subframe.
Install the ball joint stud into the steering knuckle and install nut finger-tight.
Tighten the ball joint nut to 41 ft. Lbs. (55 Nm) and install cotter pin.
Connect the stabilizer link to stabilizer bar and tighten the nut to 13 ft. Lbs. (17 Nm).
Install tire and wheel assembly.
Lower the vehicle. Tighten the wheel lug nuts to 100 ft. Lbs. (140 Nm).
With vehicle at curb height, tighten control arm bolts as follows:
Tighten the front control arm to subframe bolt to 90 ft. Lbs. (125 Nm).
Tighten the rear control arm to subframe bolt to 125 ft. Lbs. (170 Nm).
Check wheel alignment and adjust as necessary.
Thanks for using 2CarPros. Com!
Friday, February 6th, 2009 AT 11:29 PM


