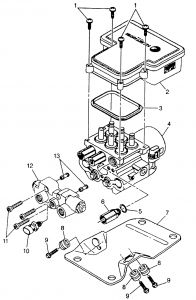
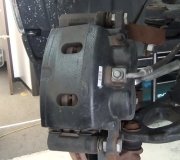
Here i another system they used
C/K Series
MANUAL BRAKES
See Figure 2
Disconnect the brake lines at the valve. Plug or cap the lines and ports.
Unplug the switch wiring connector.
Remove the valve-to-bracket bolts.
To install:
Install the valve. Tighten the bolts to 20 ft. lbs. (27 Nm).
Bleed the system.
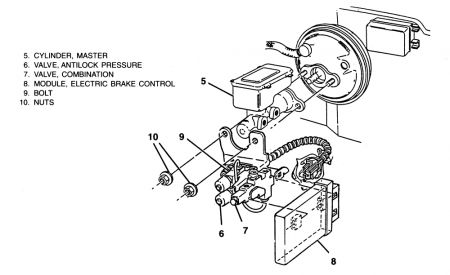
Fig. 2: Combination valve-C/K Series
POWER BRAKES
Disconnect the brake lines at the switch. Plug or cap the lines and ports.
Unplug the warning switch wiring connector.
Remove the anti-lock brake system control module from the bracket. See the procedure later in this section.
Remove the bolts attaching the ABS isolation/dump valve to the bracket. See the procedure later in this section.
Remove the nuts that attach the master cylinder and bracket to the booster.
Remove the bracket and combination valve assembly.
To install:
Position the bracket/valve assembly and install the master cylinder-to-booster nuts. Tighten the nuts to 20 ft. lbs. (27 Nm).
Install the ABS isolation/dump valve nuts. Tighten them to 21 ft. lbs. (24 Nm).
Install the ABS control module.
Connect the wiring.
Connect the hydraulic lines.
Bleed the system.
SWITCH CENTERING
Whenever work on the brake system is done it is possible that the brake warning light will come on and refuse to go off when the work is finished. In this event, the switch must be centered.
Raise and support the truck.
Attach a bleeder hose to the rear brake bleed screw and immerse the other end of the hose in a jar of clean brake fluid.
Be sure that the master cylinder is full.
When bleeding the brakes, the pin in the end of the metering portion of the combination valve must be held in the open position (with the tool described in the brake bleeding section installed under the pin mounting bolt). Be sure to tighten the bolt after removing the tool.
Turn the ignition key ON. Open the bleed screw while an assistant applies heavy pressure on the brake pedal. The warning lamp should light. Close the bleed screw before the helper releases the pedal.
To reset the switch, apply heavy pressure to the pedal. This will apply hydraulic pressure to the switch which will re-center it.
Repeat Step 5 for the front bleed screw.
Turn the ignition OFF and lower the truck.
If the warning lamp does not light during Step 5, the switch is defective and must be replaced.
Tuesday, June 1st, 2021 AT 10:52 AM
(Merged)
