REMOVAL:
Properly relieve the fuel system pressure.
Connect the negative battery cable.
Be sure to keep a Class B (dry chemical) fire extinguisher nearby.
CAUTION: Due to the possibility of fire or explosion, never drain or store gasoline in an open container.
Drain the fuel tank, then remove it from the vehicle.
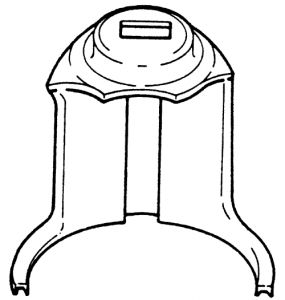
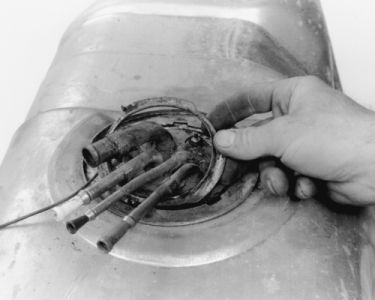
Using the GM fuel gauge sending unit retaining cam tool No. J-24187, J-36608 (or equivalent) or a brass drift and a hammer, remove the cam locking ring (fuel sending unit) by twisting counterclockwise. With the locking ring released, carefully lift the sending unit from the fuel tank.
Remove the fuel pump from the fuel sending unit, by performing the following procedures:
Pull the fuel pump up into the mounting tube, while pulling outward (away) from the bottom support.
When removing the fuel pump from the sending unit, be careful not to damage the rubber insulator and the strainer.
When the pump assembly is clear of the bottom support, pull it out of the rubber connector.
(((A special tool is usually available to remove or install the fuel pump locking cam)))

(((Once the locking cam is released it can be removed to free the fuel pump)))

INSTALLATION:
Inspect the fuel pump hose and bottom sound insulator for signs of deterioration, then replace, as necessary.
Push the fuel pump onto the sending tube.
Using a new sending unit-to-fuel tank O-ring, carefully lower the sending unit/fuel pump assembly into the fuel tank.
When installing the sending unit, be careful not to fold or twist the fuel strainer or it may restrict the fuel flow.
Secure the sending unit by turning or driving the lockring clockwise and into position under the tabs.
Install the fuel tank assembly to the vehicle.
Connect the negative battery cable and check for proper pump operation.
Let me know if you need further assistance.
Thanks for using 2CarPros.com!
SPONSORED LINKS
Tuesday, February 10th, 2009 AT 1:22 AM


