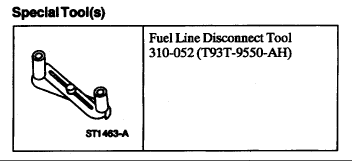
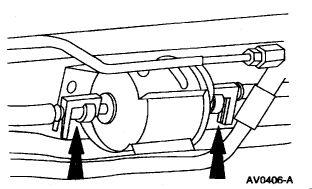
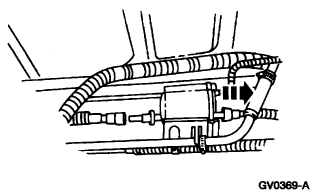
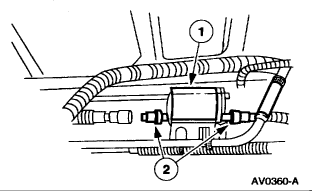
First, here are the directions for fuel pressure release. The attached pics correlate with the directions. Check out the diagrams (Below).
1. NOTE: The splash shield is located on the LH frame rail under the driver side door.
Disconnect the splash shield and position aside.
2. Disconnect the electrical connector.
3. Start the engine and allow it to idle until it stalls.
4. After the engine stalls, crank the engine for approximately 5 seconds to make sure the fuel rail pressure has been released.
5. Turn the ignition switch to the OFF position.
6. When fuel system service is complete, connect the electrical connector.
7. Reposition the splash shield and install a new pushpin.
8. NOTE: It may take more than one key cycle to pressurize the fuel system.
Cycle the ignition key and wait 3 seconds to pressurize the fuel system. Check for leaks before starting the engine.
9. Install the diagnostic tool. Turn the key ON with the engine OFF. Cycle the key OFF, then ON. Select the appropriate vehicle and engine qualifier. Clear all diagnostic trouble codes (DTCs) and carry out a PCM reset.
10. Start the vehicle and check the fuel system for leaks.
Next, before replacing the fuel filter, confirm that fuel pressure is low. Here is a link that explains how that is done.
https://www.2carpros.com/articles/how-to-check-fuel-system-pressure-and-regulator
Here are the manufacturer's specs for fuel pressure.
Item .................... Specification
Fuel Pressure
Key on, engine off .................... 240-310 kPa (35-45 psi)
Engine running .................... 193-310 kPa (28-45 psi)
If you want to replace the fuel filter, here are the directions. The remaining pics correlate with the directions.
Removal and Installation
WARNING:
- Do not smoke or carry lighted tobacco or open flame of any type when working on or near any fuel-related component. Highly flammable mixtures are always present and can be ignited. Failure to follow these instructions may result in personal injury.
- Fuel in the fuel system remains under high pressure even when the engine is not running. Before servicing or disconnecting any of the fuel lines or fuel system components, the fuel system pressure must be relieved to prevent accidental spraying of fuel, causing a fire hazard. Failure to follow these instructions may result in personal injury.
- There are 2 fuel systems, an early and late build fuel system. The early build system uses a 7.9 mm (5/16 in) fuel line and connectors. The late build uses a 9.5 mm (3/8 in) fuel line and connectors. Do not interchange the 2 fuel line sizes or components because fuel leakage will take place causing a fire hazard. Failure to follow these instructions may result in personal injury.
1. With the vehicle in NEUTRAL, position it on a hoist.
2. Release the fuel system pressure.
3. Disconnect the battery ground cable.
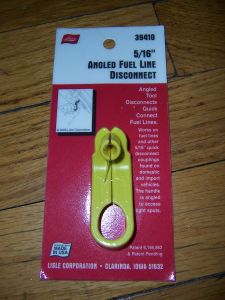
4. Disconnect the fuel filter inlet fuel tube quick connect coupling and fuel filter outlet fuel tube spring lock coupling.
5. Remove the fuel filter from the fuel filter bracket.
6. To install, reverse the removal procedure.
- If a tie strap was removed, reinstall a new tie strap in the same location.
Check out the diagrams (Below). Please let us know what you find. We are interested to see what it is.
Images (Click to make bigger)
Saturday, May 29th, 2021 AT 10:27 AM
(Merged)
