HEATER CORE
Removal & Installation
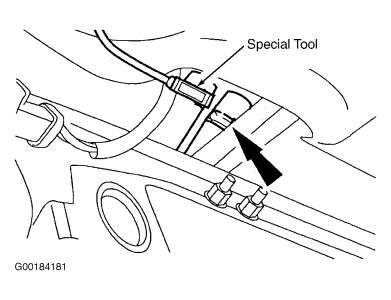
1.Raise and support vehicle. Drain cooling system. Using special tool, disconnect coolant hoses from heater core
Lower vehicle. Remove floor console. See FLOOR CONSOLE .
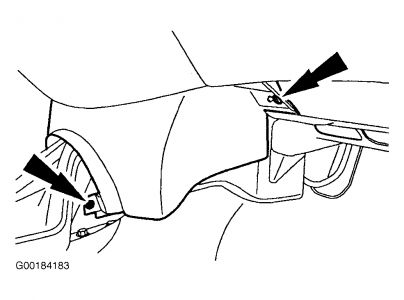
2.Remove rear footwell vent air ducts. Remove footwell lower trim panel.
Open glove compartment. Pull off hose and remove footwell vent air duct.
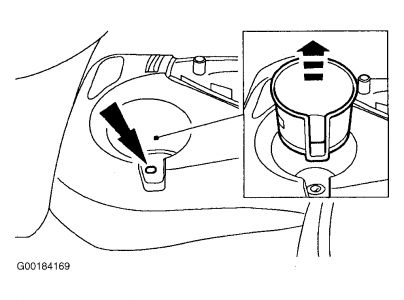
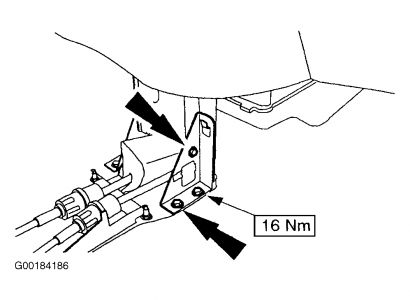
Close glove compartment. Remove left-hand and right-hand retaining screws and remove footwell trim. 3.Disconnect electrical connector and remove accelerator pedal. Detach rear steel clip. Take care not to damage seat when detaching clip. Remove left-hand and right-hand in-vehicle crossbeam bracket.
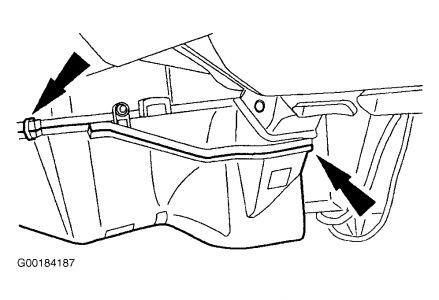
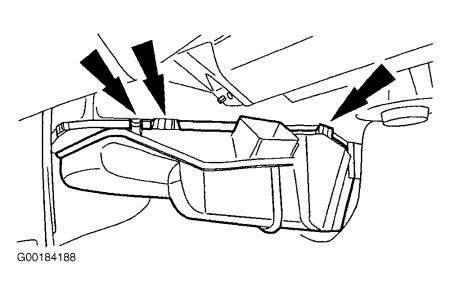
Remove heater core air duct housing.
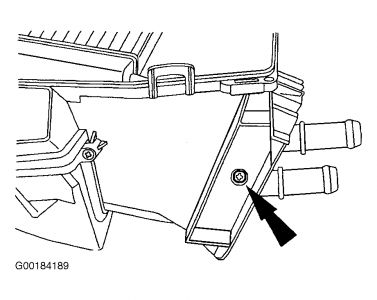
4.Remove heater core housing. Remove heater core retaining bolt. Remove heater core.
5.To install, reverse removal procedure.
FLOOR CONSOLE
Removal & Installation (A/T)
1.Move automatic transaxle selector lever to "N" position. Remove cup holder. Remove floor console front retaining screw on each side.
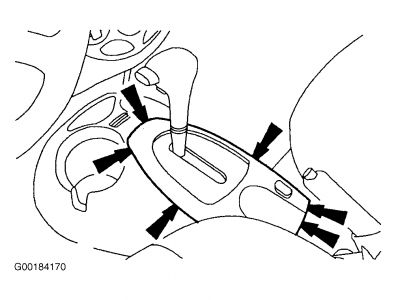
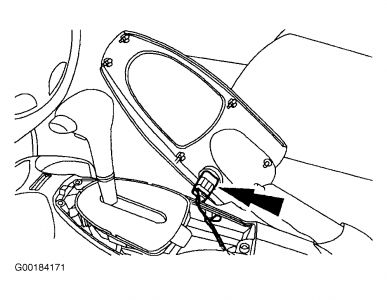
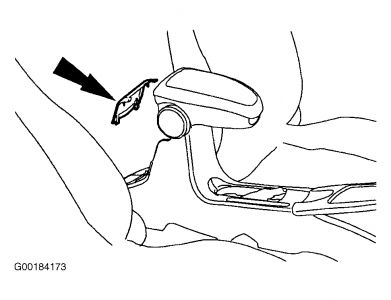
2.On vehicles with traction control, detach retaining clips and detach automatic transaxle selector lever trim panel from floor console.
Remove automatic transaxle selector lever trim panel. Disconnect traction control electrical connector.
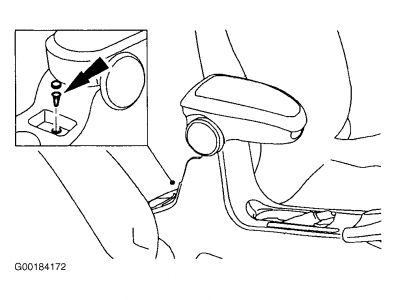
3.On vehicles with center armrest, detach rear of floor console from floor panel bracket. Remove armrest trim panel. Remove retaining screws and armrest.
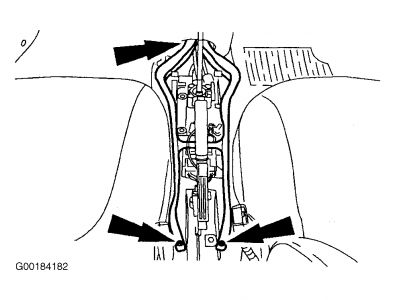
4.On vehicles without center armrest, remove insert from rear of floor console. Remove floor console rear retaining nuts.
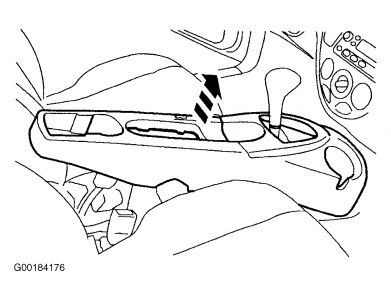
5.On all vehicles, fully raise parking brake lever and detach boot. Move automatic transaxle selector lever to P position. Remove floor console.
6.To install, reverse removal procedure
Sunday, October 26th, 2008 AT 1:00 AM


