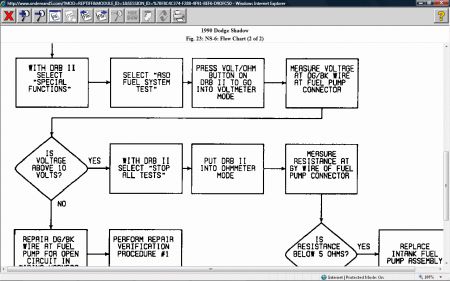
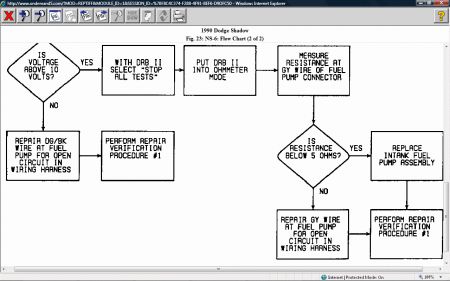
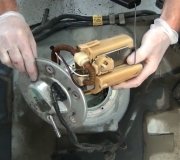
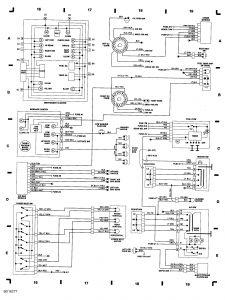
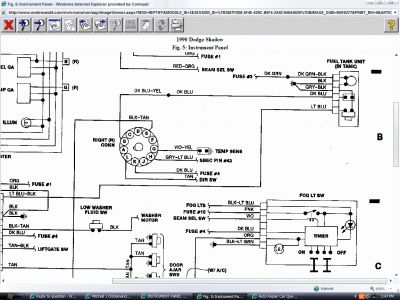
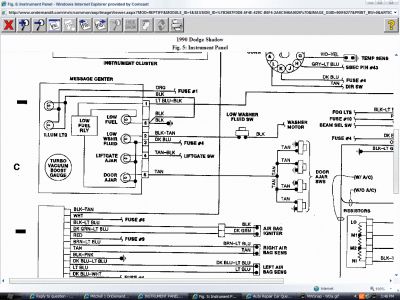
The pump should get power for 2 seconds or thereabout, with key in on position, if not check the relay, here's a wiring diagram to help trace any shots, and locate the grounds.
ENTERING ON-BOARD DIAGNOSTICS PLEASE READ THIS FIRST * CHECK ENGINE LIGHT DIAGNOSTIC MODE 1. Start engine (if possible). Move transmission shift lever through all positions, ending in Park. Turn A/C switch on, then off (if equipped). 2. Turn engine off. Without starting engine again, turn ignition on, off, on, off and on. Record 2-digit fault codes as displayed by flashing check engine light. 3. For example, Code 23 is displayed as flash, flash, 4-second pause, flash, flash, flash. After a slightly longer pause, other codes stored are displayed in numerical order. 4. Once check engine light begins to flash fault codes, it cannot be stopped. If you loose count, it will be necessary to start over. Code 55 indicates end of fault code display. 5. Refer to FAULT CODES table to translate trouble code number to a system fault description (DRB-II display). Once trouble area is identified, refer to NO START TEST 1 (NS-1) or DRIVEABILITY TEST 1 (DR-1) trouble shooting chart to diagnose problem. Use trouble shooting chart titles to find appropriate chart. 6. As an example, a 3.0L engine starts and runs, but has a driveability problem. Check engine light indicates a Code 14. Refer to FAULT CODES table to translate trouble code number to a system fault description (DRB-II display). 7. When system fault description (DRB-II display) is obtained, refer to DRIVEABILITY TEST 1 (DR-1) since vehicle has a driveability problem. Follow DR-1 chart until it leads you to a diamond box that asks: IS FAULT MAP VOLTAGE TOO LOW? This box will refer you to DR- 4 for diagnosis.
NOTE: Manufacturer recommends using DRB-II (Diagnostic Readout Box-II, C- 4805) to diagnose the system. Check engine light function has limited diagnostic usage.
SPONSORED LINKS
Monday, August 11th, 2008 AT 2:51 PM


