Naser,
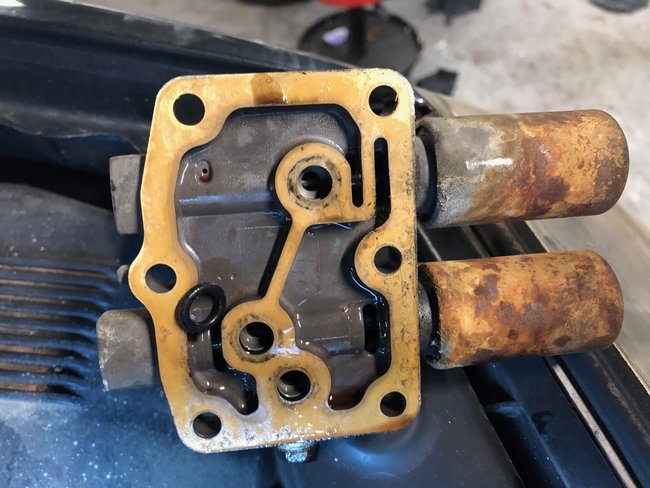
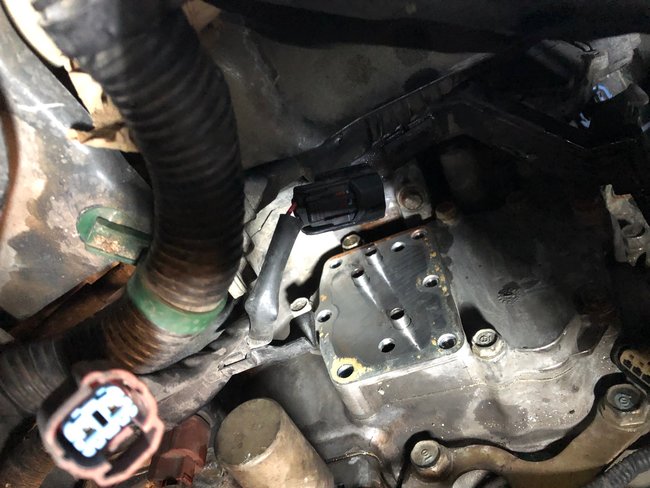
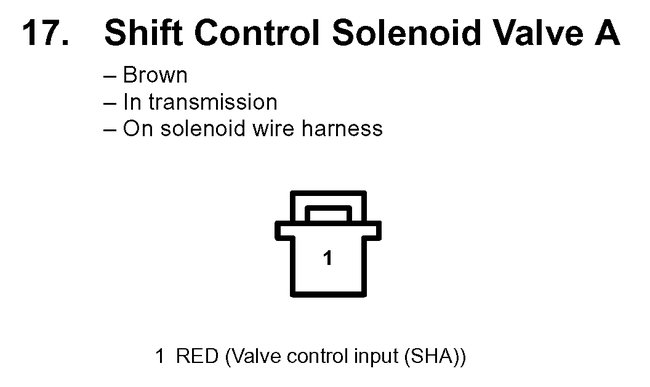
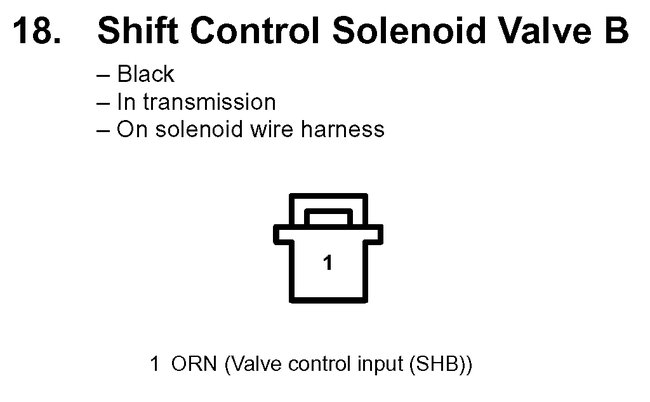
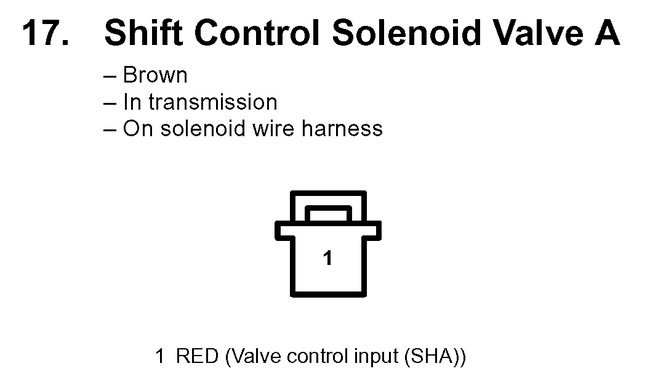
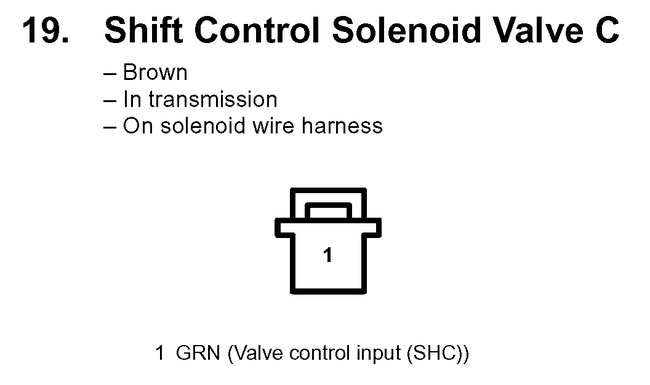
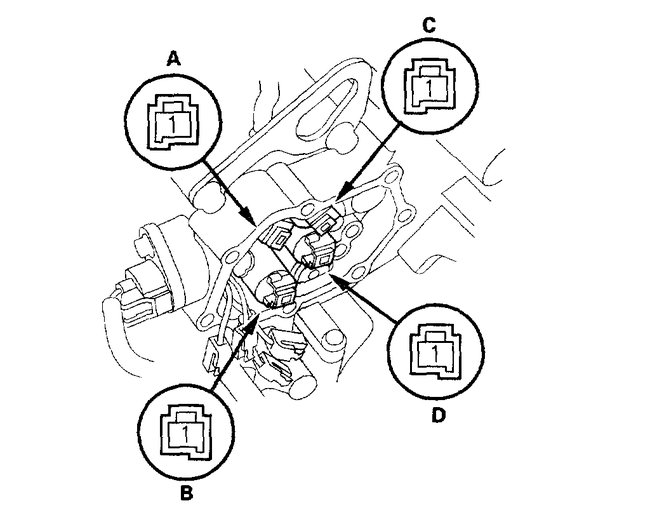
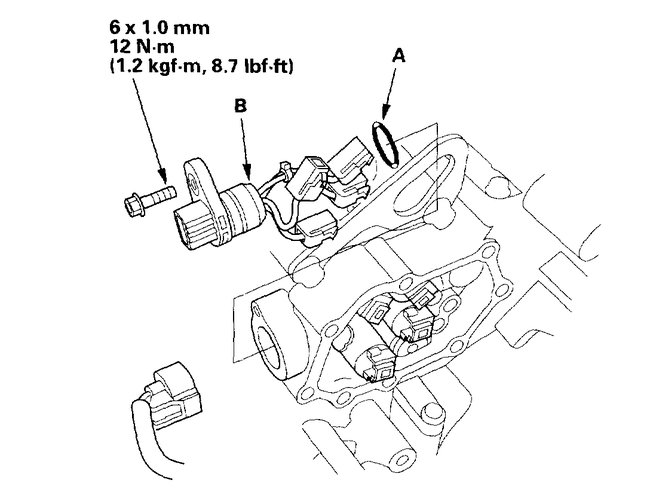
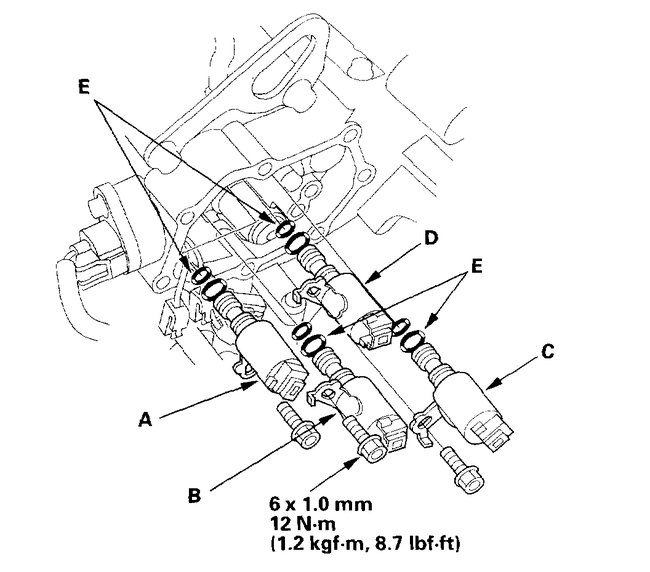
I looked this up for you. The first three pics below show each of the three shift solenoids and identify each by the color of the connector.
Here are the directions for testing:
_____________________________________
2004 Acura Truck MDX V6-3471cc 3.5L
Procedures
Vehicle Power-train Management Transmission Control Systems Actuators and Solenoids - Transmission and Drive-train Actuators and Solenoids - A/T Shift Solenoid Service and Repair Procedures
PROCEDURES
Shift Solenoid Valve, Torque Converter Clutch Solenoid Valve Test/Replacement
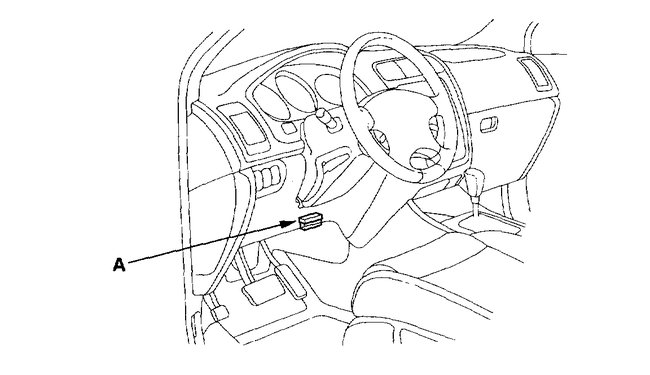
pic 4
1. Connect the HDS to the DLC (A).
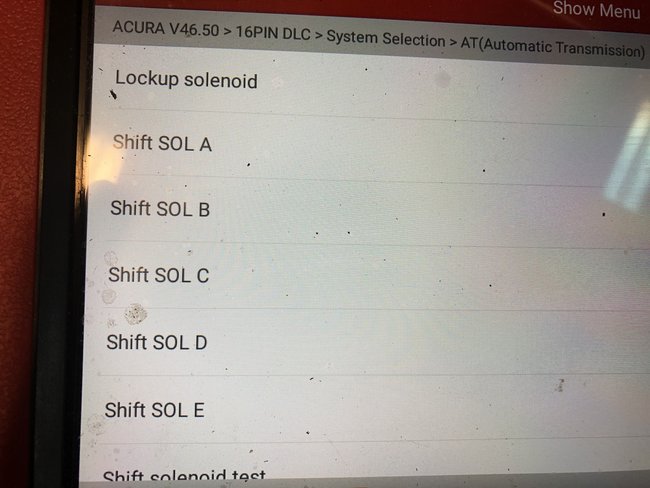
2. Select SHIFT SOL TEST in MISC. TEST MENU on the HDS.
3. Carry out A/T SHIFT SOL A, B, and C tests in SHIFT SOL TEST MENU with the HDS. A clicking sound should be heard.
4. Select LOCKUP SOL TEST in MISC. TEST MENU on the HDS.
5. Carry out A/T LOCKUP SOL A test in LOCKUP SOL TEST MENU with the HDS. A clicking sound should be heard.
6. Shift solenoid valve test and torque converter clutch solenoid valve test have finished if the tests are OK. If no sound is heard, remove the shift solenoid valves or torque converter clutch solenoid valve, and test the solenoid valve.
7. Remove the intake air duct.
8. Disconnect the battery negative terminal, then remove the battery positive terminal.
9. Remove the battery hold-down bracket, then remove the battery and battery tray.
10. Remove the four bolts securing the battery base in the engine compartment, then remove the battery base.
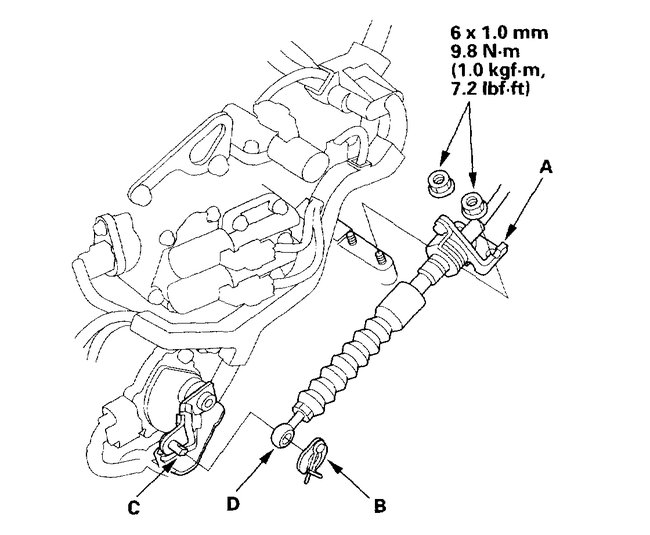
Pic 5
11. Remove the nuts securing the shift cable bracket (A).
12. Remove the spring clip/washer (B) from the control lever (C), and disconnect the shift cable end (D) from the control lever.
Pic 6
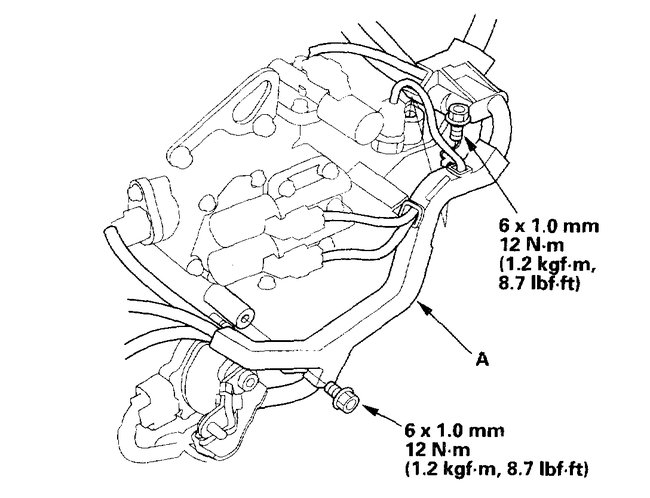
13. Remove the bolts securing the harness cover (A).
Pic 7
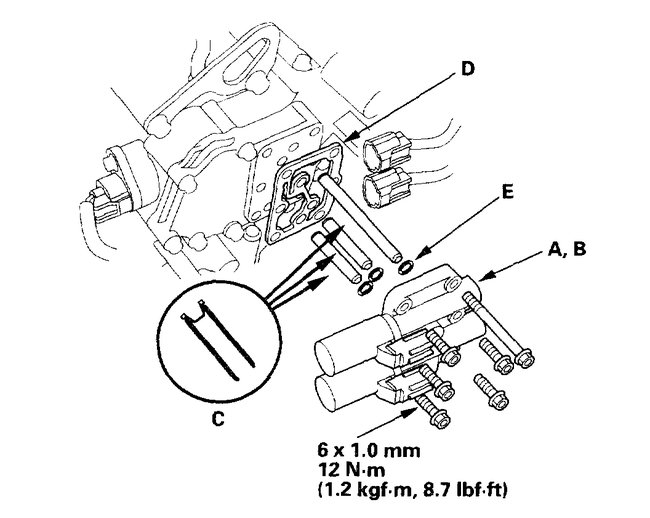
14. Disconnect the connectors from A/T clutch pressure control solenoid valve A and B, and remove the solenoid valves, ATF pipes (C), and gasket (D).
15. Replace the gasket and O-rings (E) with new ones when installing the A/T clutch pressure control solenoid valve A and B.
Pic 8
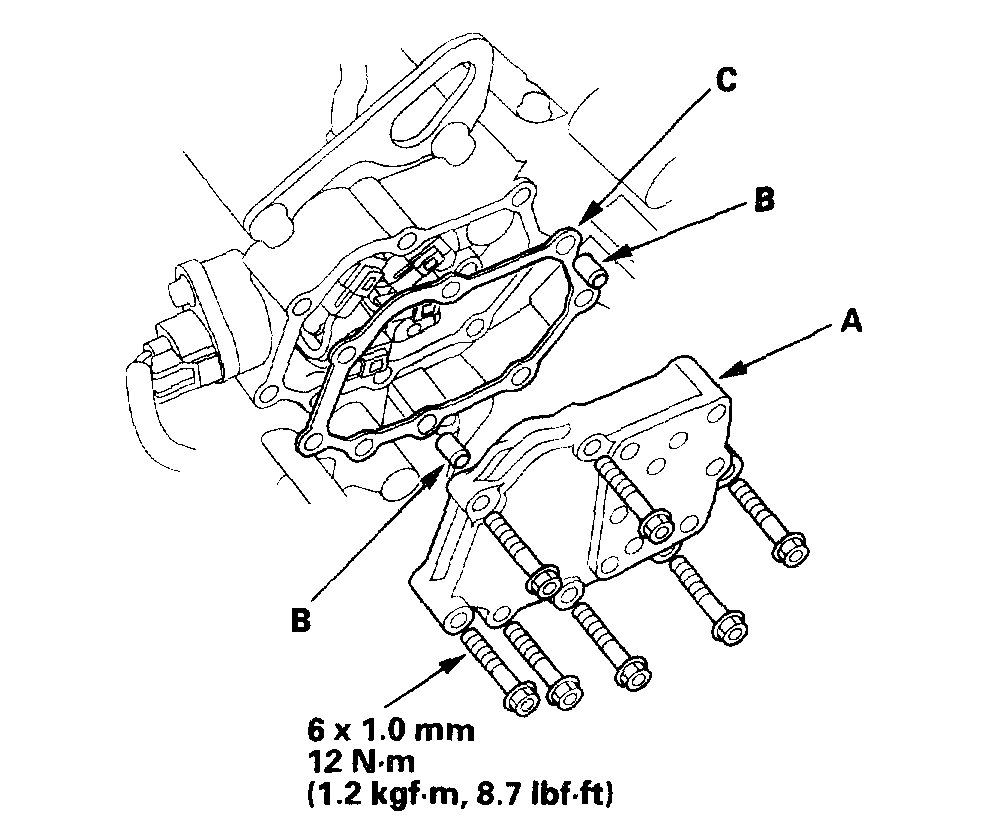
16. Remove the solenoid valve cover (A), dowel pins (B), and gasket (C).
17. Replace the gasket with new one when installing solenoid cover.
Pic 9
18. Disconnect each solenoid valve connector.
19. Measure the resistance of shift solenoid valve A, B, C, and torque converter clutch solenoid valve (D) between each connector terminal and body ground.
Standard: 12 - 25 ohms
20. Replace the solenoid valve if the resistance is out of standard.
21. Connect the battery negative terminal to body ground, then connect the battery positive terminal to each solenoid terminal individually.
22. Replace the solenoid valve if no clicking sound is heard.
Pic 10
23. Replace the solenoid harness if the test results are OK.
24. Install a new O-ring (A) on the solenoid harness connector (B), and install the connector in the transmission housing.
25. If the solenoid valve is faulty, go to step 26 for solenoid valves replacement. If the solenoid valves and solenoid harness are OK, go to step 32, and connect the connectors and install the removed parts.
26. Remove the mounting bolts, then remove the solenoid valves.
Pic 11
27. Install the new O-rings (E) on each solenoid valves.
NOTE: The new solenoid valve is equipped with the new O-rings. If you install the new solenoid valve, it is no need to replace the new O-rings on it.
28. Install shift solenoid valve B (black connector) by holding the shift solenoid valve body; be sure to install mounting bracket contacts to the accumulator body.
NOTE: Do not hold the solenoid valve connector to install the solenoid valve. Be sure to hold the solenoid valve body. Do not install the shift solenoid valve C before installing the torque converter clutch solenoid valve (D). If solenoid valve C is installed before torque converter clutch solenoid valve, it may damage to hydraulic control system.
29. Install torque converter clutch solenoid valve (black connector) by holding the solenoid valve body; be sure to install mounting bracket contacts to the accumulator body.
30. Install shift solenoid valve C (brown connector) by holding the shift solenoid valve body; be sure to install mounting bracket contacts to the bracket of torque converter clutch solenoid valve.
31. Install shift solenoid valve A (brown connector) by holding the shift solenoid valve body; be sure to install mounting bracket contacts to the accumulator body.
32. Connect RED harness to shift solenoid valve A, ORN harness to shift solenoid valve B. GRN harness to shift solenoid valve C, and YEL harness to torque converter clutch solenoid valve (D).
33. Install the shift solenoid valve cover, dowel pins and a new gasket.
34. Install the new solenoid valve body gasket on the solenoid valve cover, and install the ATF pipes with their filter side into the transmission housing. Install the new O-rings over the ATF pipes.
35. Install A/T clutch pressure control solenoid valves A and B,
36. Check the connectors for rust, dirt, or oil, clean or repair if necessary, then connect the connectors securely.
37. Secure the harness cover with the bolts.
38. Connect the shift cable end to the control lever, and secure the cable end with the spring clip/washer.
39. Secure the shift cable bracket with the nuts.
40. Install the battery base and intake air duct.
41. Install the battery tray and battery, then secure the battery with its hold-down bracket. Connect the battery terminals.
_____________________________________
If you noticed, they show the solenoids as A. B, C, and D. D is the torque converter clutch solenoid. The others are in order. (A= 1-2 shift, B=2-3 shift, C=3-4 shift)
Let me know if this helps.
Take care. By the way, this isn't a German car. What's up with that? LOL
Joe
Images (Click to make bigger)
Sunday, August 9th, 2020 AT 8:49 PM
