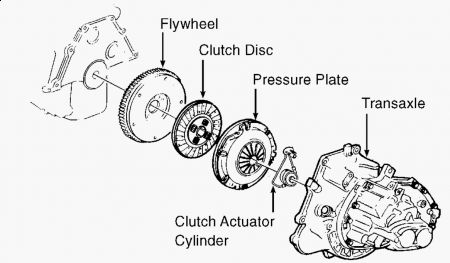
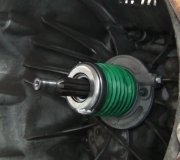
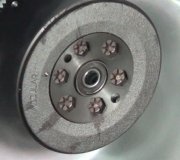
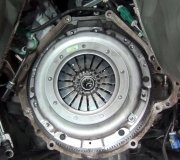
This process tells how to do both, cull what you need from it..CLUTCH MASTER & ACTUATOR CYLINDERS Removal 1. Disconnect negative battery cable. Remove left sound insulator under instrument panel. Disconnect master cylinder push rod from clutch pedal. Remove master cylinder retaining nuts at front of dash. Remove remote reservoir. Disconnect hydraulic line from actuator cylinder. To disconnect line, push release slide (round disc at connection) inward, then separate line from actuator cylinder. 2. Remove transaxle. See CLUTCH ASSEMBLY . Remove clutch actuator cylinder from transaxle. See Fig. 2 . Installation 1. Install actuator cylinder on transaxle. Lubricate inside diameter of bearing with grease. Install transaxle. Tighten bolts and nuts to specification. See TORQUE SPECIFICATIONS table. 2. Connect hydraulic line from clutch master cylinder to actuator cylinder. To connect line, pull release slide (round disc at connection) toward master cylinder. While holding release slide in this position, connect halves of connector then let go of release slide. Click should be heard. 3. Install clutch master cylinder to firewall. Remove pedal restrictor from push rod (new clutch master cylinder). Lubricate push rod bushing on clutch pedal. Connect push rod to clutch pedal. Install retaining clip. Adjust cruise control switch at clutch pedal (if equipped). See CRUISE CONTROL CLUTCH RELEASE SWITCH under ADJUSTMENTS. To complete installation, reverse removal procedure. Bleed hydraulic system. See HYDRAULIC CLUTCH BLEEDING under SYSTEM BLEEDING. NOTE: Manufacturer recommends replacing clutch master cylinder and actuator cylinder if excessive leakage is evident. Removing actuator cylinder involves removing transaxle. Page 1 of 1 3/12/2010 ...

HYDRAULIC CLUTCH BLEEDING 1. Clean cap. Remove reservoir cap and diaphragm. Fill reservoir and keep full throughout procedure. Attach hose to bleed screw on actuator and submerge other end in container of hydraulic fluid. Depress pedal slowly and hold, loosen bleed screw to purge air. Tighten bleed screw to 18 INCH lbs. (2 N.m). Repeat as necessary until air bubbles are no longer seen. 2. Fill reservoir. Install cap and diaphragm. Start engine. Push clutch pedal to floor. Wait 9 seconds. Try to shift transaxle into Reverse. If gears grind, bleed system again. NOTE: Hydraulic system components, which are serviced as an assembly, have been factory-bled and filled. Bleeding is only necessary if air has been drawn into system due to low fluid level in reservoir. CAUTION: DO NOT use mineral or paraffin base oil in clutch hydraulic system, or damage to rubber parts in cylinders may occur. Use DOT 3 Brake fluid only!
Friday, March 12th, 2010 AT 2:55 PM


