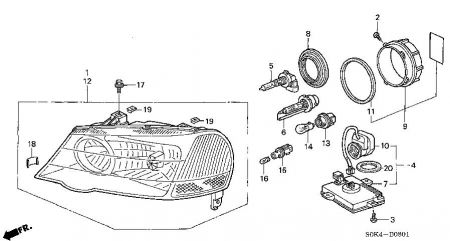
HID LAMP SYSTEM TROUBLESHOOTING
CAUTION: Never turn on the combination light switch before fitting the HID bulbs to their bulb sockets and completing the reassembly of the
headlight assembly.
1. Check the No. 43 (20 A) and No. 45 (20 A) fuses in the under-hood fuse/relay box.
Are the fuses OK?
YES -Go to step 2.
NO -Replace the fuse (s), and recheck.
2. Substitute a known-good HID bulb and turn the combination light switch ON.
Does the headlight low beam come on?
YES -Replace the original HID bulb.
NO -Go to step 3.
3. Disconnect the 2P connector from the inverter unit.
4. Turn the combination light switch ON.
5. Measure voltage between the No. 2 terminal of the inverter unit 2P connector and body ground.
Fig. 34: Checking Voltage At Inverter Unit 2P Connector
Is there battery voltage?
YES -Go to step 6.
NO -Repair open in the wire between the under-hood fuse/relay box and the inverter unit.
6. Turn the combination light switch OFF.
7. Check for continuity between the No. 1 terminal of the inverter unit 2P connector and body ground.
Fig. 35: Checking Continuity At Inverter Unit 2P Connector
Is there continuity?
YES -Go to step 8.
NO -Repair open in the wire between the inverter unit and body ground. If the wire is OK, check for poor ground at G201 or G301.
8. Measure resistance between the No. 1 and B terminals and the No. 2 and A terminal of the igniter unit.
Fig. 36: Measuring Resistance
Is there about 1-2 ohm?
YES -Substitute a known-good inverter, and recheck. If the symptom goes away, replace the original inverter unit.
NO -Replace the igniter unit.
Images (Click to make bigger)
Sunday, February 6th, 2011 AT 6:33 PM
