Hi and thanks for using 2CarPros.
A crank but no start condition can be the result of a few things. Things such as low fuel pressure, loss if ignition spark to the plugs are the most common reasons.
With that, I want you to read through the following link. It discuss the common reasons for the problem, how to check, and how to fix.
https://www.2carpros.com/articles/car-cranks-but-wont-start
Here are specific links for checking fuel pressure and ignition spark:
https://www.2carpros.com/articles/how-to-check-fuel-system-pressure-and-regulator
https://www.2carpros.com/articles/how-to-test-an-ignition-system
_________________
Here are a couple links that show how to use a test light and volt meter:
https://www.2carpros.com/articles/how-to-use-a-test-light-circuit-tester
https://www.2carpros.com/articles/how-to-use-a-voltmeter
________________
Based on your description, I would check fuel pressure first. Here are the manufacturer's specs for pressure:
Fuel Pressure 44 to 50 psi
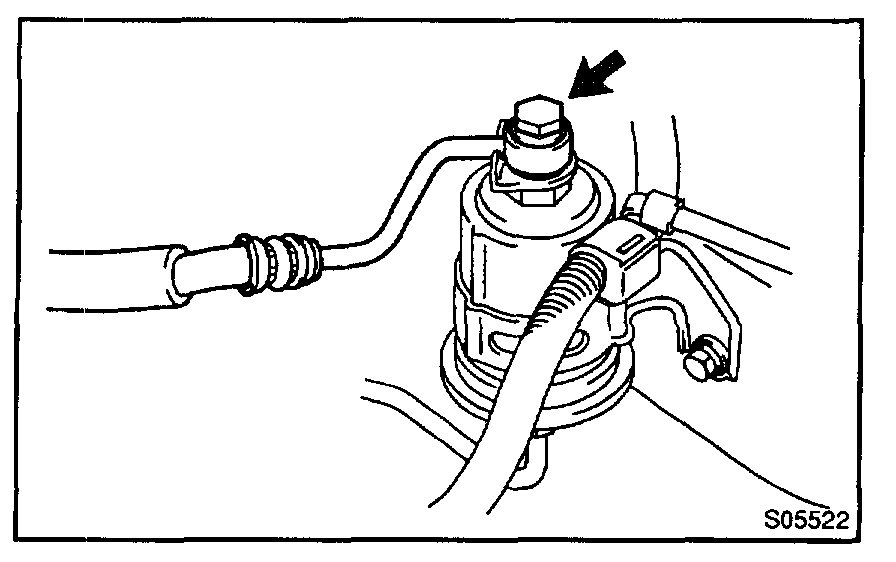
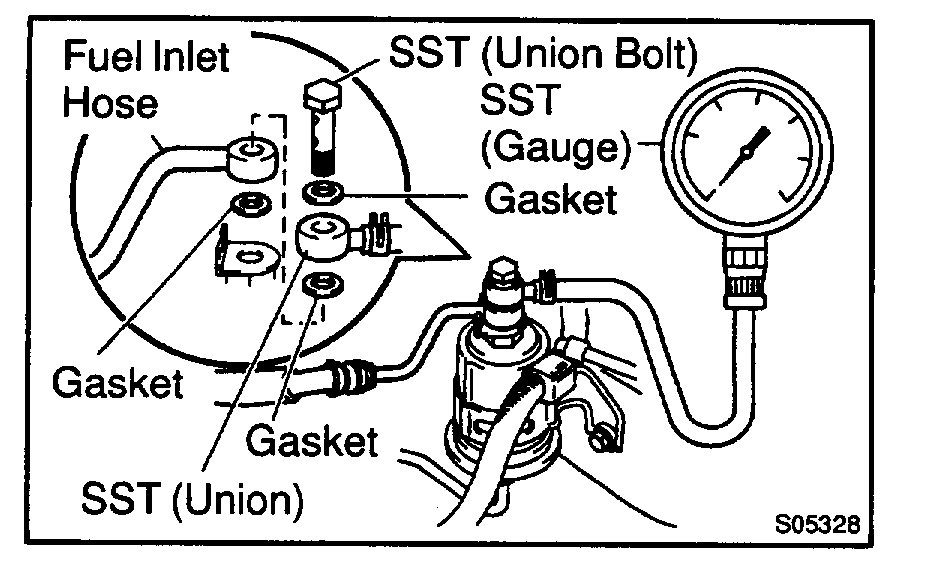
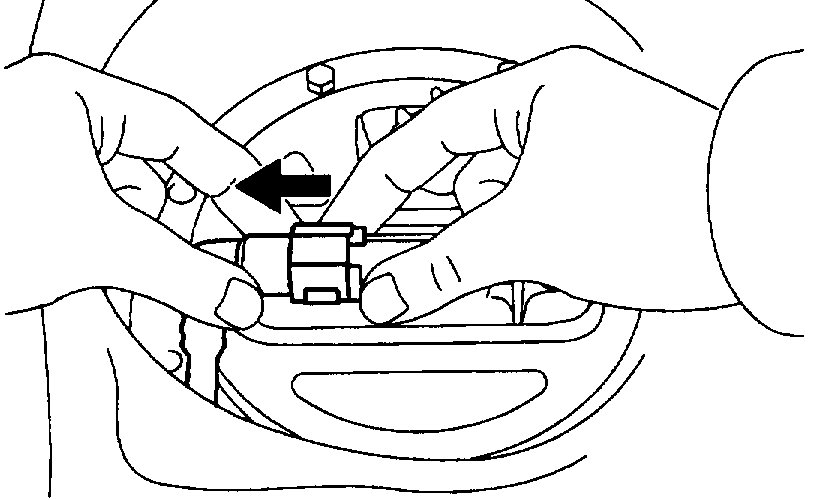
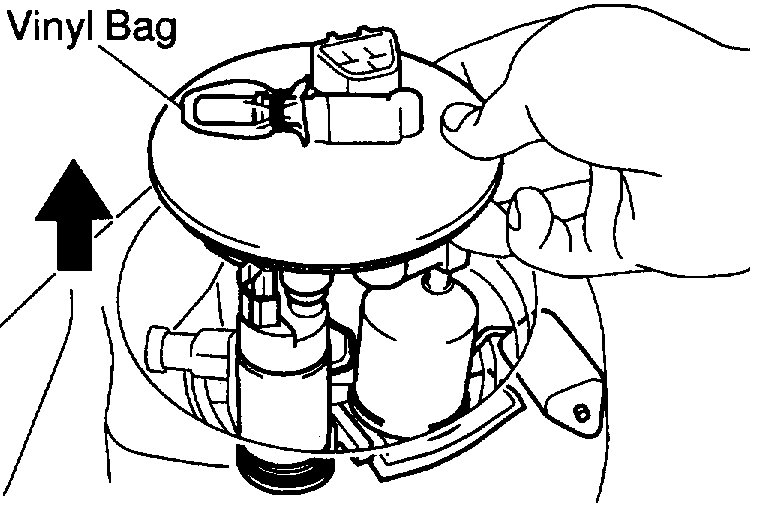
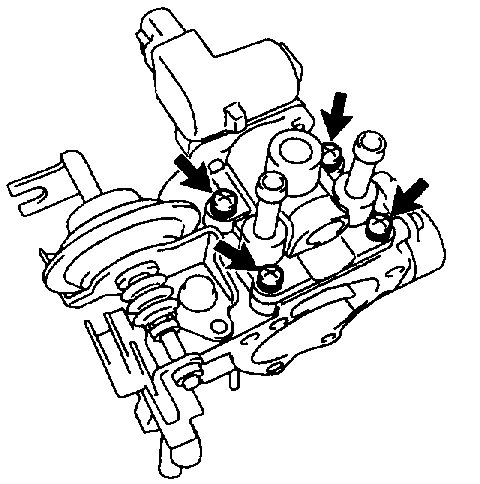
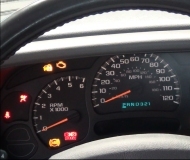
Here are the specific directions for your vehicle when checking pressure: Pics 1 and 2 correlate with these directions.
___________________________________
COMPONENT TESTS AND GENERAL DIAGNOSTICS
CHECK FUEL PRESSURE
a. Check the battery positive voltage is above 12 V.
b. Disconnect the negative (-) terminal cable from the battery.
c. Remove the union bolt and 2 gaskets, and disconnect the fuel inlet hose from the fuel filter outlet.
CAUTION:
- Put a shop towel under the fuel filter.
- Slowly loosen the union bolt.
d. Install the fuel inlet hose and SST (pressure gauge) to the fuel filter outlet with the 3 gaskets and SST (union bolt).
SST 09268-45014 (09268-41190, 90405-06167)
Torque: 29 N.m (300 kgf.cm, 21 ft.lbf)
e. Wipe off any splattered gasoline.
f. Reconnect the negative (-) terminal cable to the battery.
g. Connect a TOYOTA hand-held tester to the DLC3. (See step 1 in check fuel pump operation (a) to (e))
h. Measure the fuel pressure.
Fuel pressure: 301 -347 kPa (3.1-3.5 kgf/sq.cm, 44-50 psi)
If pressure is high, replace the fuel pressure regulator.
If pressure is low, check the fuel hoses, fuel hose connections, fuel pump, fuel filter and fuel pressure regulator.
i. Disconnect the TOYOTA hand-held tester from the DLC3.
j. Start the engine.
k. Measure the fuel pressure at idle.
Fuel pressure: 301-347 kPa (3.1-3.5 kgf/sq.cm, 44-50 psi)
i. Stop the engine.
m. Check that the fuel pressure remains as specified for 5 minutes after the engine has stopped.
Fuel pressure: 147 kPa (1.5 kgf/sq.cm, 21 psi) or more
If pressure is not as specified, check the fuel pump, pressure regulator and/or injectors.
n. After checking fuel pressure, disconnect the negative (-) terminal cable from the battery and carefully remove the SST to prevent gasoline from splashing.
SST 09268-45014
o. Reconnect the fuel inlet hose with 2 new gaskets and the union bolt.
Torque: 29 N.m (300 kgf.cm, 21 ft.lbf)
p. Reconnect the negative (-) terminal cable to the battery.
q. Check for fuel leaks.
__________________________________________
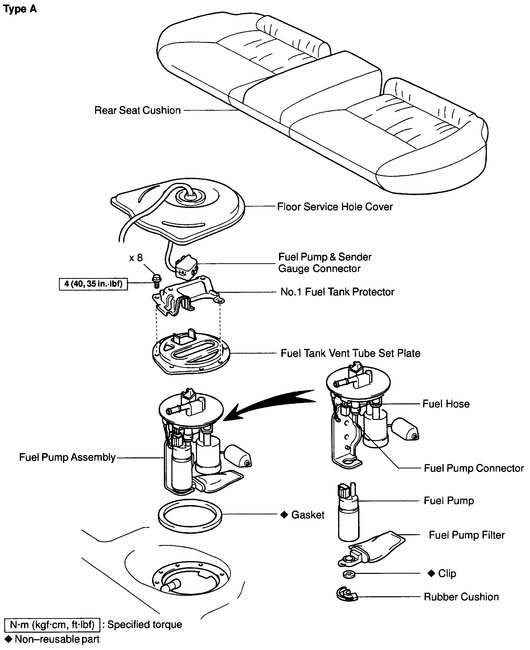
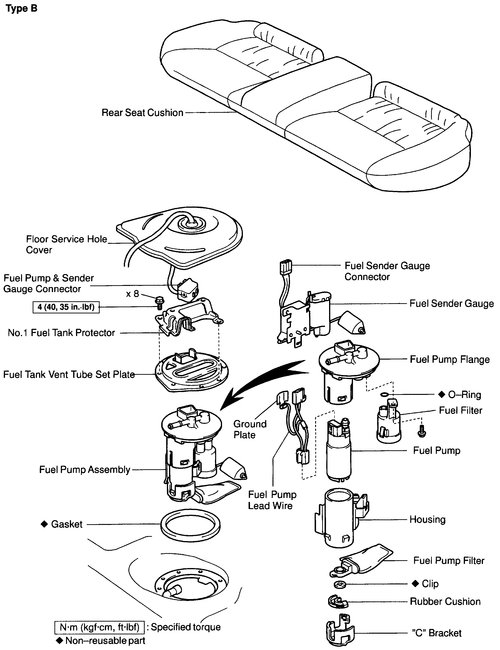
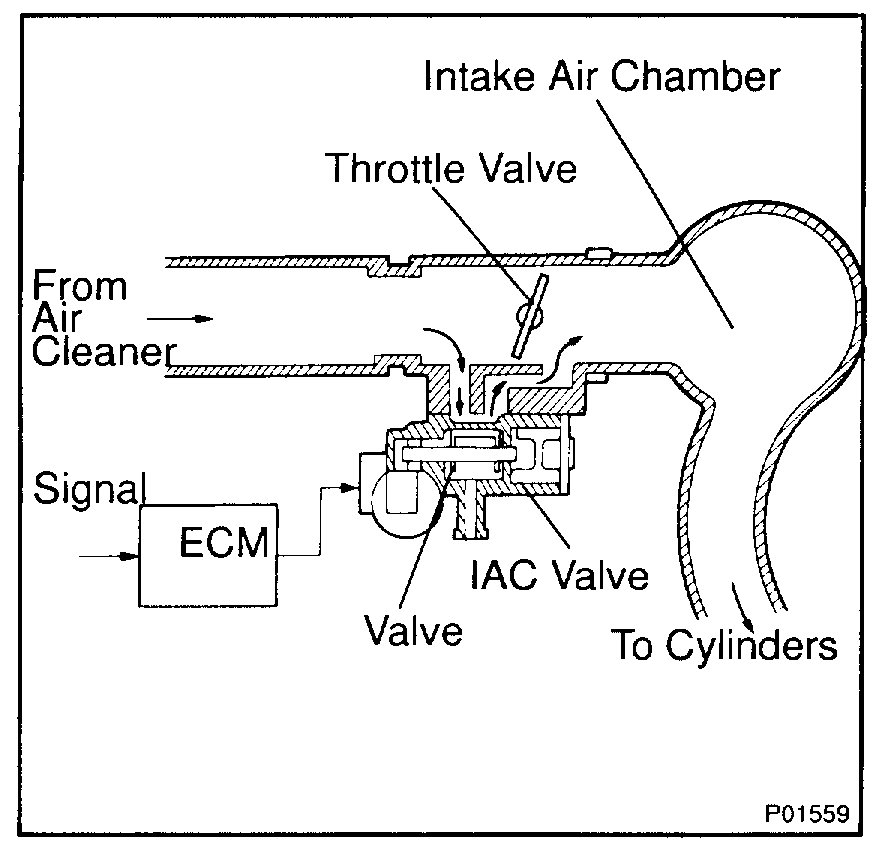
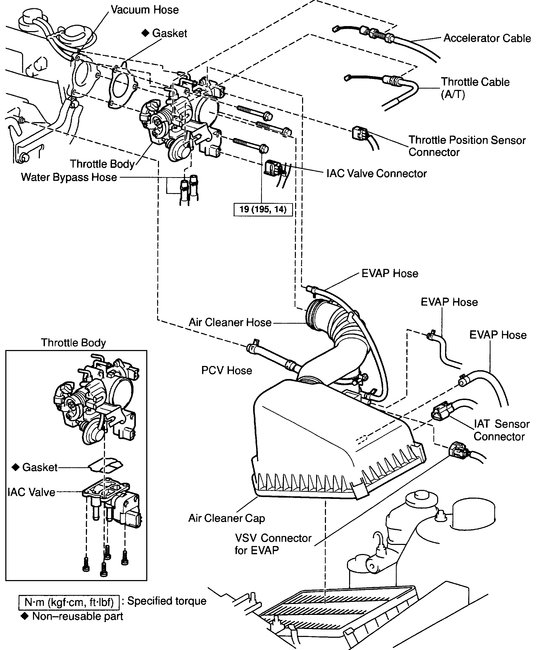
If you determine the fuel pump is bad, here are the directions to replace it. The remaining pictures correlate with these directions.
__________________________________________
REMOVAL AND INSTALLATION
COMPONENTS
TYPE A Pic 3
TYPE B Pic 4
REMOVAL
CAUTION: Do not smoke or work near an open flame when working on the fuel pump.
1. REMOVE REAR SEAT CUSHION
2. REMOVE FLOOR SERVICE HOLE COVER
a. Take out the floor carpet.
b. Remove the service hole cover.
HINT: At the time of installation, please refer to the following items. Check for fuel leakage.
3. DISCONNECT FUEL PUMP & SENDER GAUGE CONNECTOR
4. REMOVE NO.1 FUEL TANK PROTECTOR
Remove the 2 bolts and No.1 fuel tank protector.
Torque: 4 Nm (40 kg.cm, 35 in.lb)
5. DISCONNECT FUEL TUBE (FUEL TUBE CONNECTOR)
CAUTION:
- Perform disconnecting and connecting operations of the fuel tube connector (quick type) after observing the precautions.
- As there Is retained pressure in the fuel pipe line, prevent it from splashing inside the vehicle compartment.
6. REMOVE FUEL PUMP ASSEMBLY FROM FUEL TANK
a. Remove the 6 bolts and fuel tank vent tube set plate.
Torque: 4 Nm (40 kg.cm, 35 in.lb)
b. Pull out the fuel pump assembly.
c. Remove the gasket from the pump assembly.
NOTE:
- Do not damage the fuel pump filter.
- Be careful that the arm of the sender gauge should not bent.
HINT: At the time of installation, please refer to the following items. Install a new gasket to the pump assembly.
INSTALLATION
Installation is in the reverse order of removal.
________________________________________________
I hope something here helps. Let me know if you need help or just have other questions.
Take care,
Joe
Images (Click to make bigger)
Monday, December 3rd, 2018 AT 8:20 PM
