You may be having similar problems to me
I have found that there are 2 different styles of clusters---the 1st which is the oem, the fuel gauge has a rectangular cut out behind it.'cept the rectangle has a division down the middle of it, making it "2 side-by-side squares"
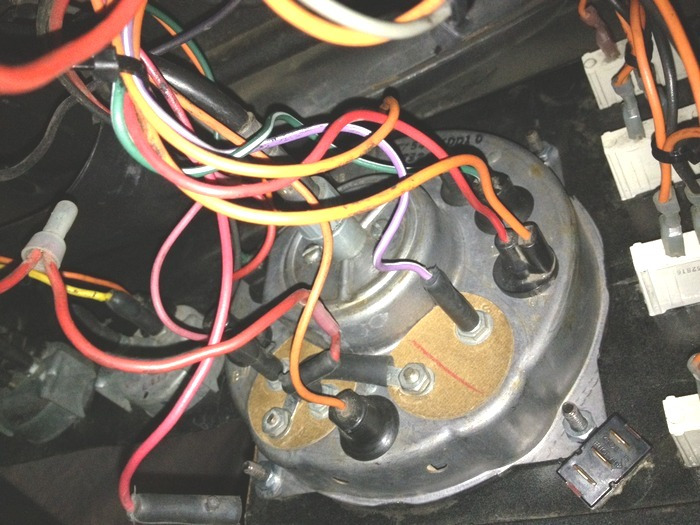
The cvr grounds to this "dividing bar" (the copper strip on the back of the fuel gauge
I've had issues in the past of that connection. Not grounding well
A "little scratching" on the "bar" and on the copper band, that is centered on the back of the fuel gauge with some fine sand paper works well for making a good contact
Now then--kinda my 1st encounter with "fixin" an after-market cluster
Years ago I bought an after-market cluster, cause my original faces and needles were fading. And.I got a heck of a deal on it. $60
I installed it and had no problems till about a year ago
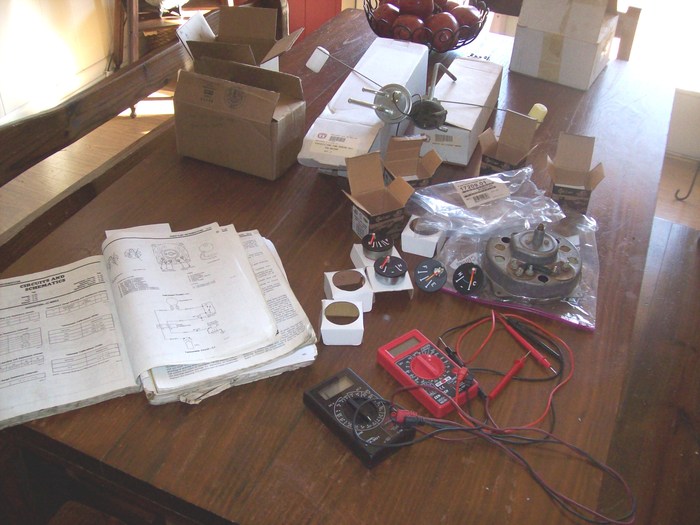
I've replaced the fuel and temp gauges in my original clusters and for other folks, in theirs
This was my 1st encounter w/ changing them in an after-market one, they sorta said the fuel and temp gauges were "improved" over the oem.I take that to mean "better"
Without an original cluster on the table, I installed the gauges in the after-market one, when installed back in my jeep I noticed they fluctuated up and down---and when they sometimes settled down, they would move maybe 2 needle widths back and forth----sitting still--or on the road
I thought I had fried them somehow or another (i really didn't think I did!)---So I ordered another set anyway. Same results?
I installed my original cluster back in and have been using it ever since
I sent all 4 gauges back for replacements recently.I am presently waiting for 4 new ones to arrive back
. But
About a month ago, I pulled out the after-market one (the pertty one) and tore into it once again, this time I realized that behind the fuel gauge on the back of the cluster was that "rectangle" and it was a full rectangle with "no" division bar separating it into two squares
So now, that I threw the bad gauges out, and no new ones yet.I'm wondering how the cvr gets grounded without "the bar" in the middle?
Yeah.I know i'm the one that's supposed to know.I will, soon as I get the new ones back!
As far as what you initially askedyou mean the cables that are controlling the heater/ air functions on the heater box from the dash?
Explain zackly what you have. You installed the heater. It was a basket case?
The 1979 on up heater is simple to understand, till you get to the cable that controls the heat/ air. Most cj people don't even understand how to correctly engage the heat (for 100% heat) and how to use the "air" (100% air from the hood vent--no blower used) which cools the passenger side and blows air between the driver's legs)
As far as "battery ground" the negative cable should go to the engine block----a braided strap jumps around the motor mount and from the bracket and grounds to the frame.
Off of the negative battery clamp, a heavy wire grounds to the firewall to ground the body
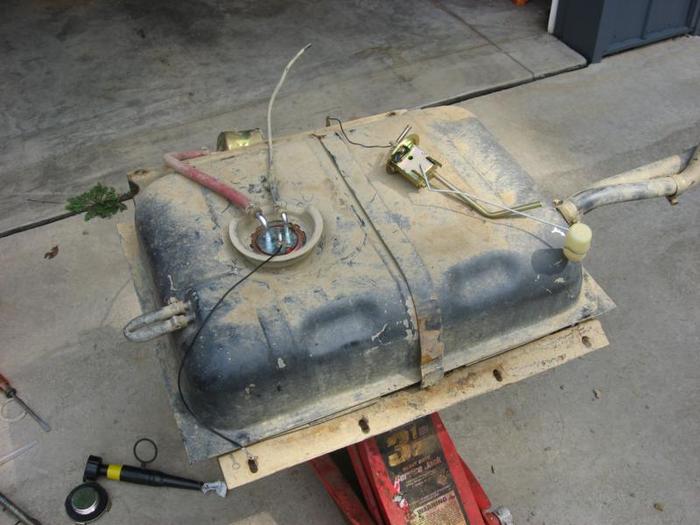
The fuel tank sending unit (the whole round dealee in the top) grounds to the framework above it. See the black wire in the 1st pic dangling off left and down
. This is a pic from someone else's jeep---disregard their "plugging off" of the vents on the left side by hooking a hose around to the other sidethis is not good, it should attach to the "liquid check" and "roll-over" check valves behind the driver's side rear wheel
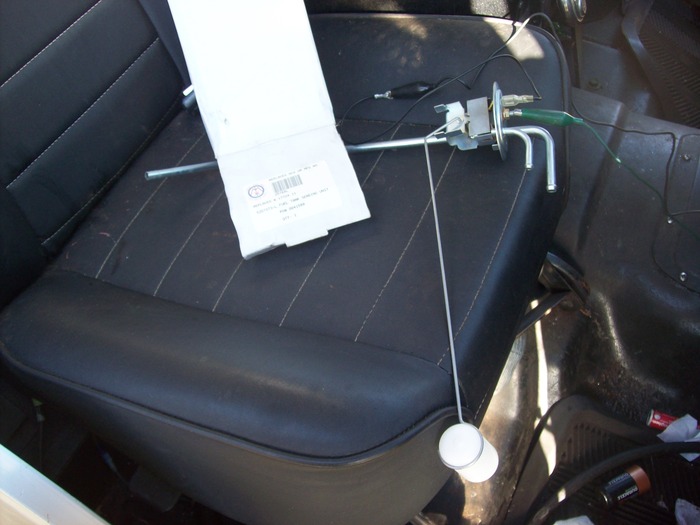
. The sender wire originates in the center of the "round dealee" (see right side of my 2nd pic) the "l" shaped rubber connector is the beginning of the "pink" sender wire
It travels about 2 feet and hits a connector (for tank removal or for testing) this connector is between the tank and back of the rear tire on the driver's side (i could not find my pic) the wire is pink
This wire goes ito a connector with the other wires for the back
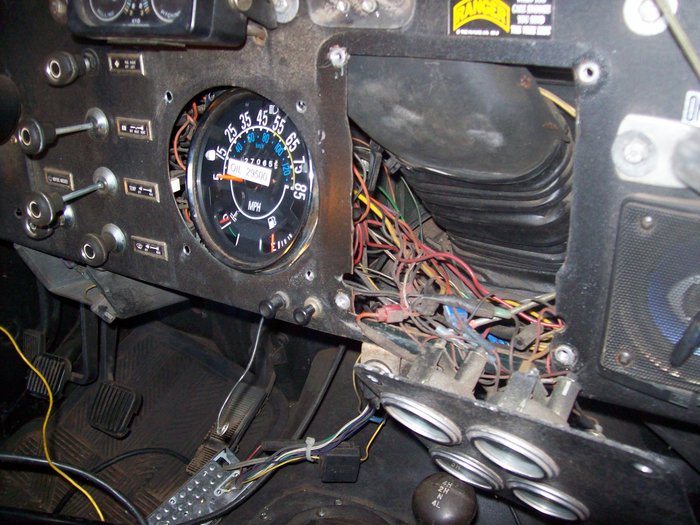
The bundle travels under the lip of the side of the jeep and comes out under the dash on the driver's side
As you can see----the only grounds for the gauge is "the gauge body itself" and the "cvr dealee on the back of the fuel gauge (inside the cluster) against the "bar dealee" which is the metal of the speedometer case
Sorta to show you the extent I go to insure my stuff works right, even tweaking the float arm to make the gauge actually read "e" when it's empty
I have found most of the time, the senders do not read perfect
I don't really care if I read "full" or "over full"for the 1st 100 miles, then it drops thru the range over the next 100+ miles.I wanna know when it's getting close to "walking time!". That's what I tweak towards, before I install the sender in the tank.I run it thru the motions using jumper wires with alligator clips, hooked to my gauge
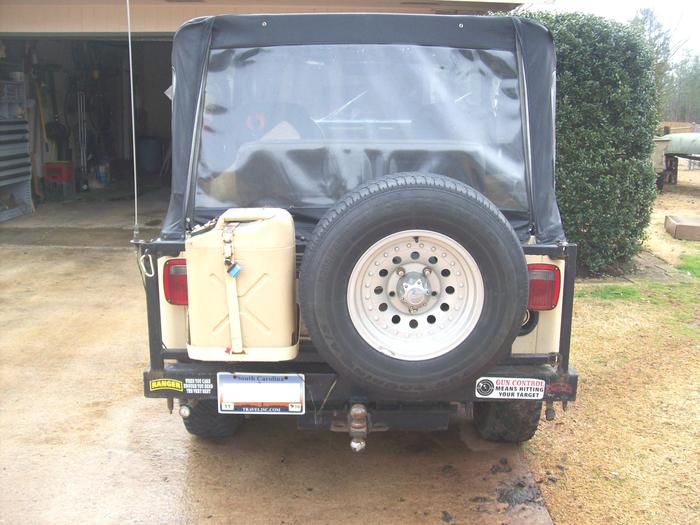
I really don't worry too much----since I installed the holley 390 4 bbl and jetted/ tuned and adjusted it on my 258 inline 6 cylinder.I get about 18 mpg, I have a 21 gallon polyethylene fuel tank, and my 5 gallon jerry can is always full on the back!
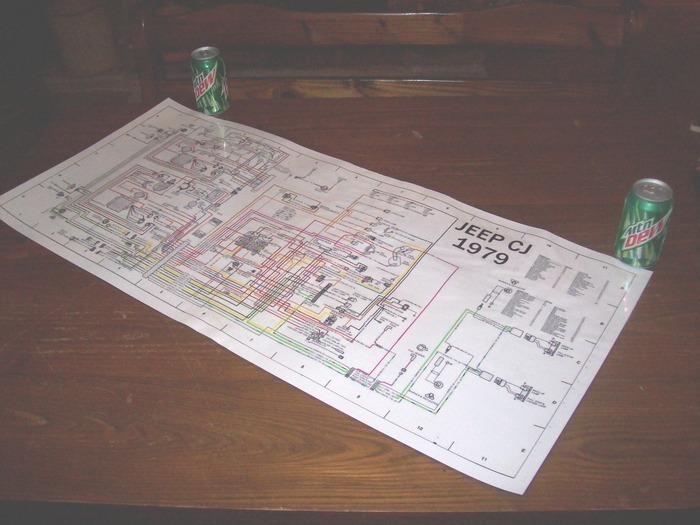
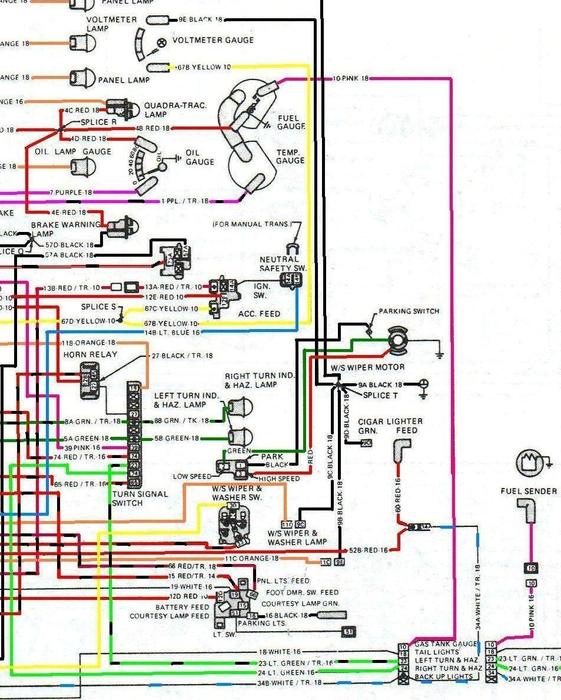
If you want my full colored 1979 wire diagram I did in "microsoft paint" (2 half pieces) which I blew up and laminated. Let me know
If you take the connector loose behind/ between the driver's rear tire and tank
. Then
Grounding the pink sender wire to the body/ frame/ neg side of the batterywill make the fuel gauge rise to the top----it should fall to nothin' when you take the ground away
I have more in depth testing procedures for the gauges----they are really good!--Let me know if you need them
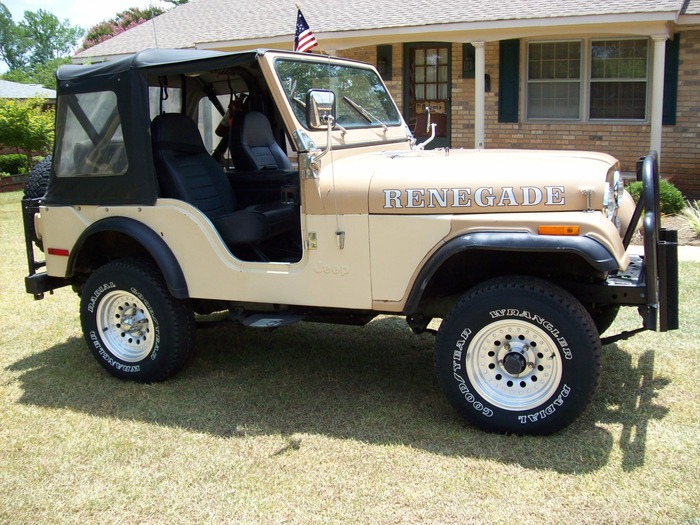
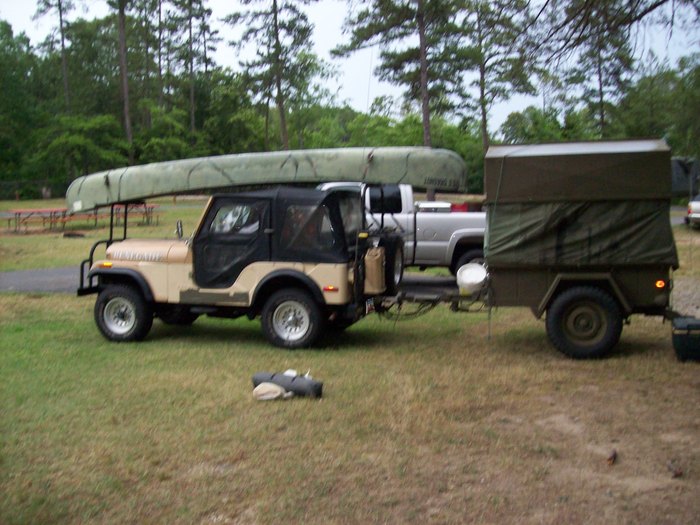
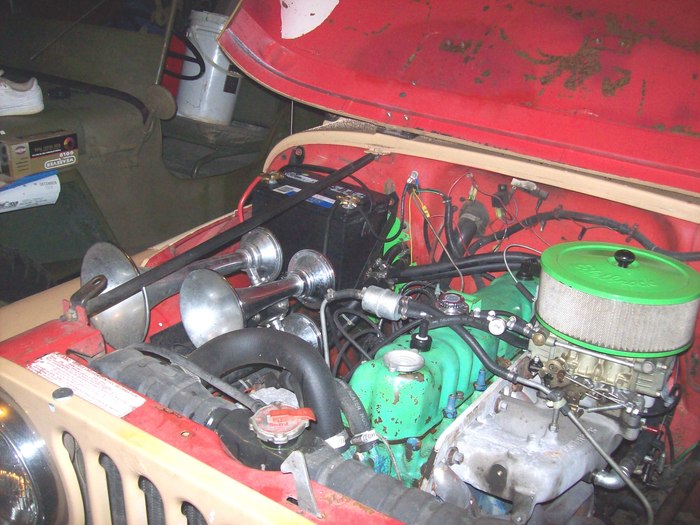
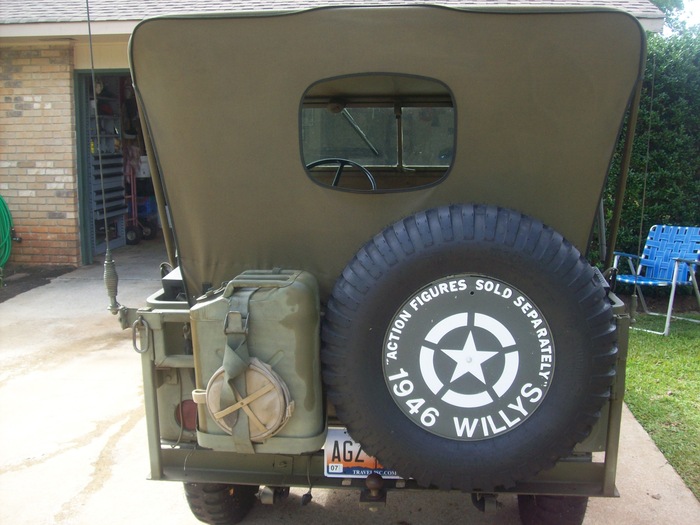
Hope you can understand my hillbilly answering---throwin' some pics of my quests for perfection. See.I really get into this, and write novels for answers
Your turn
The medic
Images (Click to make bigger)
Sunday, March 17th, 2013 AT 4:45 AM
