The alternator in your car is designed to generate voltage at prescribed amperage which is designated by a voltage regulator or vehicle computer. This electrical energy feeds the car's electrical system and to recharge the battery which keeps the vehicle operating properly.
What goes wrong?
If your battery warning light is on it usually means the alternator has stopped charging and if left unattended the car will slowly lose electrical power until the engine quits running due to insufficient voltage. Additional reasons for testing include buzzing radio noises through the speakers signaling a diode has gone out inside the alternator caused by leaking AC voltage into the system or pulsing headlights due to a bad regulator or ground. If a battery is being overcharged it will cause a chemical reaction which produces a sulfur smell.
Newer cars
Manufacturers have figured out that when the battery is sufficiently charged the alternator is shut down or will charge less helping the longevity of the battery. This is why after driving for a period of time the voltmeter (if equipped) will show lower voltage than at first start up, this is normal. Additionally when an old battery is replaced the alternator will show a high state of charge because a new battery requires less effort to maintain than the aged battery, this may cause a check engine light. This will require a charging system reset using a code scanner capable of this task.
Warning!
Never disconnect the battery while the engine is running to check the charging system, this can cause a major electrical system damage.
How much does it cost?
You will need a voltmeter which is available from Amazon for about $27.00 if you don't have one already. A local repair garage or dealership can charge as much as $145.00 to test the system.
Let's get started!
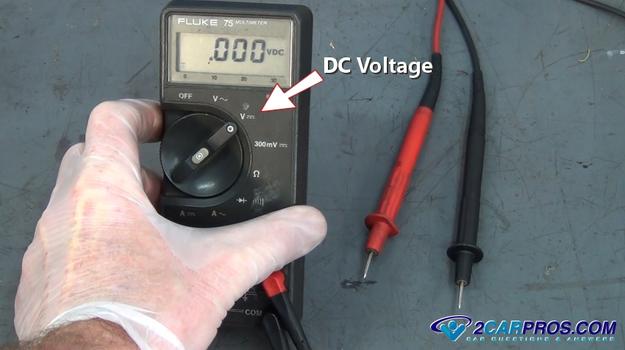
Switch your voltmeter onto the
V position of DC current testing which is shown by a straight line with a broken
line below it. Allow the meter to find it's reading of .000 volts. If the meter
has been around for a while it's a good idea to open it up and change the battery.
This will help the meter read more accurately and make the meter ready for testing.
Locate the battery which is under the hood in most cases but some car's have
them under the back seat or in the trunk. If you have a set of alligator clips that
came with your meter you can change them out for the standard point probes which
make testing easier but are not necessary. You can simply hold the test probes to
each one of the battery terminals during the test. Wear gloves and protective eyewear.
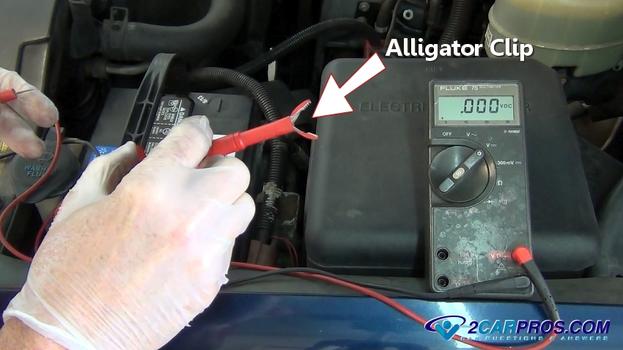
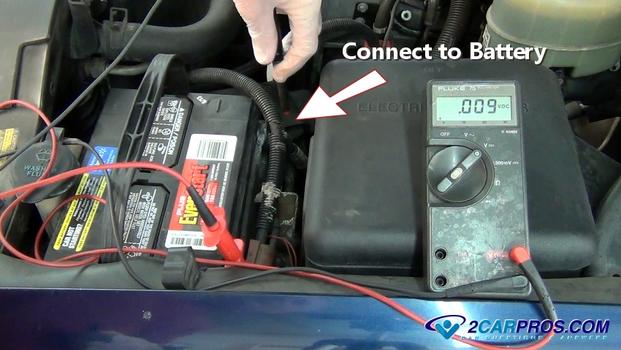
Identify both the negative (black) and positive (red) battery terminals. If both
are either red or black reference the battery itself for markings depicting the
polarity + or - . Next, attach the voltmeter leads or simply hold the leads onto
the battery terminals.
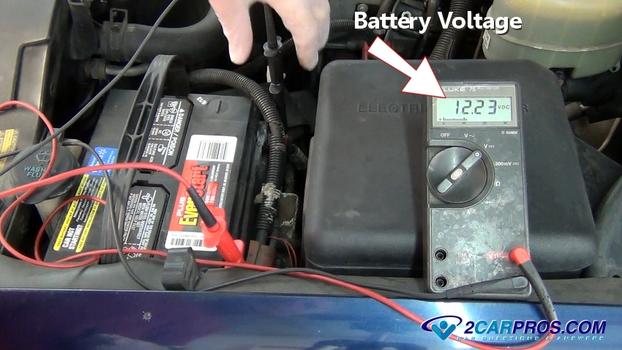
The voltmeter should read the battery voltage @ about 12.2 to 12.6 volts. If
the battery is down on charge these readings will be lower and can be anywhere from
6.5 to 10.8 volts. If so the battery
will need to be load tested,
charged or
replaced before testing can begin.
Watch the Video!
Please watch this video of the job being done, then continue down the guide to glean additional helpful information.
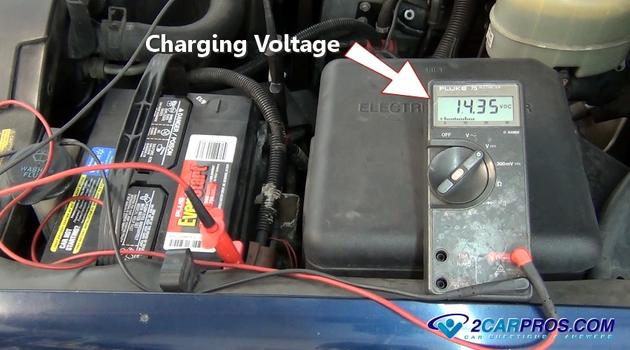
Have a helper start the engine and hold the RPM's just above idle at about 1500
and observe the meter. It should read between 13.6 and 15.2 volts depending on battery
condition and state of charge. If the voltage on the meter stays the same or drops
when the engine is started the alternator is not charging. You should then check
the fuse panel for blown fuses and inspect the wires in the harness which lead to
the alternator. If everything checks out
the alternator is bad and needs
replacing.
The next step is to load test the alternator to see if it can hold up under heavy
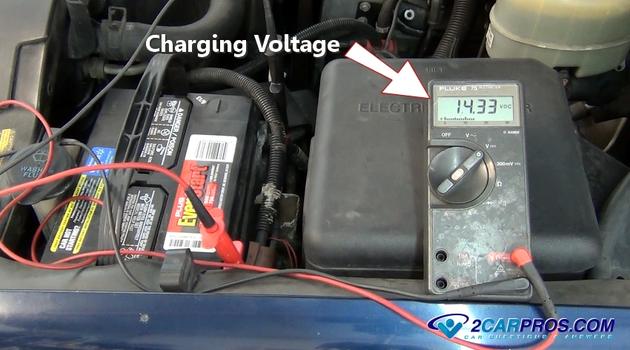
usage. While the voltmeter is still hooked up and the engine still at a raised RPM
turn the headlights and air conditioner on full. This will demand an electrical
system load which will force the alternator to perform to its maximum output. If
the voltage starts to drop the unit is weak and needs replacement.
Diode Testing: When the alternator diode pack fails it can leak AC voltage which can cause disruptions in the electrical system including causing premature battery failure. It can also cause other electrical components such as the computer and gauges to act strangely. To test for this condition switch the voltmeter to AC voltage with the engine at about 1200 RPM, the meter should read 0 volts. If any voltage is present one or more diodes has failed and the alternator should be replaced.
Testing Without a Voltmeter - Older cars: For this test you will need to wait until evening so you can see the headlight brightness which is best at night. Then turn the vehicle headlights on with the engine off and then observe the headlight brightness, then start the engine. The brightness level should momentarily fade as the engine cranks but then gets brighter than when the engine was not running telling you the alternator is charging. If you still can't tell, you will need a voltmeter. This test will not work for LED or other digital headlight systems.
Premature alternator failure: An alternator cannot sustain maximum output for long periods of time, it will overheat and fail. A shorted or old battery can cause premature failure of the charging system so it's a good idea to replace the battery at the same time as the alternator if it's more than three years old. Avoid unnecessary sparks near the battery. This is to stop accidental ignition of hydrogen gases present inside the battery causing it to explode. This condition is typically present when you can smell sulfur causing hydrogen gases.
Questions?
Our certified technicians are ready to answer car repair questions for free. We hope you saved money and learned from this guide. We are creating a full set of car repair guides. Please subscribe to our 2CarPros YouTube channel and check back often for new videos which are uploaded regularly.


