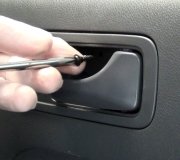
We are a team of ASE certified mechanics that have created this guide to help you change out a side view mirror. Each configuration is a little different but the following instructions should be sufficient, but if not and you need help, please ask one of our experts for free.
What's the Cost?
Depending on design and accessibility the price of the labor and parts will vary, but in general a shop will charge between .7 and 1.5 hours of labor plus the replacement mirror which can run from $60.00 and $150.00 with some high end units as much as $450.00
Lets Jump In!
A mirror can become weak and break due to the age of the plastic and the vibration
generated by the operation of the car, it can also be damaged by a drive by car
or pedestrian.
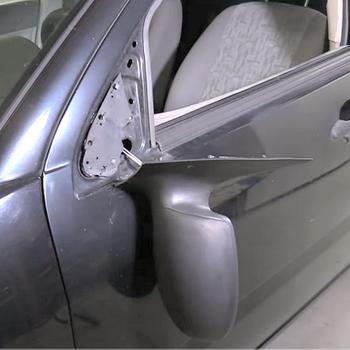
The idea is to access the rear of the mirror by
removing door panel or the rear cover.
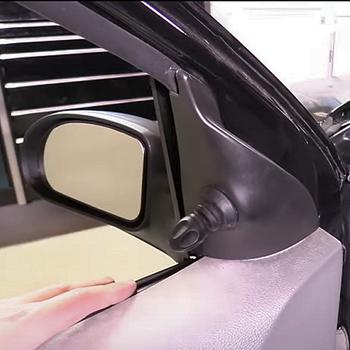
Here we have removed the rear cover by grasping it firmly and pulling to pop the
clips loose which attaches the cover to the door.
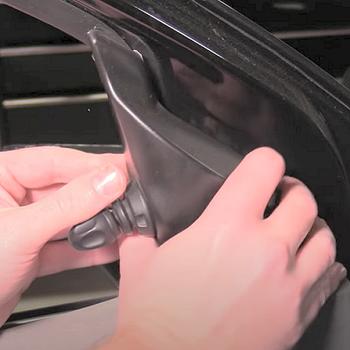
There will be electrical wires or a control cable which adjusts the mirror position
inside the mirror's housing, here is what it looks like in this case.
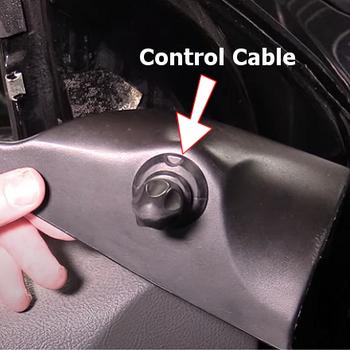
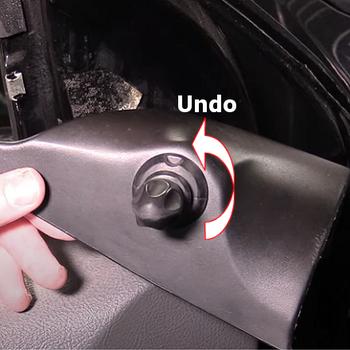
Remove the cable by twisting the retainer counterclockwise, this can be done
by hand or you might need a pair of pliers to help.
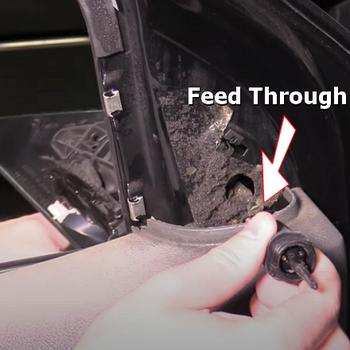
Because the mirror in this example is broken off, the only thing holding on the
car is the control cable which now can be fed through the access hole.
Watch the Video!
Please watch the video of the job being done, then continue down the guide to glean additional helpful information.
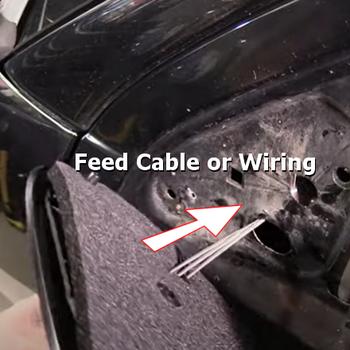
Match the new mirror to the old unit to make sure they are the same, then feed
the control cable or wiring harness through the access hole.
Push the new side view mirror into place while aligning the plastic tangs with
the matching door holes.

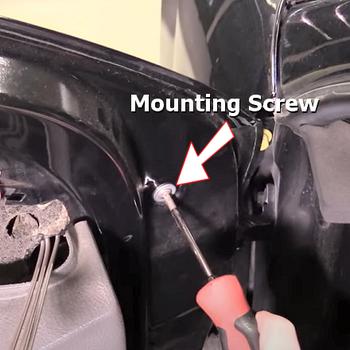
While holding the mirror from the outside, install the mounting bolts or screws
to hold the mirror from falling, wait until all screws or bolts are threaded before
tightening them. A torque spec is not provided for this repair, so remember the
mirror is plastic so be careful not to strip out the threads.
Reassemble and tighten the control cable and plastic bezel, then pop the bezel
into place and you are all set.
Questions?
Our certified technicians are ready to answer car repair questions for free. We hope you saved money and learned from this guide. We are creating a full set of car repair guides. Please subscribe to our 2CarPros YouTube channel and check back often for new videos which are uploaded regularly.
