Introduction
A compression test is a valuable diagnostic procedure that helps determine the health of an engine by measuring the pressure generated in each cylinder. The following is a comprehensive guide to performing a compression test, ensuring accuracy and safety at every step.
Tools and Equipment Needed
- Compression gauge kit
- Socket wrench and appropriate socket for spark plugs
- Battery charger (optional but recommended)
- Pen and paper for recording results
- Safety gloves and goggles
Preparation
The engine should be warm, but not hot so you don't burn your hands. It's a good idea to wear gloves and protective eyewear as well. If you are checking the compression of one particular cylinder, remove the fuel pump fuse or relay to disable the engine from starting. If all spark plugs have been removed this is not necessary.
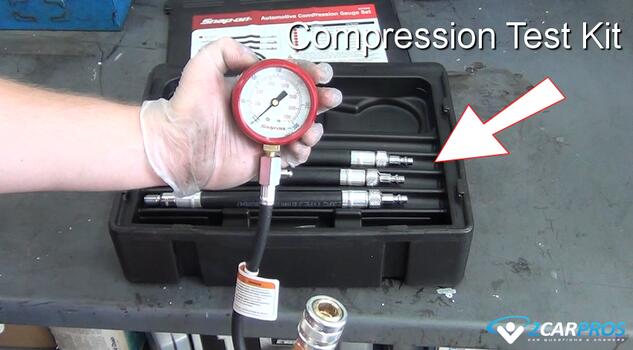
Compression Test Kit
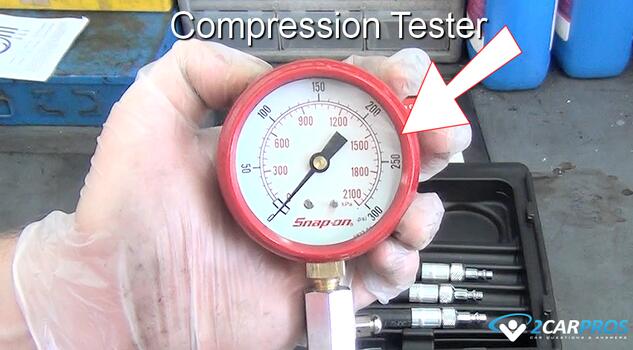
Here is what the typical engine compression gauge test kit will look like:
Checking Engine Cylinder Compression
1. Spark Plug Wire or Ignition Coil Removal: Remove the spark plug wires or ignition coils from the cylinders to be tested, (it's best to check all cylinders). Use a small piece of tape to mark the plugs wires so you don't get the firing order mixed up during reassembly.
2. Remove Spark Plugs: Use a spark plug socket with an extension to break loose and remove the spark plugs. While removing the spark plugs, keep them in order of the cylinder from where they were removed, this will aid in the inspection if there is a problem with a cylinder's compression.
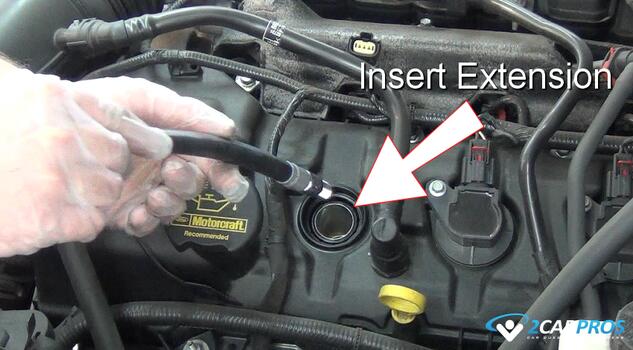
3. Insert Compression Gauge Connector: Select the correct adapter for your compression gauge by comparing the spark plug threads, then gently insert it into the cylinder's spark plug hole. Tighten the hose by hand until the O ring it seals against the cylinder head to ensure an accurate reading.
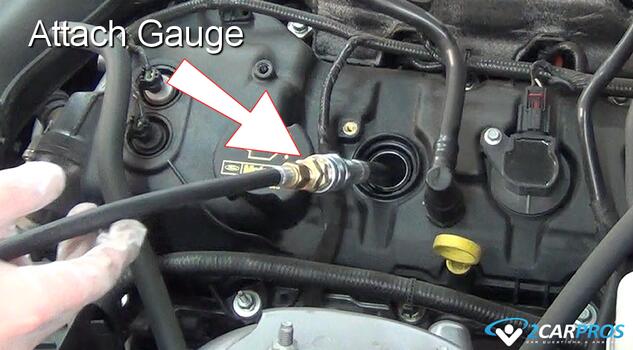
4. Attach Compression Gauge: The gauge will be fitted with a connector that will attach to the compression gauge extension hose, lift the connector ring and push downward onto the hose. You should feel a solid connection between the gauge hose and the extension hose, (Some gauges do not have an extension hose, and will directly inserted into the spark plug hole).
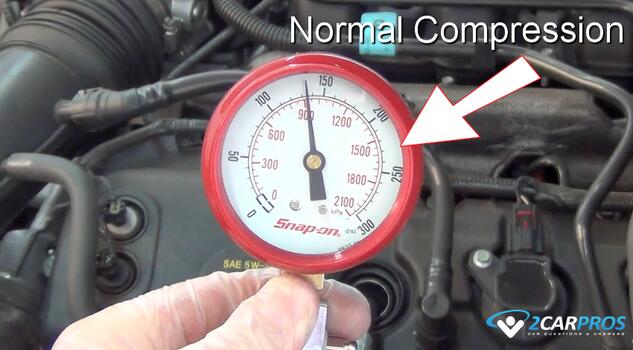
5. Crank the Engine Over: With the compression gauge connected, turn the ignition key (or push button) to crank the engine. Allow it to crank for 4-5 compression strokes (the gauge needle will typically stop moving after a few strokes), note the reading on the gauge. Typical compression readings will be between 125 psi and 160 psi. Write down the reading for the first cylinder, then press the release valve on the compression gauge to clear the pressure. Repeat this process for each cylinder, recording each reading carefully.
6. Remove the Compression Gauge: Once the test has been performed remove the compression gauge by unscrewing the extension lead from the cylinder.
7. Reassemble: Depending on the compression test test readings, you can reinstall the spark plugs and ignition coils to factory specifications or continue to disassemble the engine for repairs.
Conclusion
All cylinders should typically be within 10-15 psi of each other. A compression test can also inform of an individual cylinder problem which should be repaired. If you find a cylinder with low compression, put a teaspoon amount of engine oil into the cylinder and retest the compression. If the compression is higher than you know it's a piston ring problem, (worn out engine) because the oil will temporarily seal the rings to the cylinder wall.
Watch the Video!
Please watch this video of the job being done to glean additional helpful information.
Credits
This guide knowledge base was created by the 2CarPros Team, and by Ken Lavacot: Automobile repair shop owner and certified master automobile technician of over 30 years. If you have question or need help please ask one of our experts we are happy to help. Please visit our 2CarPros YouTube Channel for additional car repairs.
