The following is a step by step guide on how to test a typical blower fan motor for the air conditioner, heater and defroster modes. When the blower motor stops working one of three things has happened, either the electrical supply has stopped, the motor has burned out or the system ground has failed. This guide will explain troubleshooting steps that will help you repair the problem. This article pertains to most cars.
Difficulty Scale: 4 of 10
Tools and Supplies Needed
- Test Light
- Basic Tool Set
- Protective Eye Wear and Clothing
Begin by parking the automobile on level ground with the parking brake set.
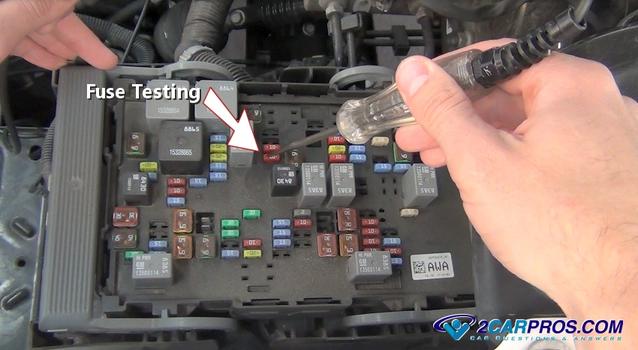
1. The blower motor unitizes power from a fuse or relay in the PDC (power distribution
center). With the key in the "ON" position test the blower motor fuse which can
be identified by the fuse box cover or in the vehicles owners manual. Visit -
Fuse testing If fuses are
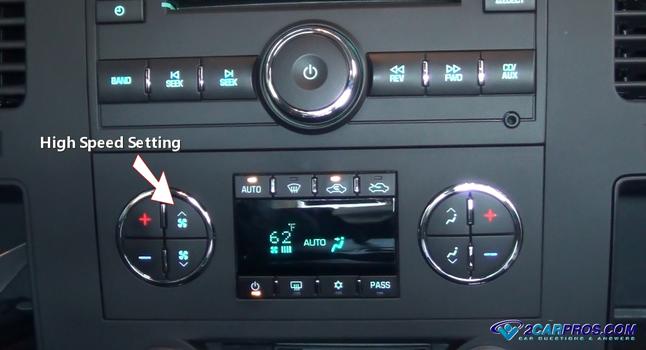
okay, proceed to next step. 2. With the key in the "ON" position turn the fan switch to the high speed setting,
then to the medium and low speeds. If the fan motor works in the high speed setting
only visit - Blower
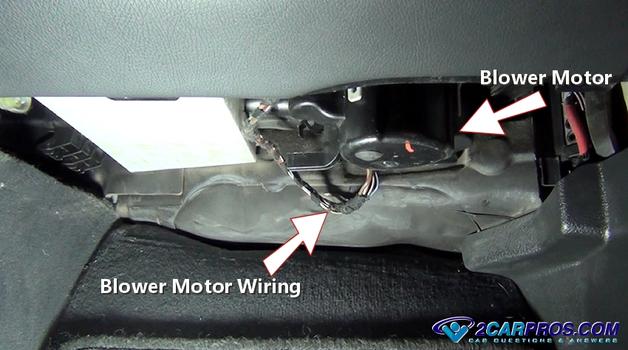
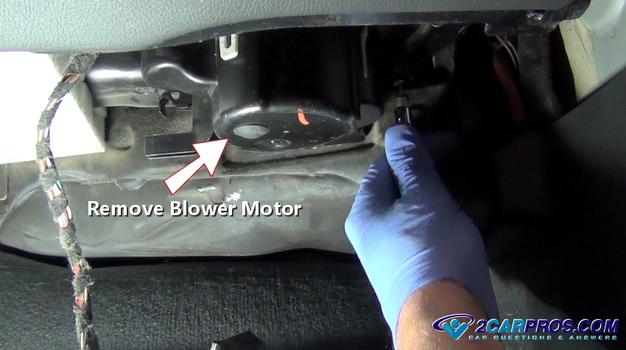
fan motor works on high setting only 3. Locate the blower fan motor which is usually under the dash or hood on the
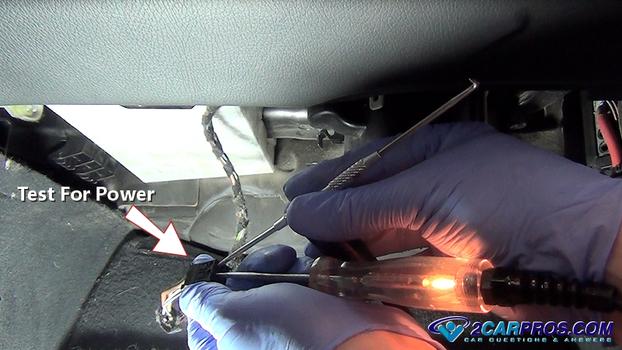
passengers side. 4. Locate and disconnect the blower motor wiring. Using a
test light and a
sharp metal object such as a hooked scribe to check for power at the connector (large
wires). This test confirms power and the ground of the circuit, if the test light
illuminates continue to the next step. This test can also be used by piercing the
wiring harness as well. Note: Intermitted power failure from the blower speed switch, fuse holder or
climate control relay could be a problem so even though the circuit has power, its
best to test the motor itself. If the test light fails to light up, the ground or power circuit has shorted
and a wiring schematic is needed to troubleshoot the problem further. If the blower
motor only has one wire use a grounded test light for testing. Some vehicles are
equipped with a blower motor
relay which should also be checked. Please Visit -
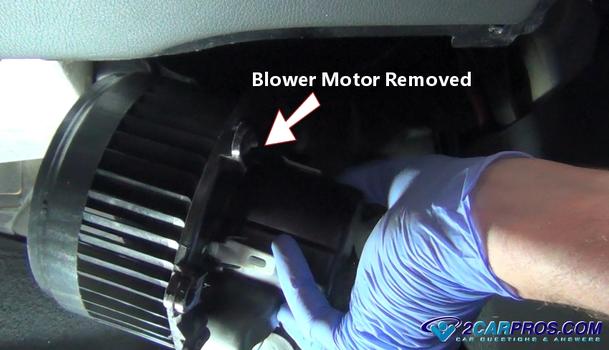
Relay Testing 5. Once power and ground have been confirmed, locate and remove the blower motor
mounting bolts. 6. Once all mounting bolts have been removed grasp the blower motor and remove
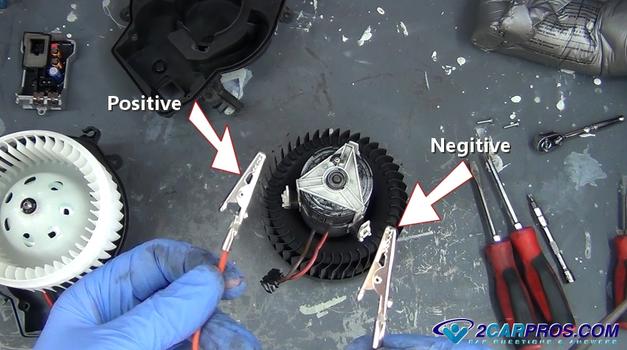
it for testing. 7. Prepare a positive power and negative ground lead from a 12 volt power source
(car battery). Use caution as to not the allow the clips to contact each other or
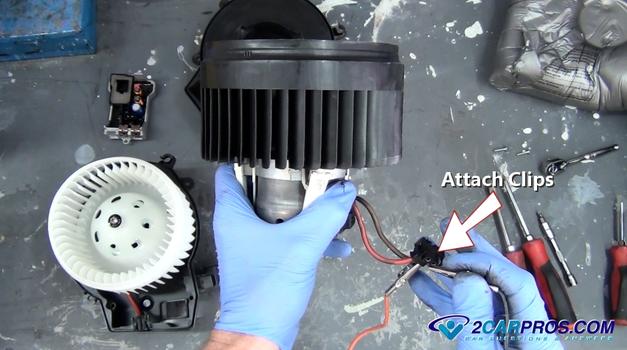
sparks (heat) will occur. 8. While grasping the motor firmly, attach the power and negative wiring clips
to the blower motor wiring harness. If the blower motor only has a power lead attach
the ground wire to the frame of the motor. Once the circuit is completed the motor
will spin or will not confirming the blower motor failure. A blower motor typically
fails intermittently, if the blower fan is not working and the vehicle hits a bump
while driving and the blower starts up again the brushes inside the motor have worn
out in most cases. Please Visit:
Blower Fan Motor Failure Symptoms Related Information This guide knowledge base was created by the 2CarPros Team, and by
Ken Lavacot: Automobile repair shop owner and
certified master automobile technician of over 30 years. If you have question or
need help please ask one of our experts we are happy
to help. Please visit our 2CarPros
YouTube Channel.
Credits
