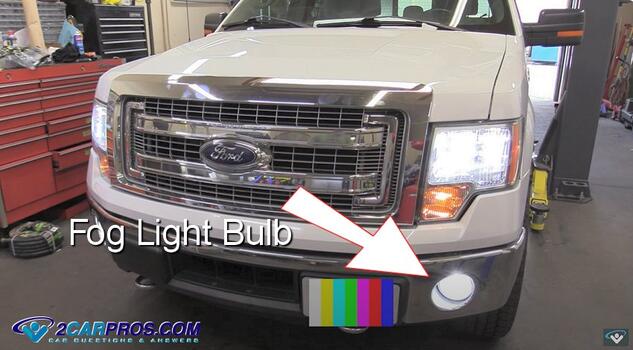
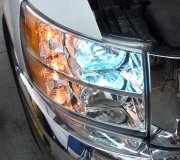
A fog light is designed to help a driver to see through atmospheric moisture known as fog which can obstruct vision and cause a safety hazard. Changing these bulbs is an easy task in most cases, in the guide below we show you step by step how to remove a fog light bulb and replace it with a new one. Your car maybe a little different but the procedure is similar.
Tools and Materials Needed
- New fog light bulb (consult your vehicle’s manual for the correct type)
- Phillips and flathead screwdrivers
- Socket set and ratchet
- Flashlight
- Gloves and safety goggles (recommended)
- Microfiber cloth
Lets Get Started
Park your car on level ground with the parking brake set, and the engine off. You may need to raise the front of the car to gain access to the fog light which is usually at the lower part of the front valance or bumper. It's also advisable to wear gloves to protect your hands and avoid getting oils from your skin on the new bulb, which can reduce its lifespan.
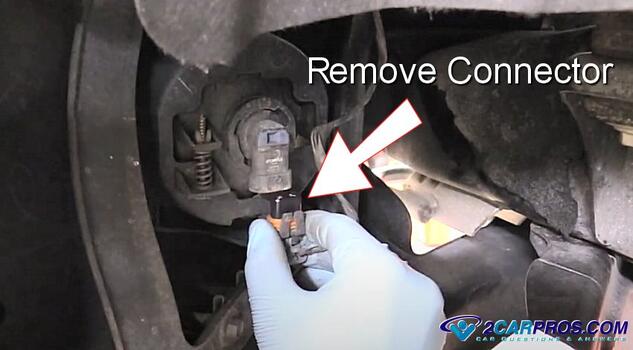
1. Once the car or truck is safely raised up, turn the front wheels to gain access to the rear of the fog light fixture, some vehicles will need to have the inner fender liner removed. Next, locate the bulb wiring connector and discounted it, this will have a clip safety that will need to be released. Avoid pulling on the wires directly to prevent damage.
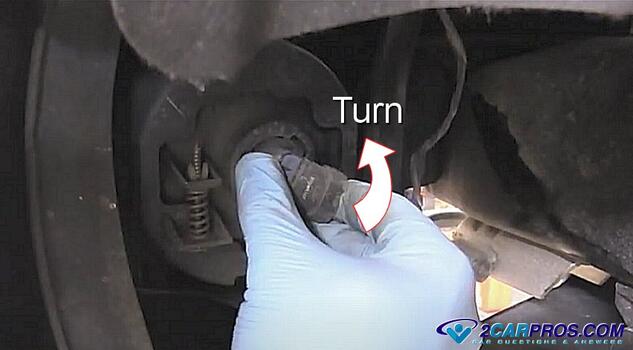
2. Grasp the fog light bulb and turn it counterclockwise while pushing inward slightly, this will dislodge the bulb from the fog light lens housing. Sometimes they can be a little stuck in which case you can use a pair of pliers to help break it loose. Depending on your vehicle, the bulb may be secured with a locking ring which can be released by being twisted it counterclockwise as well.
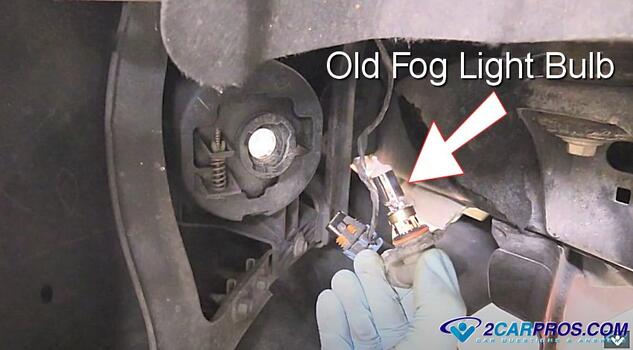
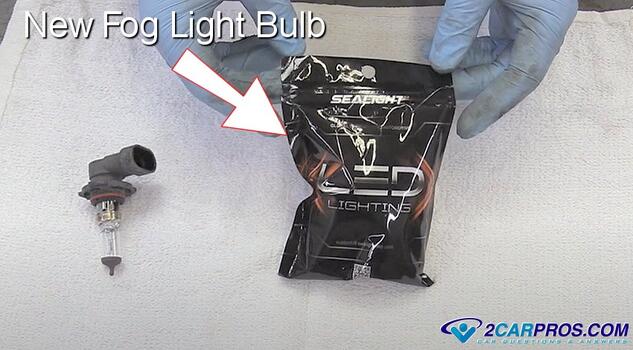
3. Gently remove the bulb from the housing for inspection, here is what the old fog light bulb looks like. The bulb may have a burned mark or be light blue in color indicating a leak in the glass, in either case the bulb is no good.
4. Match the old bulb to the new fog light bulb they should match identically unless they are being switched out to a LED style of bulb which will be different in appearance. Using a microfiber cloth, clean the new bulb to ensure there are no fingerprints or contaminants on the glass.
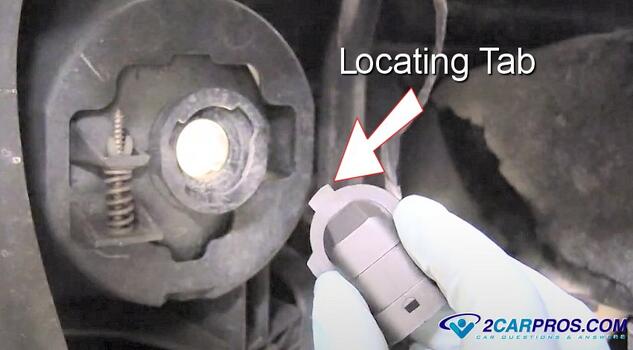
5. On the bulb, there will be locating tabs which must go into the fog light housing correctly, this helps the bulb filament orientation and location to be centered inside the lens. These tabs will be different sizes to avoid confusion.
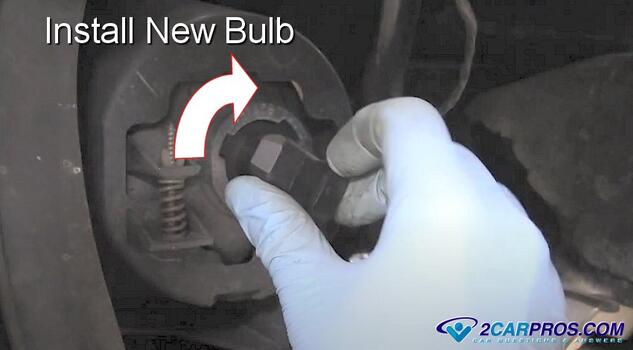
6. Insert the new fog light bulb into the fog light lens, make there is no moisture inside the lens before installation because it can make the bulb fail prematurely. If your vehicle uses a locking ring, place it over the bulb and turn it clockwise to secure the bulb in place.
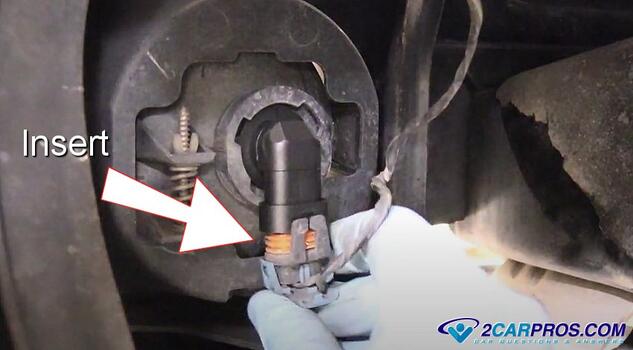
7. Make sure the electrical connector of free from dirt or grease, it helps to use a small amount of dielectric grease before re-inserting the connector to the bulb. Push the connector into the new bulb ensuring it clicks into place securely.
Final Checks
Turn the fog light lighting system on, check to make sure the bulb is functioning correctly, if it does you are all set. If the light is still not working after replacing the bulb or it is dim electrical repairs are needed. If the fog light flickers it's because the power or ground is being disconnected momentarily, most common causes for this is a loose fitting bulb socket. To check for this condition gently move the bulb around slightly in the socket or move the electrical connector, if the bulb flickers replace or repair the socket and wiring pigtail.
How Long Do Fog Lamps Last?
Fog light bulbs should last up to 80,000 miles depending on driving conditions such as rainy or foggy weather. When replacing lighting bulbs use high quality replacement parts to ensure proper operation and a longer lifespan of the repair. Cheaply made bulbs tend to burn out more rapidly which requires a repeat replacement. The electrical portion of the system should be trouble free for at least 120,000 miles.
How Much Does It Cost?
If you are having the bulb replaced at a repair shop the cost can be between $75.00 and $155.00. If you are going to replace the bulb yourself and save the trip to the garage which is what most people do, the bulb will cost between $8.00 and $12.00 dollars on Amazon or at the local auto parts store. If the bulb is okay and you need electrical work the costs can go up considerably, which can range from $150.00 to $300.00 for labor alone.
Watch the Video!
Please watch this video of the job being done to glean additional helpful information.
Credits
This guide knowledge base was created by the 2CarPros Team, and by Ken Lavacot: Automobile repair shop owner and certified master automobile technician of over 30 years. If you have question or need help please ask one of our experts we are happy to help. Please visit our 2CarPros YouTube Channel for additional car repairs.
