Good morning,
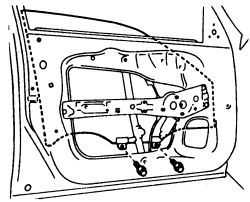
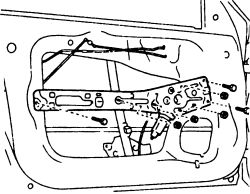
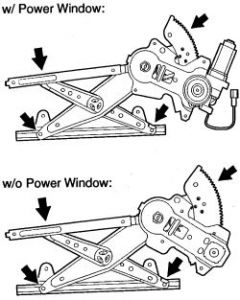
I attached the procedure below for you to remove the regulator for the window.
https://www.2carpros.com/articles/how-to-check-and-replace-a-electric-power-window-motor
Let me know if you have any other questions.
Roy
DISASSEMBLY
1. REMOVE FRONT DOOR LOWER FRAME BRACKET GARNISH
imageOpen In New TabZoom/Print
a. Disengage the 2 clips and remove the front door lower frame bracket garnish.
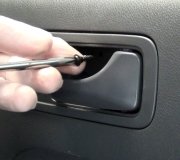
2. REMOVE FRONT DOOR INSIDE HANDLE BEZEL PLUG
imageOpen In New TabZoom/Print
a. Using a screwdriver with the tip wrapped with protective tape, disengage the 3 claws, and remove the front door inside handle bezel plug.
3. REMOVE ASSIST GRIP COVER
imageOpen In New TabZoom/Print
a. Using a screwdriver with the tip wrapped with protective tape, disengage the 6 claws and remove the assist grip cover.
4. REMOVE COURTESY LIGHT ASSEMBLY
imageOpen In New TabZoom/Print
a. Using a screwdriver with the tip wrapped with protective tape, disengage the claw and remove the courtesy light assembly.
b. Disconnect the connector.
5. REMOVE FRONT DOOR TRIM BOARD SUB-ASSEMBLY
imageOpen In New TabZoom/Print
a. Remove the 3 screws and clip (A).
b. Using a clip remover, disengage the 9 clips.
c. Pull up the front door trim board in the direction indicated by the arrow.
imageOpen In New TabZoom/Print
d. Disengage the reference bosses from the front door panel.
e. Raise the front door trim board to disengage the 4 claws and remove the front door trim board together with the front door inner glass weatherstrip.
f. Disengage the 2 claws and disconnect the front door inside handle sub-assembly.
imageOpen In New TabZoom/Print
6. REMOVE POWER WINDOW REGULATOR MASTER SWITCH ASSEMBLY
Images (Click to make bigger)
Tuesday, February 16th, 2021 AT 3:41 AM


