Hell melisity66
Raise and support the vehicle safely.
If necessary for access, remove the splash shield.
If equipped, unfasten the flywheel inspection cover bolts and remove the cover.
Label and detach the electrical connectors from the starter
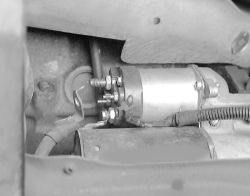
Exploded view of the starter motor electrical connections
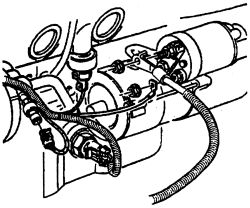
It may allow more room if you remove the right side cooling fan.
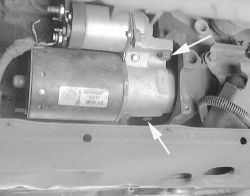
Remove the starter-to-engine bolts, then carefully lower the starter from the vehicle.
The starter is attached to the engine with 2 mounting bolts (see arrows)
Unfasten the front mounting bolt (1) and remove any necessary shims (2), noting their locations for installation
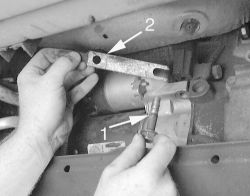
Unfasten the long starter mounting bolt, then remove the starter motor from the vehicle
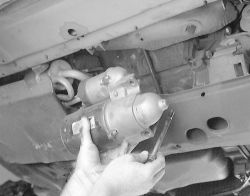
Before installing the starter motor, make sure the electrical terminals are secure by tightening the nuts next to the cap on the solenoid battery terminal and on the "S" terminal. If these terminals are not tight in the solenoid cap, the cap may be damaged during installation of the electrical connections and cause premature starter failure
Exploded view of the starter motor mounting -
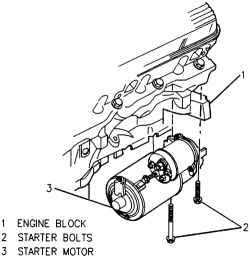
installation
Note the location of any shims so they may be replaced in the same positions upon installation.
Place the starter in position, then install the starter-to-engine bolts and tighten to 32 ft. lbs. (43 Nm).
Attach the electrical connectors to the starter, as tagged during removal. Tighten as follows:
Tighten the nut on the solenoid battery terminal to 12 ft. lbs. (16 Nm).
On the SD-250 and SD-255 models, tighten the nut on the "S" terminal to 22 inch lbs. (2.5 Nm).
If removed, install the flywheel inspection cover and secure with the retaining bolts. Tighten the flywheel cover bolts to 62 inch lbs. (7 Nm).
If removed, install the splash shield.
Carefully lower the vehicle.
Connect the negative battery cable
SPONSORED LINKS
Wednesday, January 6th, 2010 AT 8:23 AM


