Good afternoon,
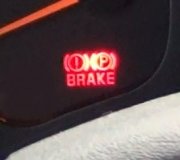
When you turn the key to start, was there a yellow ABS light that came on?
https://www.2carpros.com/articles/abs-warning-light-on-easy-repair-guide
Make sure there are no leaks from the brake system. If the fluid is drained, most likely you have a leak.
https://www.2carpros.com/articles/brake-pedal-goes-to-the-floor
https://www.2carpros.com/articles/how-to-bleed-or-flush-a-car-brake-system
https://www.2carpros.com/articles/how-to-replace-a-brake-master-cylinder
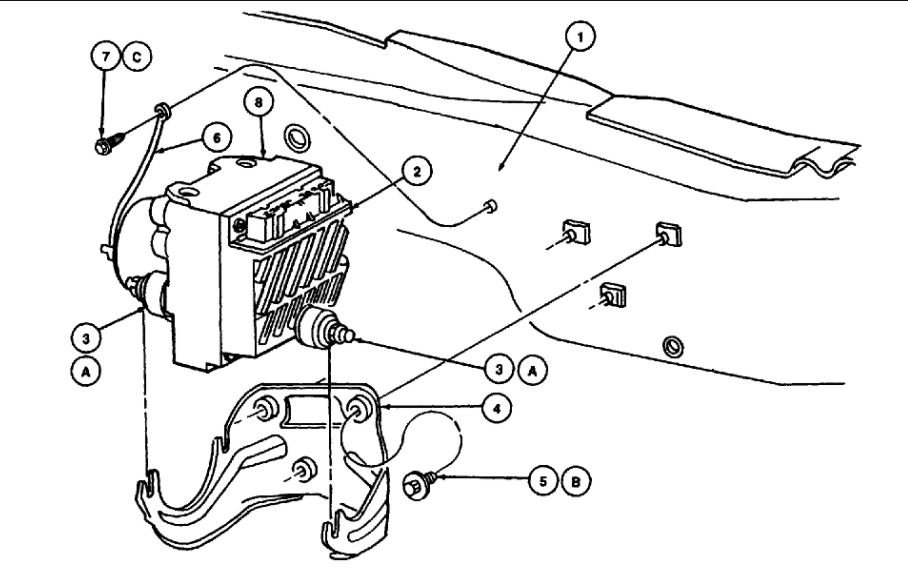
I attached the location of the ABS module for you. Check and see if it is there.
I also attached the bleeding procedure for you for bleeding the ABS.
I attached the part from Rock Auto. There is no difference if it has ABS or not.
Roy
1. Disconnect and remove battery from vehicle.
2. Remove battery tray and mounting bracket from vehicle.
Fig. 115 ABS Module & Hydraulic Control Unit Assembly (Part 1 Of 2)
imageOpen In New TabZoom/Print
Fig. 115 ABS Module & Hydraulic Control Unit Assembly (Part 2 Of 2)
imageOpen In New TabZoom/Print
3. Disconnect Anti-Lock Brake System (ABS) control module electrical connector.
4. Remove inlet and outlet tubes from ABS Hydraulic Control Unit (HCU). Plug ports to prevent brake fluid from spilling onto paint and wiring.
5. Remove ABS pump motor and ground strap.
6. Remove ABS module assembly to HCU bracket retaining nuts.
7. Remove HCU and ABS control module assembly from vehicle.
8. Reverse procedure to install.
9. Torque HCU bracket mounting bolts to 19-25 ft lb.
10. Torque ABS module to HCU bracket retaining bolts to 12-18 ft lb.
11. Torque inlet and outlet tube fittings to 10-18 ft lb.
Bleeding with ABS
The Antilock Brake System (ABS) hydraulic control unit is supplied filled with brake fluid. Therefore, a conventional bleed procedure should be adequate to remove all air from the brake system. However, if a spongy pedal is present and air in hydraulic control unit is suspected, use the following procedure:
1. Connect Rotunda New Generation Star (NGS) Tester 007-00500 or equivalent to the serial data link connector below instrument panel as though retrieving codes.
2. Make sure ignition switch is in the RUN position.
3. Follow instructions on the NGS screen. Choose correct vehicle and model year, go to "DIAGNOSTIC DATA LINK" menu item, choose "ABS MODULE", choose "FUNCTION TESTS", and choose "SERVICE BLEED".
4. RF Caliper Bleed
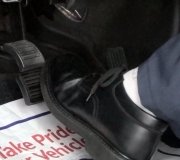
a. Open RF caliper bleed screw and pump brake pedal in two-three second intervals.
b. When fluid flows clear, begin program and continue to pump brake pedal.
c. Continue bleed for one-two minutes after program ends and then tighten bleed screw.
5. LF Caliper Bleed
a. Open LF caliper bleed screw and pump brake pedal in two-three second intervals.
b. When fluid flows clear, begin program and continue to pump brake pedal.
c. Continue bleed for one-two minutes after program ends and then tighten bleed screw.
6. LR Caliper Bleed
a. Open LR caliper bleed screw and pump brake pedal in two-three second intervals.
b. When fluid flows clear, begin program and continue to pump brake pedal.
c. Continue bleed for one-two minutes after program ends and then tighten bleed screw.
7. RR Caliper Bleed
a. Open RR caliper bleed screw and pump brake pedal in two-three second intervals.
b. When fluid flows clear, begin program and continue to pump brake pedal.
c. Continue bleed for one-two minutes after program ends and then tighten bleed screw.
8. Remove pressure bleeding device and adjust level of brake fluid in reservoir.
Images (Click to make bigger)
Monday, November 9th, 2020 AT 9:03 AM


