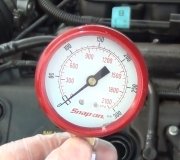
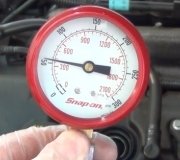
Hello and welcome to 2CarPros. Your description sounds a lot like a blown head gasket or a crack between cylinders 2 and 3. It isn't a fully open one but acting like a one way valve, allowing compression pressure to transfer from cylinder 2 into 3. A test that should show that would be a modified leak down test, bring cylinder 2 up to TDC on compression and lock it in place. Pull all the rest of the spark plugs. Now use the hose from the compression tester (remove the schrader valve from the tip first) and apply 100 psi to cylinder 2. Listen at cylinder 3. You shouldn't hear anything if there is no leakage. If you hear air, there is a problem.
If the engine was okay prior to this you might be able to save it with just a head gasket, but you would need to check the head and block with a straightedge and there are some special tools needed to deal with timing the cams and VANOS system. Book time is 20 hours.
Depending on the vehicles shape and mileage a used engine might be a faster and easier option, possibly cheaper as well depending on where you get it.
One thing I would suggest if you opt for repairing it, get a copy of the factory service/workshop manual. There are a lot of checks and measurements to be done.
Special Tools Required:
00 9 120 Torsion Angle Tightening Indicator
Remove both exhaust manifolds.
Remove intake filter housing with air-mass flow sensor.
Remove cylinder head cover.
Remove all spark plugs.
Remove intake air manifold.
Open coolant drain plug on engine block.
Drain and dispose of coolant.
Replace sealing ring on drain plug.
Remove coolant thermostat housing.
Remove coolant pipe.
Note:
If the coolant pipe cannot be fed out:
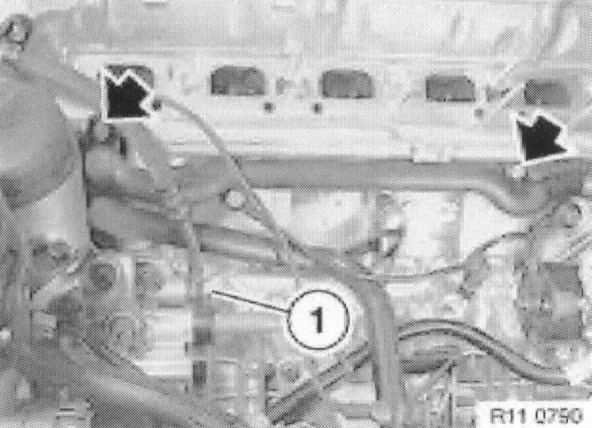
Release banjo bolt (1) and disconnect oil pressure line for VANOS adjustment unit.
See image 1 below
Replace O-ring on coolant pipe.
If necessary, replace sealing rings on banjo bolt (1).
Removal
Removal of cylinder head is described separately from installation.
Remove double VANOS adjustment unit.
Remove camshafts with bearing strips.
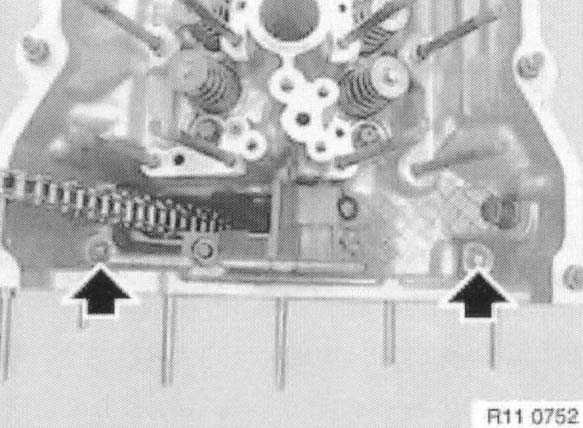
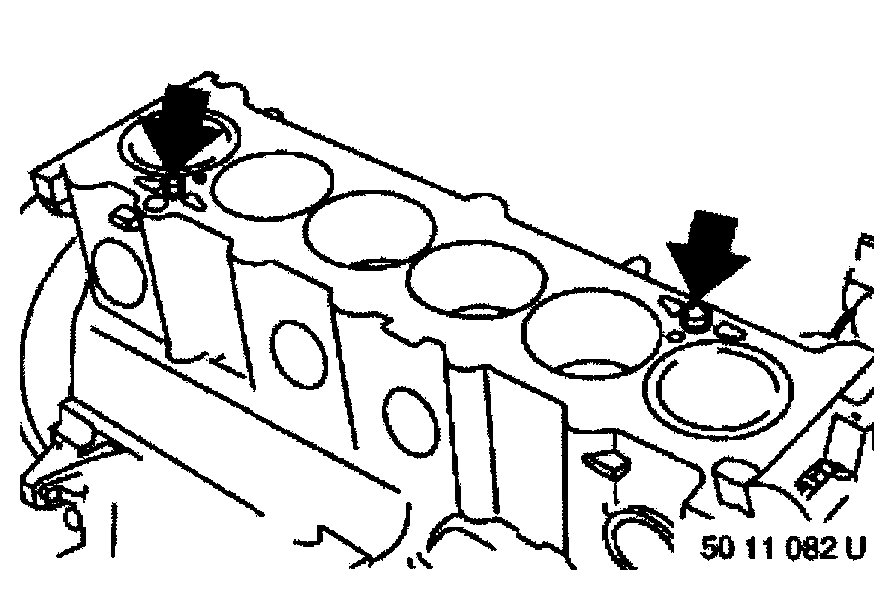
Release screw connection between timing case cover and cylinder head.
See image 2 below
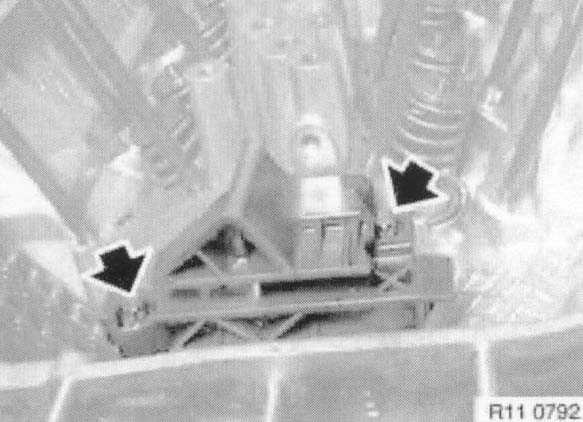
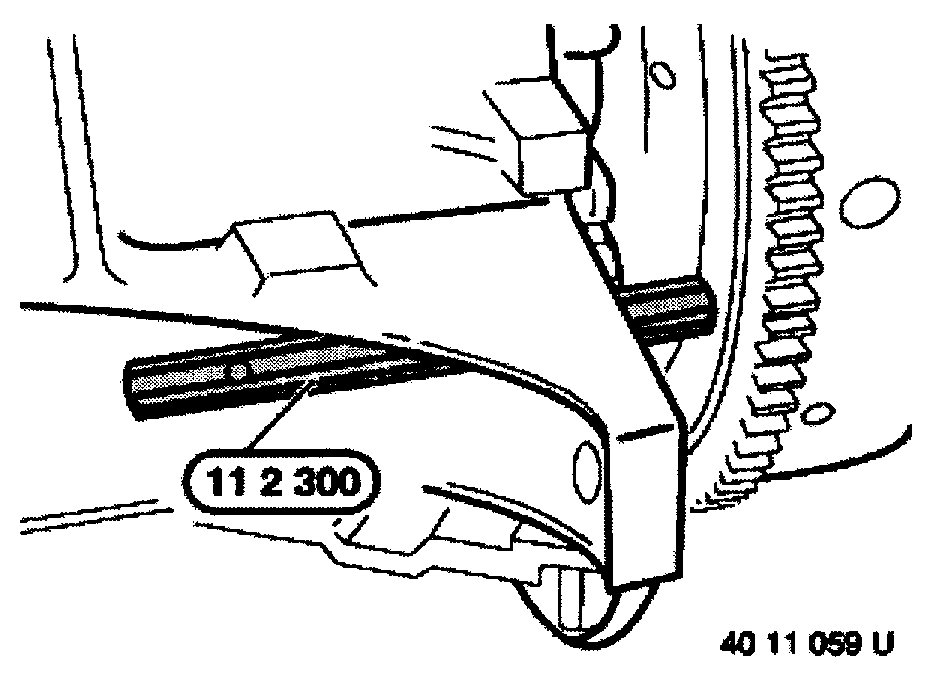
Release screws, remove chain guide.
See image 3 below
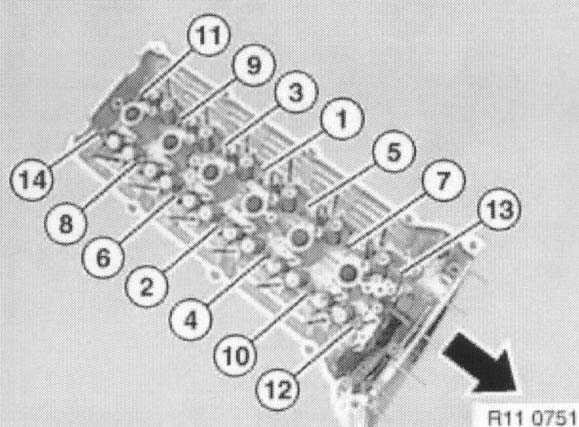
Release cylinder head bolts from outside to inside in sequence 14 to 1
See image 4 below
Lift off cylinder head.
Installation
Clean sealing faces of cylinder head and engine block; if necessary, remove traces of sealing compound with hardwood spatula. Make sure no gasket remnants drop into oil and cooling channels.
There must be no oil in the tapped holes of the engine block and the timing case cover due to a danger of cracking and distorted tightening values.
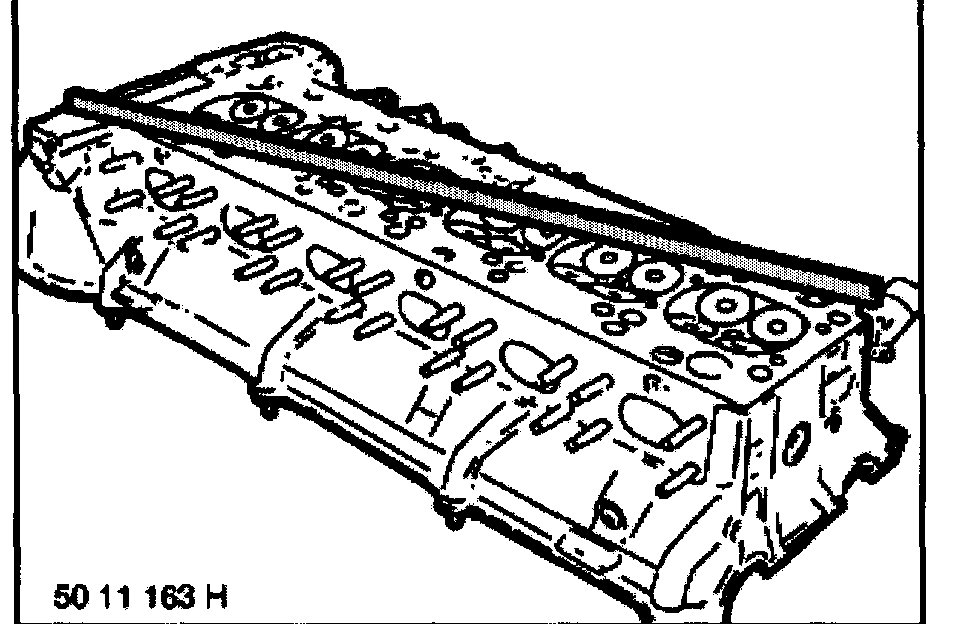
See image 5 below
Check dowel sleeves for damage and correct installation position.
Apply permanently elastic sealing compound Drei Bond 1209 to joints to timing case cover.
Replace cylinder head gasket.
Note: A 0.3 mm thick cylinder head gasket is available for cylinder heads remachined at the
cylinder head gasket surface.
Put the cylinder head on.
Install - new - cylinder head bolts.
Apply a light coat of oil to washer contact area and thread of new cylinder head bolts.
Tighten down cylinder head bolts in sequence 1 to 14.
See image 4 below
Tightening torque: Initial torque 40 Nm. Then 90 degrees and a second 90 degrees.
Install chain guide.
Insert screws and tighten down screw connection between timing case cover and cylinder head.
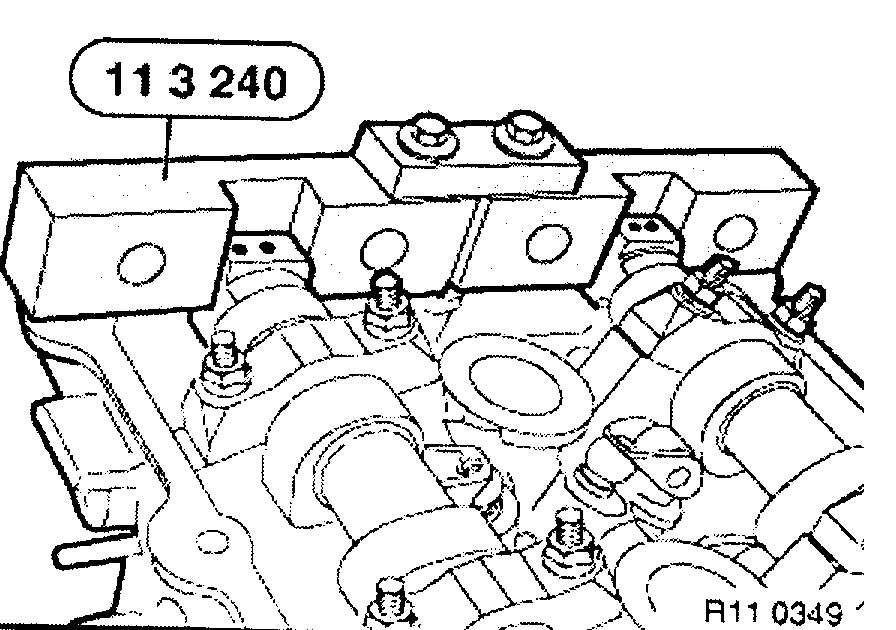
Install camshafts. Time the camshafts using the special tools-
Images timing 1 and 2
Install double VANOS adjustment unit.
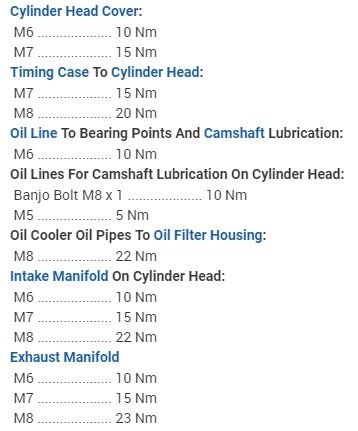
Torque specs are the last image.
Reinstall the rest of the components in reverse order.
Images (Click to make bigger)
Thursday, May 30th, 2019 AT 9:30 PM
