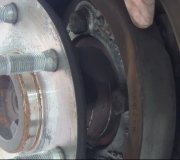
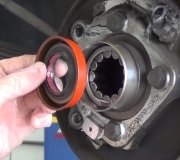
Here is a video of the job being done on a similar truck the process is the same.
https://youtu.be/EMxfb9X3ywE
and
https://www.2carpros.com/articles/parking-brake-shoe-replacement
PARKING BRAKE SHOES Removal
1. Raise and support vehicle.
2. Remove the tire and wheel assembly.
3. Remove the disc brake caliper. See CALIPER .
4. Remove the disc brake rotor. See ROTOR .
5. Lockout the parking brake cable. See Fig. 36 .
6. Disengage the parking brake cable from behind the rotor assembly to allow easier disassembly of the parking brake shoes. See Fig. 38 .
7. Remove the axle shaft. See appropriate DRIVE AXLES article in DRIVE LINE/AXLES. 8. Remove the parking brake shoes. See Fig. 45 . Fig. 45: Removing & Installing Parking Brake Shoes Courtesy of CHRYSLER CORP. Installation 1. Install parking brake shoes. 2. Install the axle shaft. Se appropriate DRIVE AXLES article in DRIVE LINE/AXLES 3. Release the parking brake cable. 4. Unlock the parking brake cable. 5. Install the disc brake rotor. See ROTOR . 6. Install the disc brake caliper. See CALIPER . 7. Adjust the parking brake shoes. See PARKING BRAKE SHOES under ADJUSTMENTS. 8. Install the tire and wheel assembly.
9. Remove support and lower vehicle.
10. After parking brake lining replacement, it is recommended that the parking brake system be conditioned prior to use. This is done by making one stop from 25 MPH on dry pavement or concrete using light to moderate force on the parking brake foot pedal.
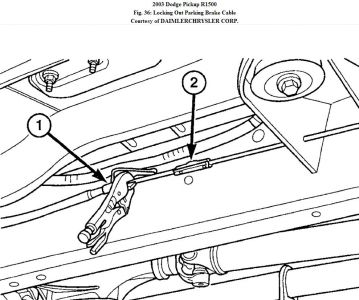
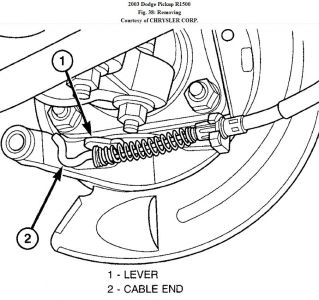
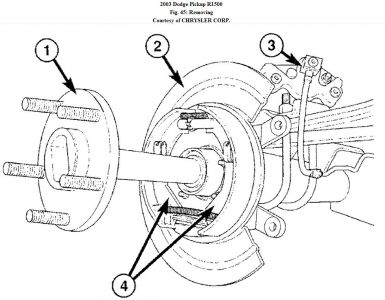

Check out the diagrams (Below). Please let us know if you need anything else to get the problem fixed.
Cheers
Sunday, August 1st, 2010 AT 10:04 AM


