Using the special Buick tool to remove the cover, I had no problem with the passenger side wheel. But when I moved to the driver's side, the tool did not seat itself properly, and the does not move all the way inside the tool channel, for some reason.
Of course, I made sure the raised post on the tool was exactly positioned over the cover's tool channel pilot hole before attempting to unthread the plastic nut.
Because the tool kept slipping out of the hole, I halted operations until I had a better way to remove the driver side wheel cover's plastic nut.
Any suggestions on how to use the GM tool on a wheel cover whose tool channel does not permit me to seat the tool properly?
(To loosen the plastic cover assembly nut, I have sprayed the area with isopropyl alcohol, hoping it would penetrate the plastic nut threads. Liquid Wrench may work, but both the wheel nut and its threaded hub are of nylon, so I am not sure that would help.)
Photos are attached--
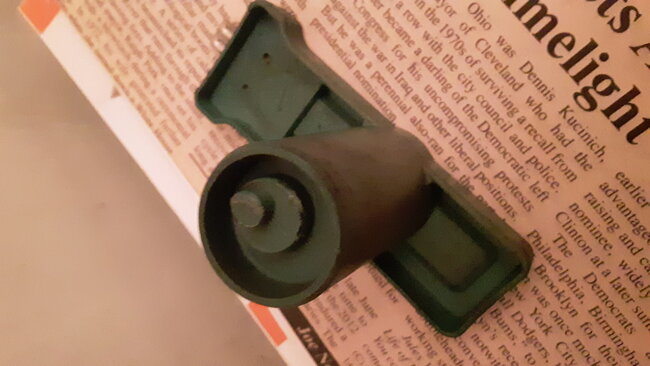
Photo 1-- shows plastic wheel cover unlocking tool. Note raised post on off-center/eccentric tool shaft.
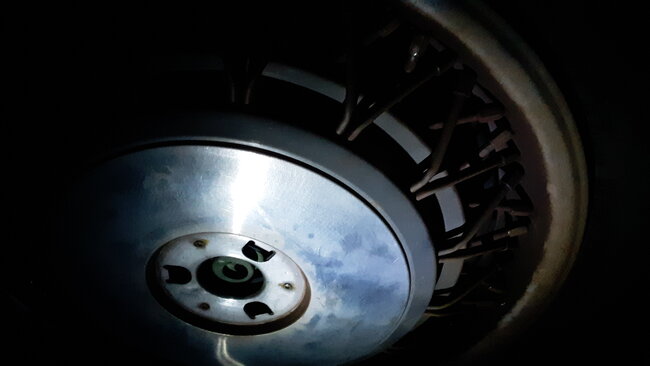
Photo 2-- shows overall wheel cover assembly
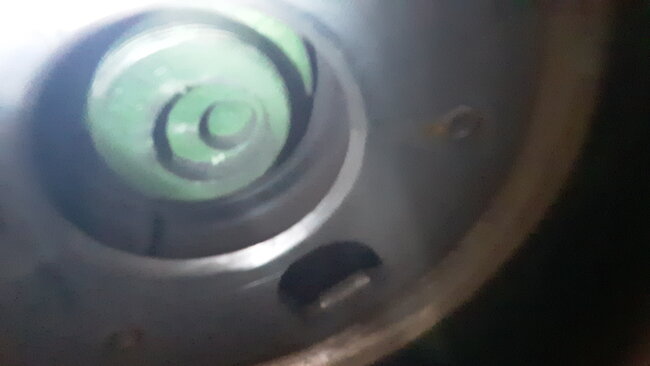
Photo 3-- shows wheel cover assembly, with shaft for insertion of wheel cover tool. Note the shaft has the same off-center/eccentric shape to match the tool.
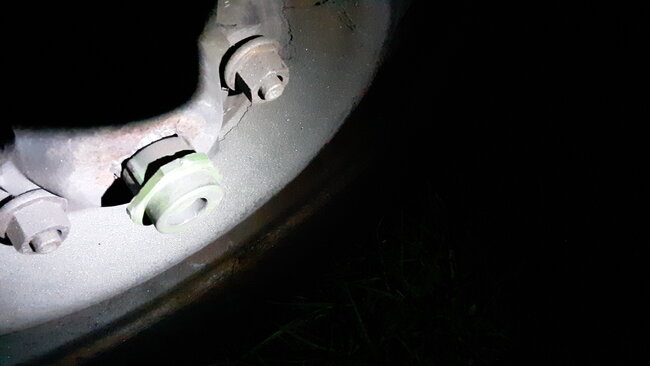
Photo 4-- shows nylon/plastic nut to fasten the plastic wheel cover assembly. This nut was removed successfully from the passenger front side but was re-threaded to show nut dimensions.
Removal of the driver side nut is the current problem, because the removal tool does not enter fully into the tool hole and slips out. I risk tool deformation if I continue to apply greater force to the tool.
Wednesday, September 20th, 2023 AT 12:51 AM
