Thank you. That is too high. The voltage regulator is not working correctly.
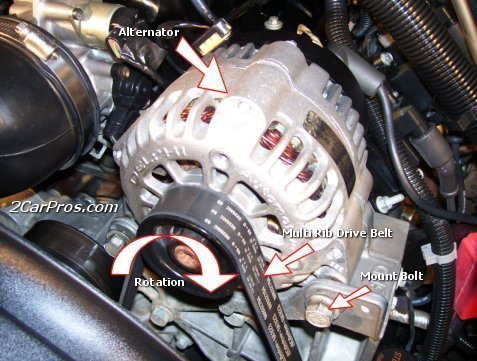
I would replace the alternator.
https://www.2carpros.com/articles/how-to-replace-an-alternator
Roy
ALTERNATOR
Removal and Installation
REMOVAL
1. Disconnect the negative battery terminal.
2. Remove engine cover.
3. Remove front wheel and tire (RH).
4. Remove splash guard (RH) See: Front Fender Liner > Removal and Replacement > Exploded View.
5. Remove air cleaner and air duct assembly. See: Air Cleaner Housing > Removal and Replacement > Removal And Installation.
6. Remove drive belt. See: Drive Belt > Removal and Replacement > Removal And Installation.
7. Remove A/C compressor. See: Compressor HVAC > Removal and Replacement > Removal and Replacement.
8. Remove idler pulley.
9. Disconnect the oil pressure switch.
10. Disconnect the alternator harness connectors.
11. Remove the alternator bolt and nuts, using power tools.
12. Slide the alternator out and remove.
INSTALLATION
Installation is in the reverse order of removal.
CAUTION:
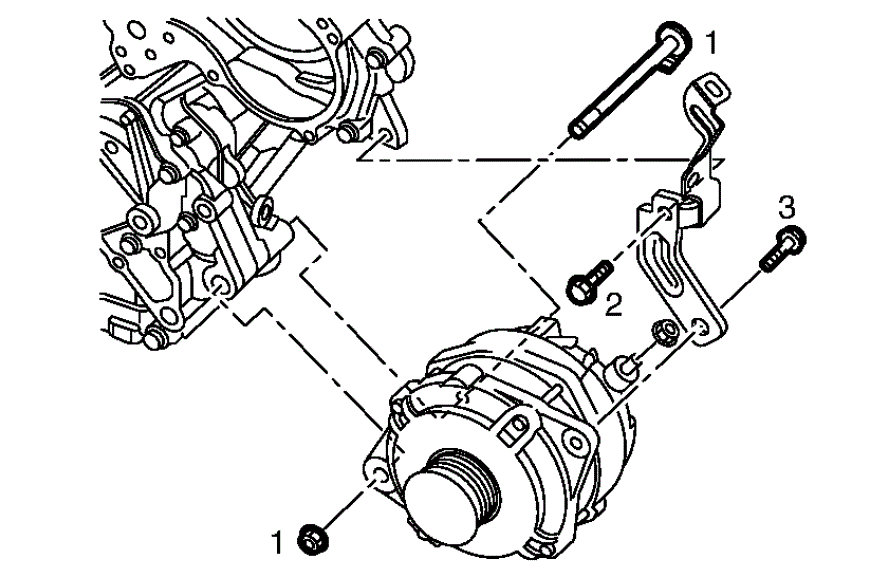
imageOpen In New TabZoom/Print
Temporarily tighten all of alternator bolt and nuts. And then tighten them in numerical order shown in the figure.
Be sure to tighten "B" terminal nut carefully.
Install alternator and check tension of belt. See: Drive Belt Tensioner > Removal and Replacement > Exploded View.
For this model, the power generation voltage variable control system that controls the power generation voltage of the alternator has been adopted. Therefore, the power generation voltage variable control system operation inspection should be performed after replacing the alternator, and then make sure that the system operates normally. See: Charging System > Initial Inspection and Diagnostic Overview > Power Generation Voltage Variable Control System Operation Inspection.
Image (Click to make bigger)
Saturday, August 29th, 2020 AT 12:00 PM
