Hi and thanks for using 2CarPros. Com.
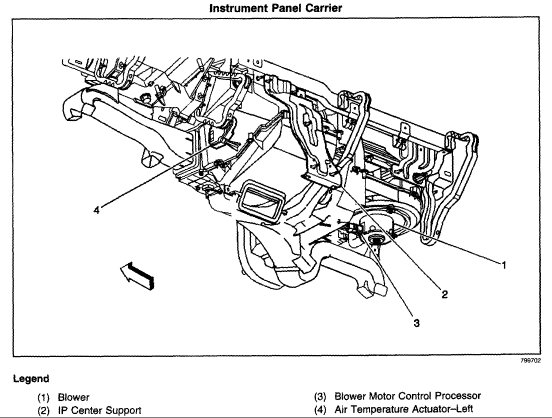
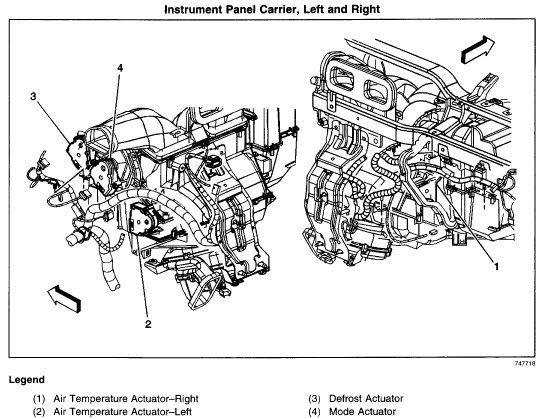
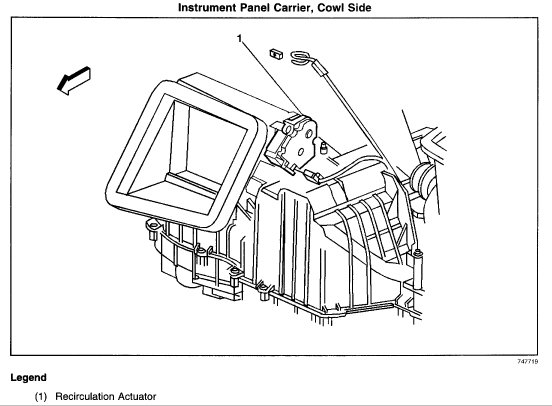
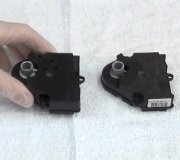
They are under the dash and not easy to get to. Here are the directions for accessing and repairing the blend air door. The first two pictures are of the actuators. Keep in mind, there is one for the left and one for the right. These items are located under the dashboard primarily behind the glove box area.
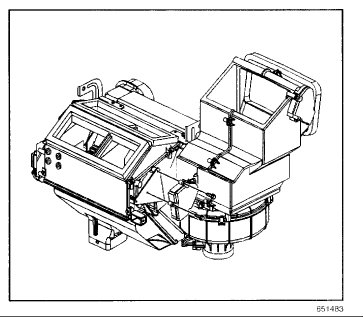
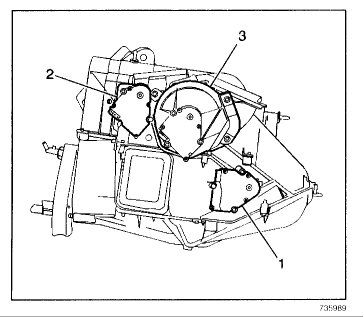
Here are the directions for replacement from alldata. Picture 4 correlates with these directions. This is for the right side control.
2002 GMC Truck Envoy 2WD L6-4.2L VIN S
Vehicle  Heating and Air Conditioning  Air Door  Air Door Actuator / Motor  Service and Repair  Manual Control  Air Temperature Actuator  Right
RIGHT
REMOVAL PROCEDURE
Remove the I/P carrier.
Remove the right side air temperature actuator retaining screws.
Disconnect the right side air temperature actuator electrical connector.
Remove the right side air temperature actuator.
INSTALLATION PROCEDURE
Install the right side air temperature actuator.
NOTE: Refer to Fastener Notice in Service Precautions.
Install the right side air temperature actuator retaining screws.
Tighten
Tighten the screws to 1.9 N.M (17 lb in).
Connect the right side air temperature actuator electrical connector.
Install the I/P carrier.
Recalibrate the air temperature actuator on vehicles equipped with automatic climate control (C68). Refer to Re-Calibrating Actuators (Primary) or Re-Calibrating Actuators (Auxiliary HVAC).
__________________________________________
Directions for the left side: Picture 5 correlates with these directions,
CONVERSION CALCULATOR
2002 GMC Truck Envoy 2WD L6-4.2L VIN S
Vehicle  Heating and Air Conditioning  Air Door  Air Door Actuator / Motor  Service and Repair  Manual Control  Air Temperature Actuator  Left
LEFT
REMOVAL PROCEDURE
Remove the I/P carrier.
Remove the left side air temperature actuator (1) retaining screws.
Disconnect the left side air temperature actuator electrical connector.
Remove the left side air temperature actuator.
INSTALLATION PROCEDURE
Install the left side air temperature actuator (1).
NOTE: Refer to Fastener Notice in Service Precautions.
Install the left side air temperature actuator retaining screws.
Tighten
Tighten the screws to 1.9 N.M (17 lb in).
Connect the electrical connector to the left side air temperature actuator.
Install the I/P carrier.
Calibrate the air temperature actuator on vehicles equipped with automatic climate control (C68). Refer to Re-Calibrating Actuators (Primary) or Re-Calibrating Actuators (Auxiliary HVAC).
I hope this helps you. Let me know if you have other questions.
Take care,
Joe
Images (Click to make bigger)
SPONSORED LINKS
Wednesday, June 27th, 2018 AT 7:21 PM
