Hi and thanks for using 2CarPros.
Since replacement of the cable worked for a good period of time, I think the problem is there. What I need you to do is simply test alternator output while you move the wiring around to see if there is a fluctuation in voltage to the battery.
Here is a link that shows how to test an alternator. Before you do this, make sure the battery terminals are clean and tight. Also, since you replaced the negative, confirm that all grounds to the body and engine are clean and tight.
https://www.2carpros.com/articles/how-to-check-a-car-alternator
You will need to use a volt meter or multi meter to do the aforementioned test. Here is a link that shows how one is used:
https://www.2carpros.com/articles/how-to-use-a-voltmeter
If the alternator is not working on a continuous basis, it does sound like a connection. So, make sure to check and confirm the wiring to the alternator is tight and corrosion free. Remember, there is 12v of power to the alt at all times, so if you plan to disconnect anything on the alternator, make sure to disconnect the battery first.
Also, if you could let me know the specific symptoms you are experiencing that cause you to believe there is a problem, it may be helpful.
If you determine the alternator is bad, here is a link that shows how one is replaced:
https://www.2carpros.com/articles/how-to-replace-an-alternator
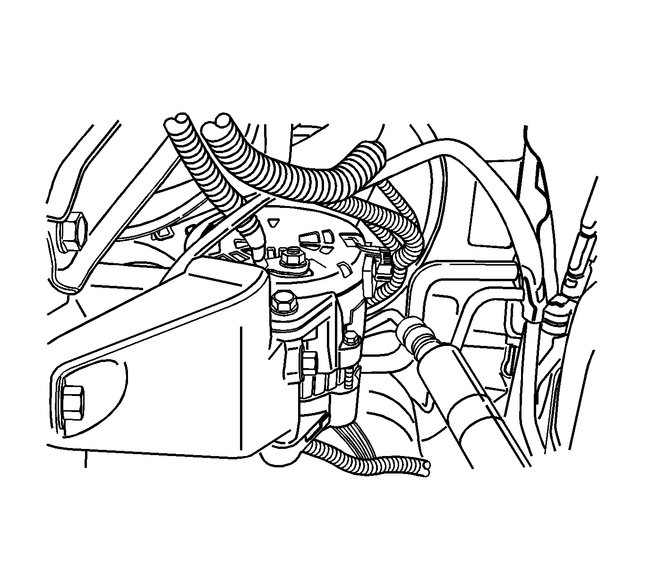
Here are the directions specific to your vehicle for alternator replacement. All attached pictures correlate with these directions.
_________________________________________________________
GENERATOR REPLACEMENT (DOHC)
REMOVAL PROCEDURE
CAUTION: Refer to Battery Disconnect Caution in Service Precautions.
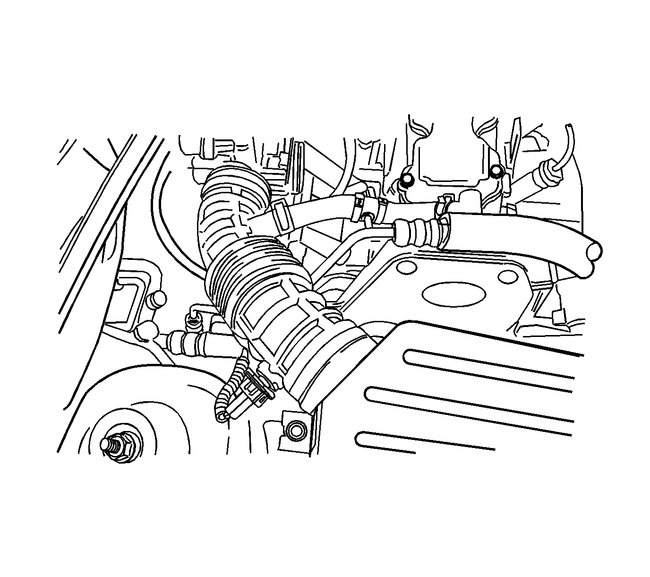
picture 1
1. Disconnect the negative battery cable.
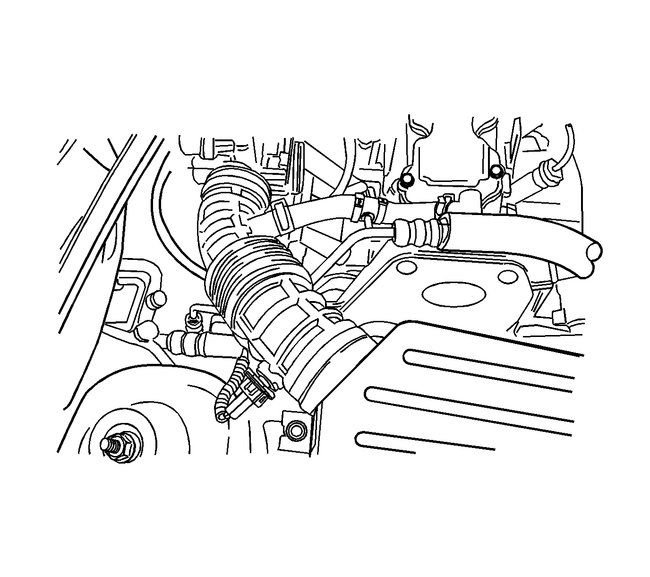
2. Disconnect the intake air temperature (IAT) sensor electrical connector from the air intake tube.
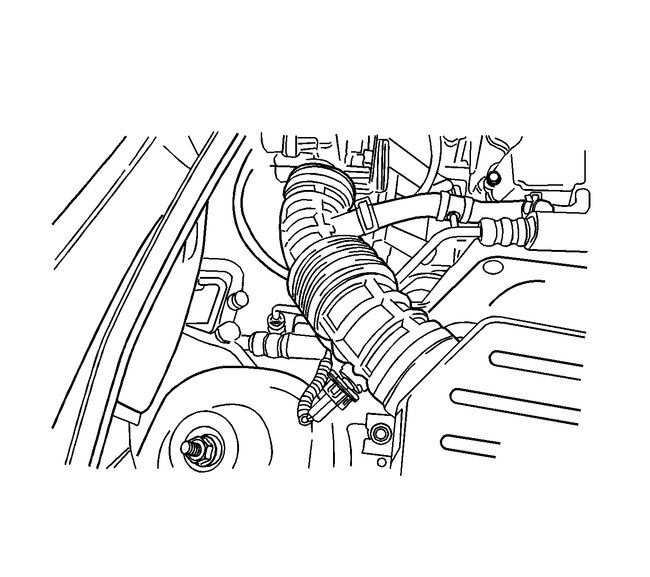
picture 2
3. Remove the breather tube clamp and all other clamps to remove the air intake tube.
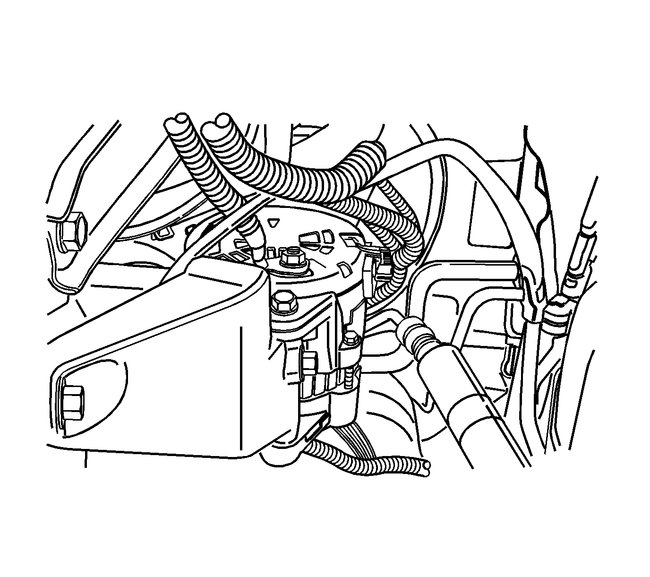
picture 3
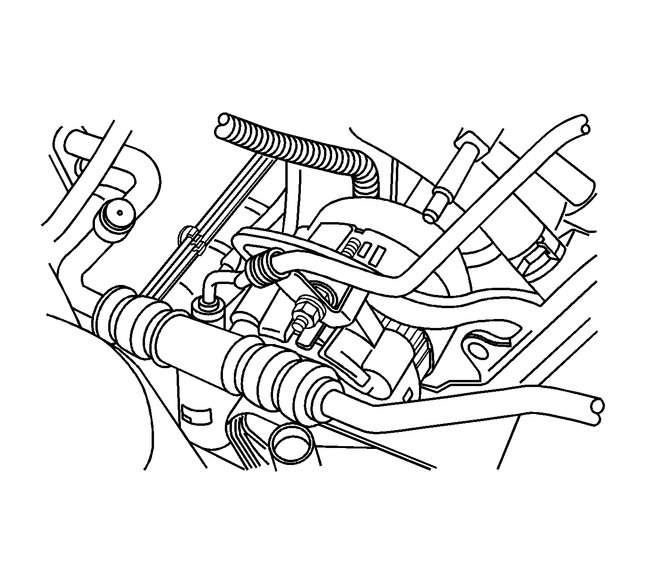
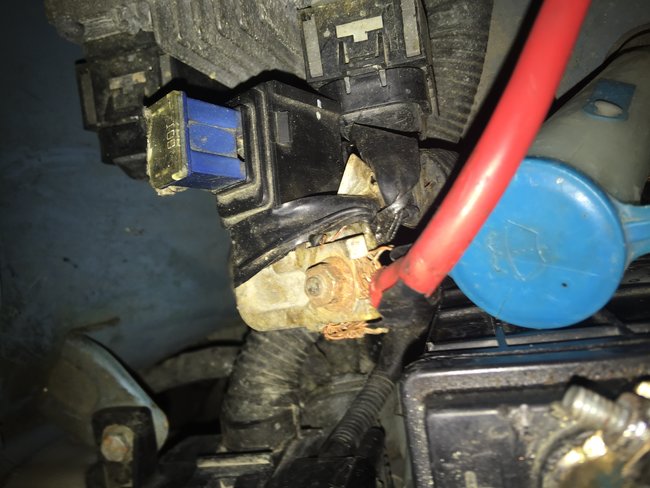
4. Remove the battery harness connector nut from the generator.
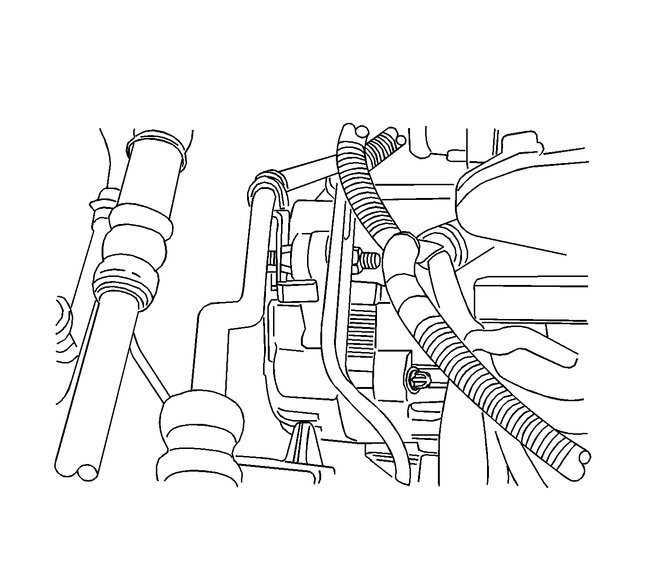
picture 4
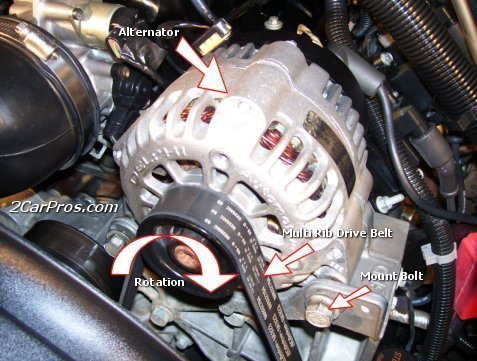
5. Remove the generator shackle bracket bolt.
picture 5
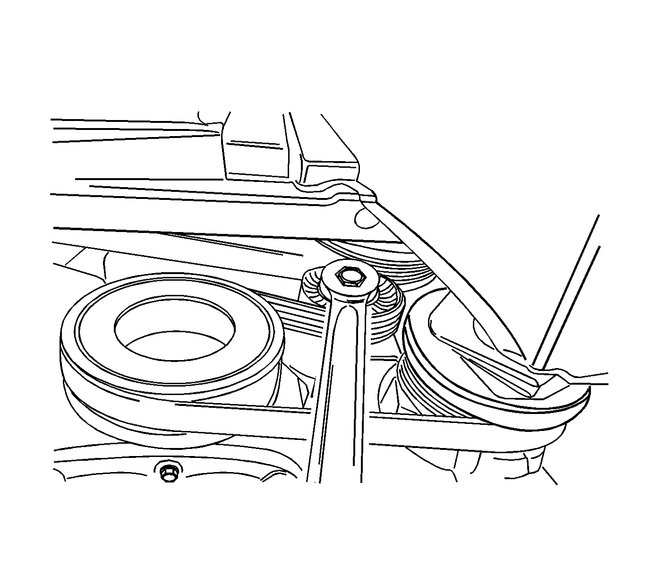
6. Remove the serpentine accessory drive belt. For vehicles equipped with power steering and air conditioning.
picture 6
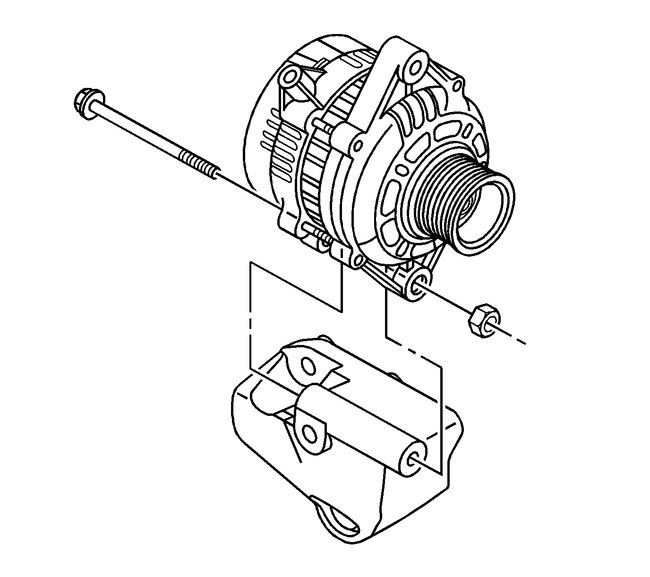
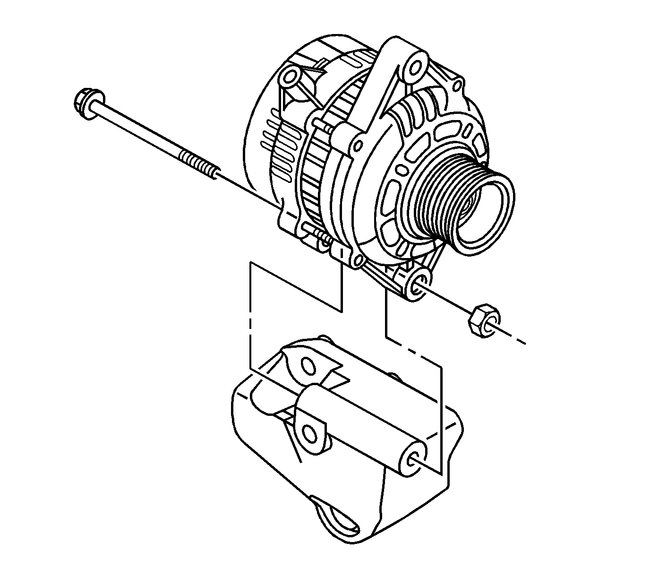
7. Remove the nuts which hold the generator lower bracket-to-generator bolts.
8. Carefully remove the generator.
INSTALLATION PROCEDURE
picture 7
1. Install the generator at the generator lower bracket and insert the generator bolts.
NOTE: Refer to Fastener Notice in Service Precautions.
2. Install the nut and the washers on the generator lower bracket-to-generator bolts.
Tighten the generator lower bracket-to-generator nuts to 25 N.m (18 lb ft).
picture 8
3. Install the generator and the lower support bracket assembly to the engine block with the bolts.
4. Secure the generator to the shackle bracket with the bolt.
Tighten the generator shackle bracket bolt to 25 N.m (18 lb ft).
picture 9
5. Connect the harness connector to the back of the generator.
6. Install the generator lead to the battery and fasten the lead with the nut.
Tighten the generator battery lead nut to 15 N.m (11 lb ft).
picture 10
7. Install the air intake tube and the connector.
picture 11
8. Install the IAT electrical connector to the air intake tube.
9. Connect the negative battery cable.
_____________________________________________________
Let me know if this helps or if you have other questions.
Take care,
Joe
Images (Click to make bigger)
Sunday, February 24th, 2019 AT 6:29 PM
