When replacing a reverse light bulb check all directional and headlight bulbs as well, use high quality bulb to avoid premature failure.
Let's Jump In!
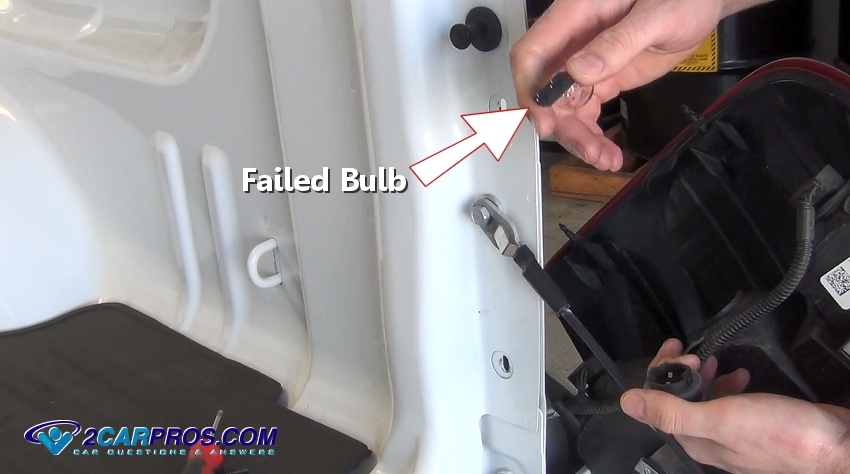
Start by locating the reverse light bulb that has failed and remove the lens
mounting screws.
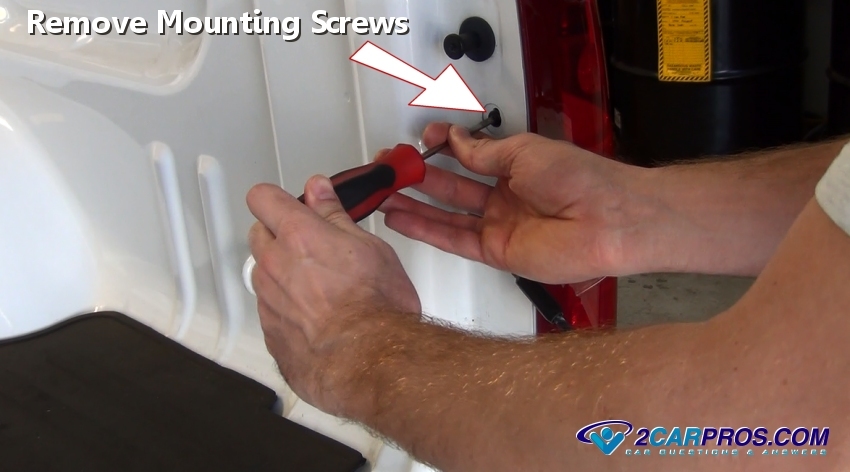
After the screws have been removed, grasp the lens and pop it from the mount,
this procedure will vary per manufacturer, please ask one
of the 2CarPros community for help, its free.

Once the lens is loose, locate the reverse light bulb socket.
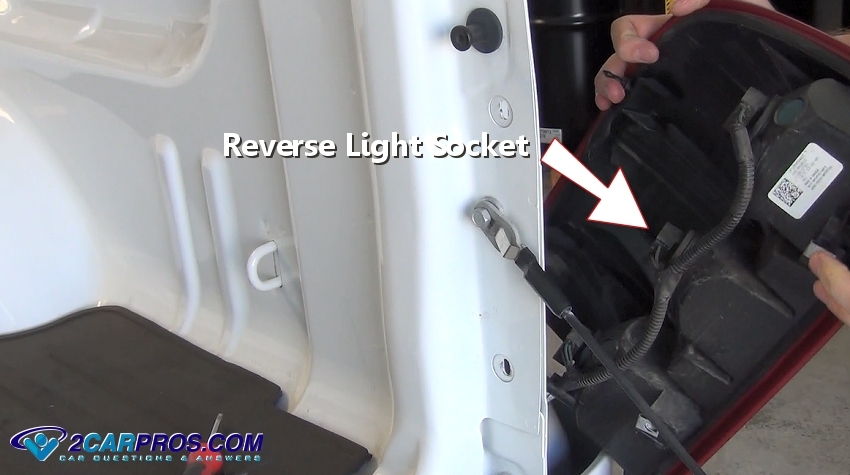
Grasp the socket and gently twist it counterclockwise to remove.
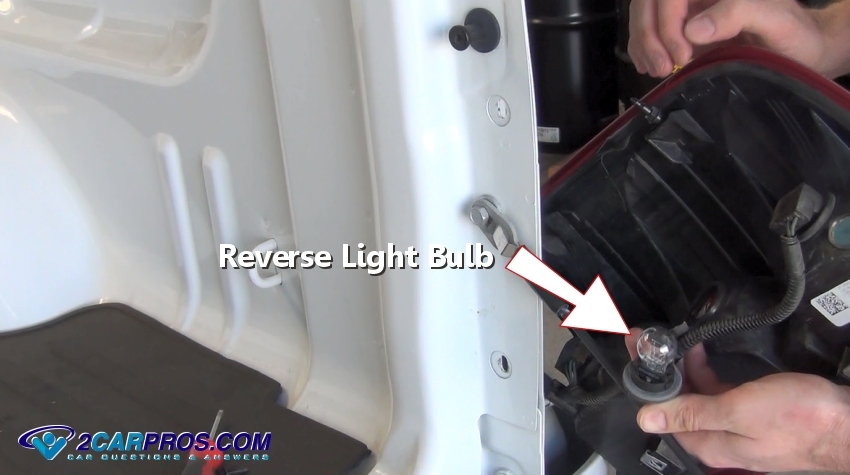
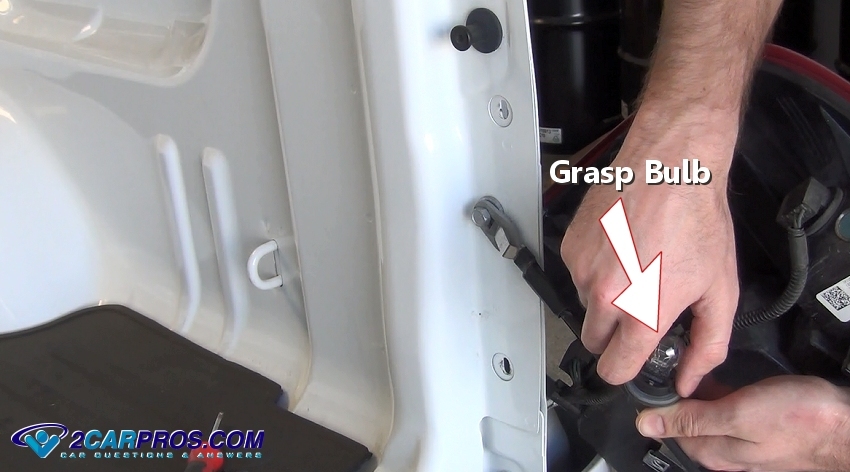
Gently grasp the bulb and firmly pull upward while holding the socket downward,
some designs require a counterclockwise twisting motion while pushing slightly downward
and then lift upward to remove the bulb.
Watch the Video!
Please watch this video of the job being done, then continue down the guide to glean additional helpful information.
The bulb will pull out of the socket and be ready for replacement.
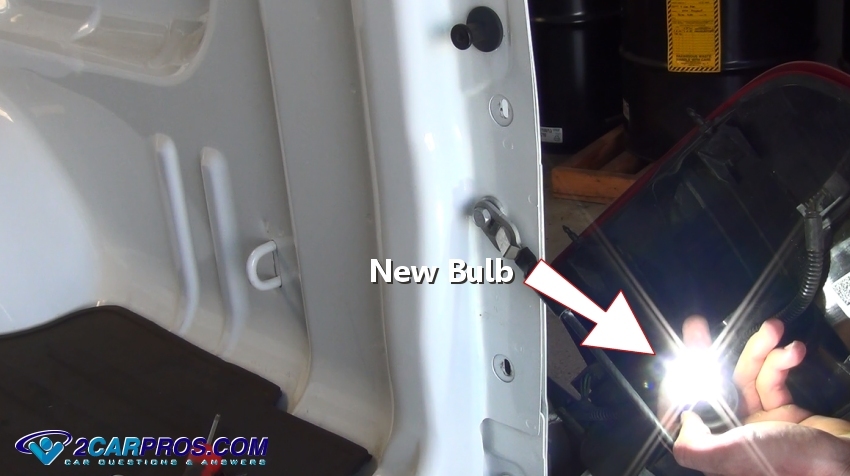
Match the new bulb to the old unit, they should match identically, reinstall
the new bulb, turn the ignition switch on with out starting the engine, put the
transmission in reverse to test the repair.
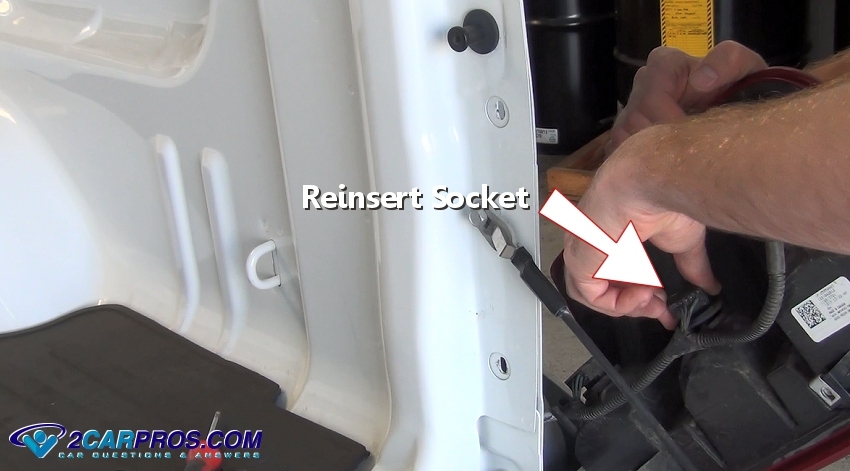
After checking the bulb operation, position the socket back into the lens and
twist clockwise to tighten.
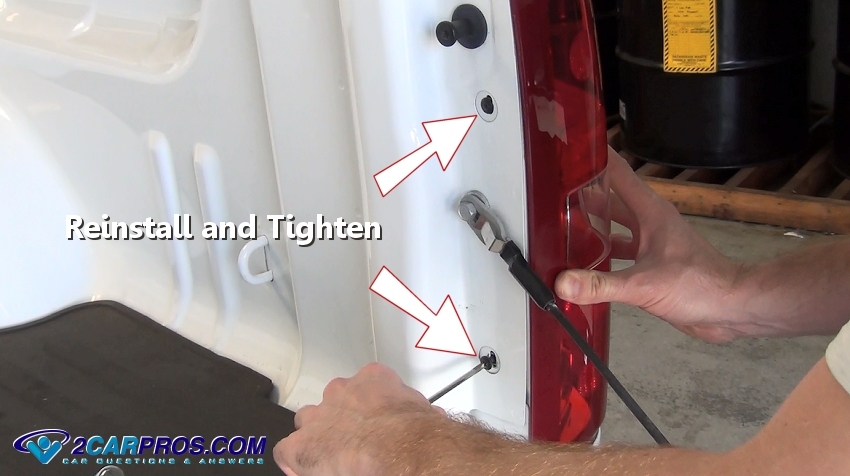
Next, reposition the lens and insert it back into its holder.
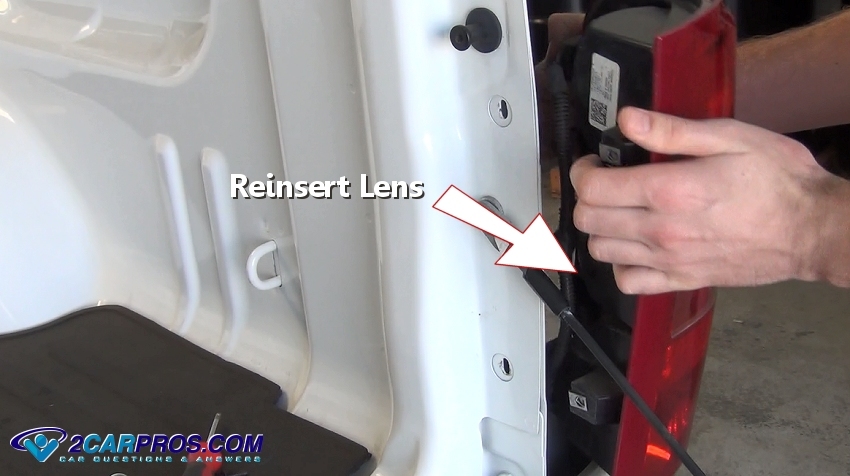
After the lens is in place, install the mounting screws and tighten.
Questions?
If you have a car repair question, you can ask the 2CarPros community for help. We hope this guide helped you understand the repair. Please visit our 2CarPros YouTube channel for more helpful repair videos.