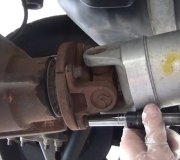
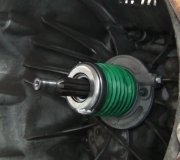
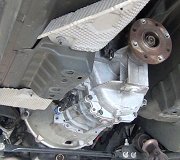
Yes, here are diagrams on how to remove it and the in the instructions on how to reinstall it with bolt tightening specs:
1. Install 2 new transaxle case fluid passage seals (86) into the transaxle case fluid ports.
2. While holding the control valve body assembly (39), connect the manual valve link (336) to the manual shift detent lever assembly (710).
3. Install the 6 control valve body assembly to transaxle case bolts and hand tighten.
4. Notice: Refer to Fastener Notice in Service Precautions.
5. Install a new control valve body fluid passage cover gasket (38).
6. Install the control valve body fluid passage cover (37).
7. Install the 2 control valve body bolts (31).
8. Apply GM T-IV automatic transaxle fluid GM P/N 88900925 to a new transaxle wiring connector O-ring seal (46).
9. Install a new transaxle wiring connector O-ring seal (46) onto the transaxle wiring harness assembly (33).
10. Install the transaxle wiring harness assembly (33) into the transaxle case through the wiring harness bore.
11. Apply GM T-IV automatic transaxle fluid GM P/N 88900925 to a new transaxle fluid temperature sensor O-ring seal (32).
12. Install a new transaxle fluid temperature sensor O-ring seal (32) into the groove of the transaxle fluid temperature sensor (36).
13. Install the transaxle fluid temperature sensor (36) into the front control valve body fluid temperature sensor bore.
14. Install the transaxle fluid temperature sensor clip (49).
15. Install the fluid temperature sensor bolt (31).
16. Connect the 8 solenoid wire connectors as follows:
1 blue
2 black
3 green
4 black
5 blue
6 gray
7 brown
8 black
17. Install the control valve body cover.
18. Perform the transmission adaptive learn procedure.
Check out the diagrams (below). Please let us know if you need anything else to get the problem fixed.
Cheers, Ken
Images (Click to make bigger)
Sunday, July 29th, 2018 AT 4:20 PM


