Good morning,
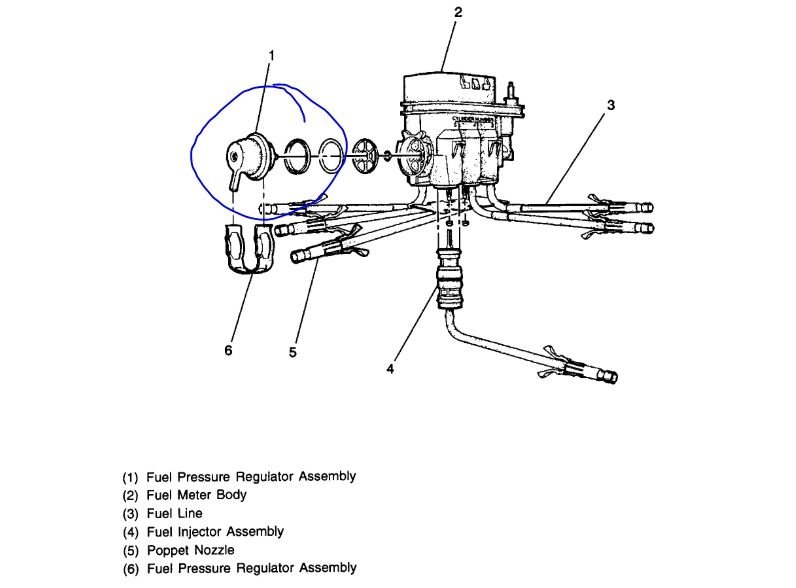
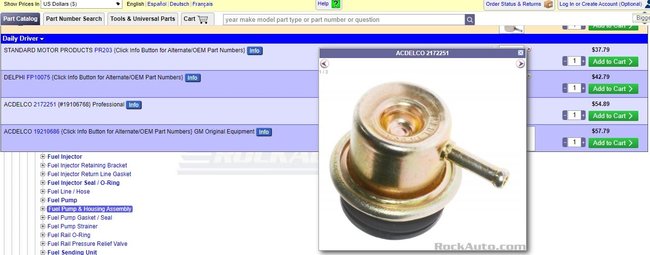
These systems have a fuel pressure regulator on the fuel injection spider under the upper intake housing. The regulator fails and draws in raw fuel and makes the mixture very rich and the result is the condition you have.
I attached the description and the procedure for replacing it along with pictures for you to follow.
Roy
REMOVAL PROCEDURE
CAUTION: Use care in removing the fuel injectors to prevent damage to the electrical connector terminals, the injector filter, and the fuel nozzle.
NOTE: The fuel injector is serviced as a complete assembly only.
CAUTION: Also since the injectors are electrical components, these injectors should not be immersed in any type of liquid solvent or cleaner as damage may occur.
1. Disconnect the negative battery cable.
2. Relieve the fuel system pressure. Refer to Fuel Pressure Release Procedure.
3. Remove the Upper Manifold Assembly. Refer to Engine Mechanical.
4. Remove the Fuel Meter Body Assembly. Refer to Fuel Meter Body Assembly.
INSTALLATION PROCEDURE
1. Install the fuel meter body assembly. Refer to Fuel Meter Body Assembly.
2. Install the upper manifold assembly. Refer to Engine Mechanical.
3. Connect the negative battery cable.
REMOVAL
1. Disconnect the negative battery cable.
2. Remove the air cleaner box.
3. Remove the air intake duct.
4. Remove the wiring harness connectors and brackets and move aside.
5. Remove the throttle linkage and cruise control cable (if equipped).
6. Remove the fuel lines and bracket at the rear of the lower intake manifold.
7. Remove the PCV hose at the upper intake manifold.
8. Remove the ignition coil and bracket.
9. Remove the purge solenoid and bracket.
NOTE: Mark the location of all the studs for proper reassembly.
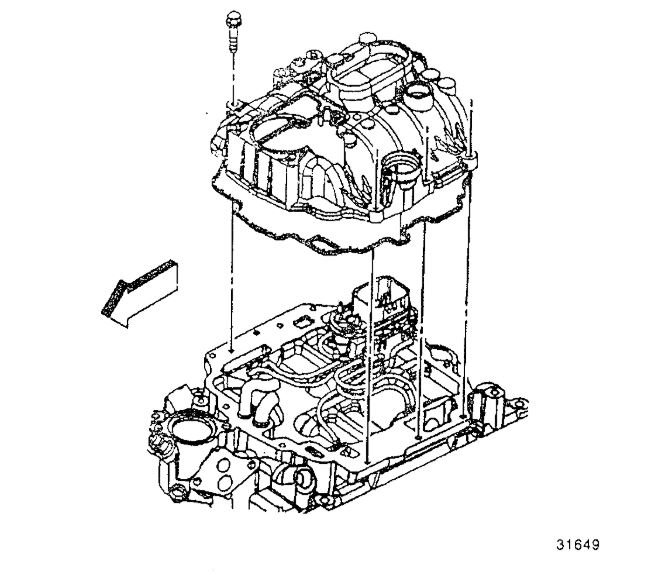
10. Remove the upper intake manifold bolts and studs.
11. Remove the upper intake manifold.
12. Clean old pieces of gasket form the gasket surfaces.
13. Inspect the manifold for cracks, broken flanges, and gasket surface damage.
INSTALL
imageOpen In New TabZoom/Print
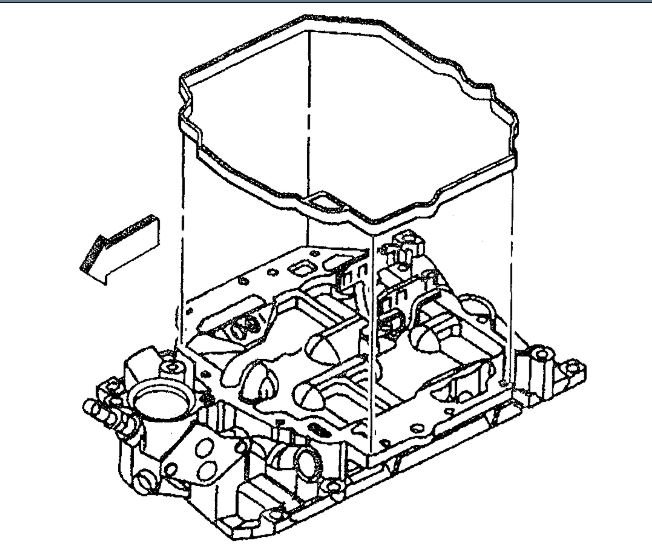
1. Install the upper intake manifold gasket.
ImageOpen In New TabZoom/Print
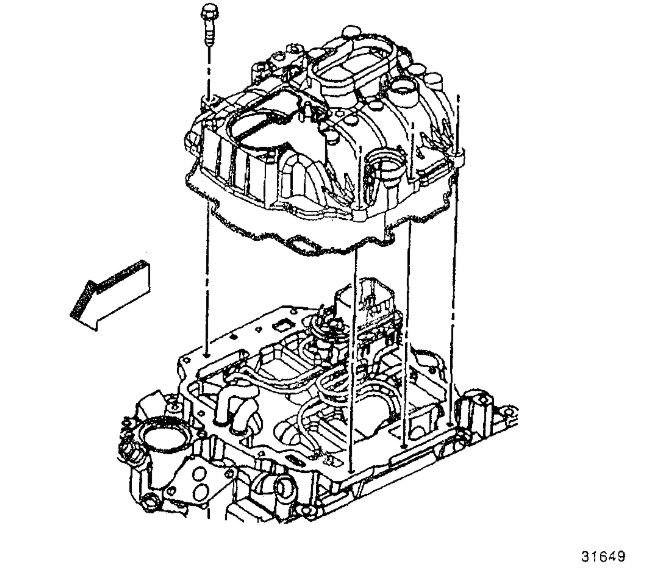
2. Install the upper intake manifold. Use care not to pinch the injector lines between the upper and lower intake manifolds.
3. Install the upper intake manifold bolts. Note the marks made at disassembly for proper stud location. Install the two corner studs first in order to help align the two halves.
Tighten the bolts to 10 Nm (83 inch lbs.).
4. Install the purge solenoid and bracket.
5. Install the ignition coil and bracket.
6. Install the PCV hose at the upper intake manifold.
7. Install the fuel lines and bracket at the rear of the lower intake manifold.
8. Install the throttle linkage and cruise control cable (if equipped).
9. Install the wiring harness connectors and brackets.
10. Install the air cleaner box and intake duct.
Connect the negative battery cable.
Fill the cooling system if necessary.
Images (Click to make bigger)
Thursday, May 14th, 2020 AT 4:20 AM
