Sunday, January 10th, 2021 AT 2:01 AM
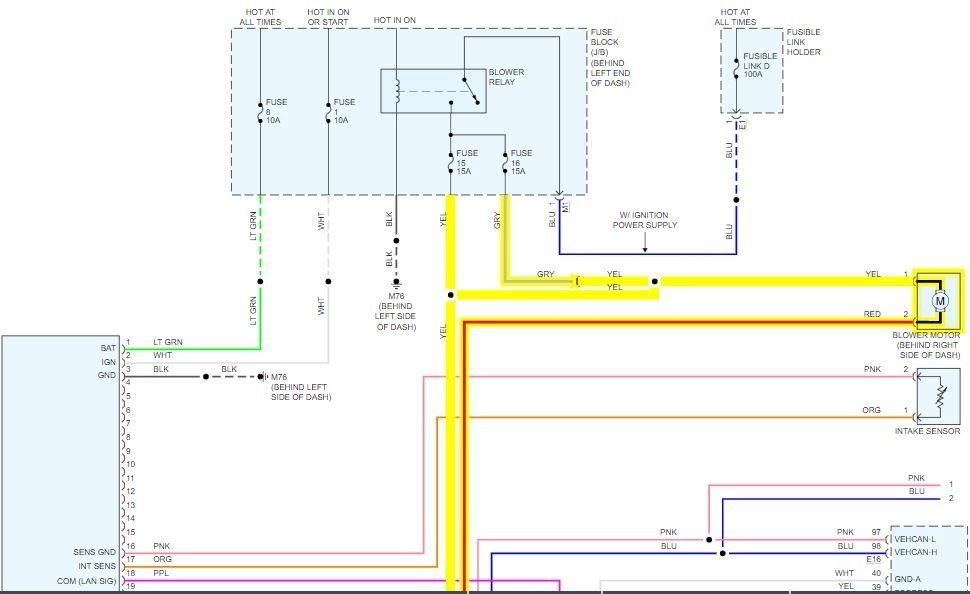
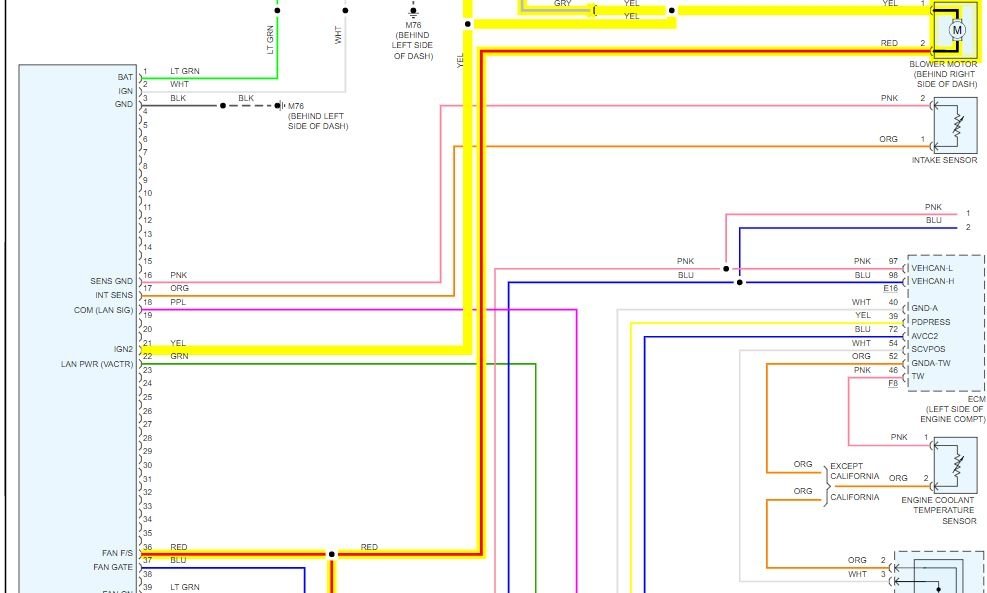
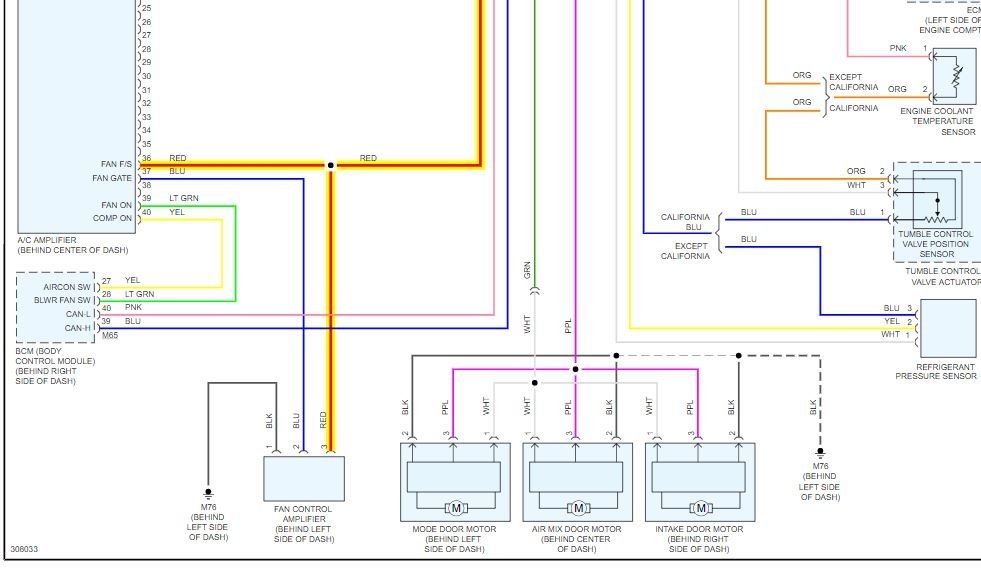
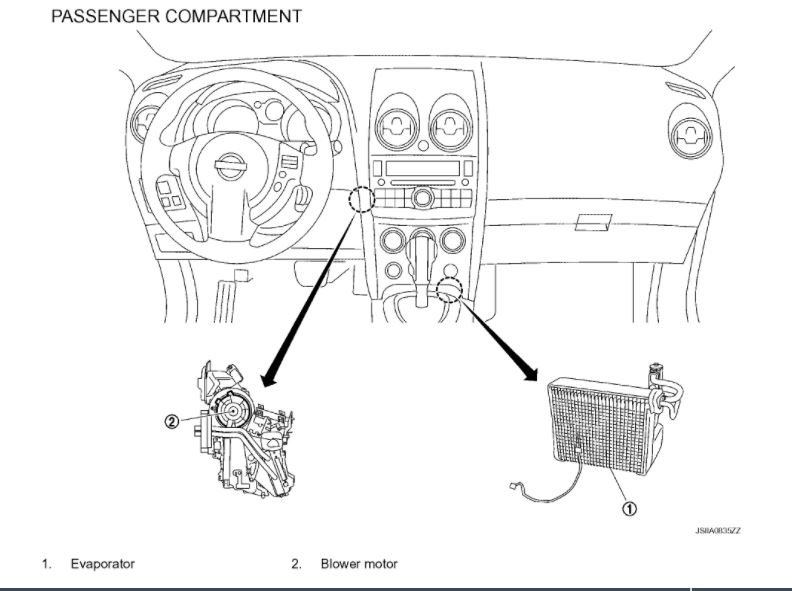
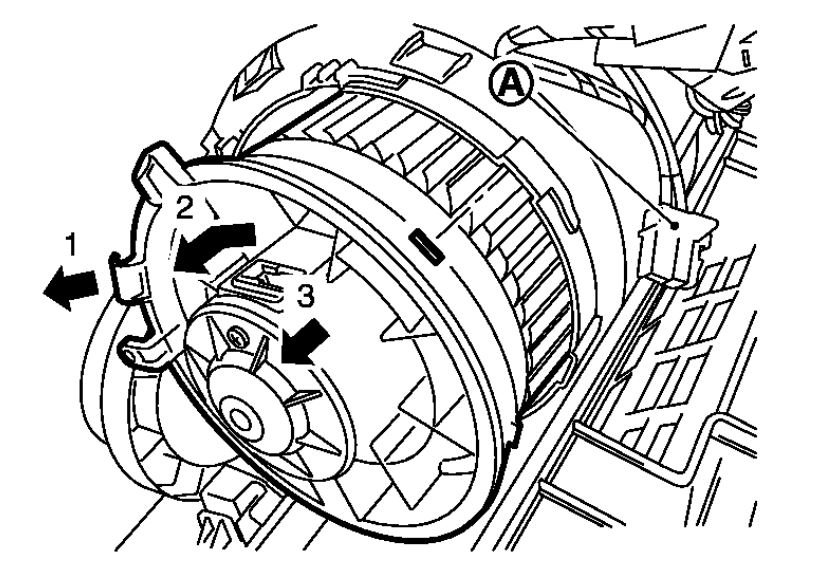
If your car heat/AC won't blow any air when sitting still or driving slow, but will blow a little while driving, and it will blow cold and hot however you set it, but it's not like normal temperature, and won't blow at all if its on max A/C setting. Is this my blower motor? I was told that it's not actually blowing air while driving fast, that it's just the air flowing through the system from outside, and my defrost won't turn at all, not even with speed. I turned my car half way on just where the radio came on, but didn't start it. I opened the glove box and listened as I turned each knob, I could hear electric humming whenever I turned it from hot to cold, and I could hear like very faint popping when I change the directions from feet, or full, or head only, or feet only, every direction I changed it too, it made that noise, but when I change the speed I hear nothing at all. I was told it could be blower motor by several people, but I also heard it could be the resistor. How do I know which one it is without having to take it in? I can't afford the shop unfortunately and am trying to just buy my part and have my mechanic install it. I want to avoid buying the wrong part. Please help me.
