Hi:
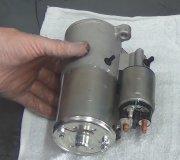
It sounds like the starter has failed, but we need to check to confirm that is the issue.
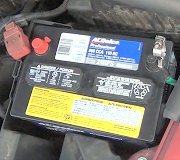
What to do is this. On the starter, you will see one heavy gauge wire which is direct from the battery and a smaller one. If you have a good connection for the larger wire, it will always have battery voltage (12V). Confirm the battery is good and the connections are clean and tight.
Next, you will need a helper for this. Have a helper turn the key to the start position while you check for power at the smaller wire. It should only have power when the key is in the start position. If it does, chances are the starter has failed.
Here is a link that will help you check.
https://www.2carpros.com/articles/starter-not-working-repair
____________________________
If you determine the starter is bad, here is a link that shows in general how one is replaced.
https://www.2carpros.com/articles/how-to-replace-a-starter-motor
Here are the directions specific to your vehicle. The attached pics correlate with the directions.
____________________________________________________
2005 Chevrolet Malibu V6-3.5L VIN 8
Procedures
Vehicle Starting and Charging Starting System Starter Motor Service and Repair Procedures
PROCEDURES
STARTER MOTOR REPLACEMENT
REMOVAL PROCEDURE
1. Disconnect the negative battery cable.
2. Raise vehicle. Refer to Vehicle Lifting.
3. Remove the flywheel inspection cover bolts.
4. Remove the flywheel inspection cover.
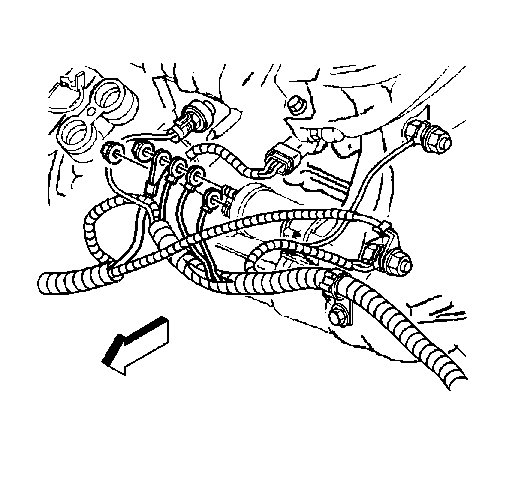
pic 1
5. Remove the electrical connections from the starter motor.
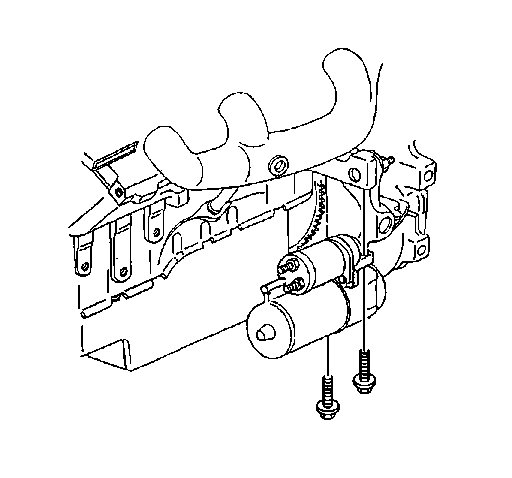
pic 2
6. Remove the starter motor mounting bolts.
7. Remove the starter motor.
INSTALLATION PROCEDURE
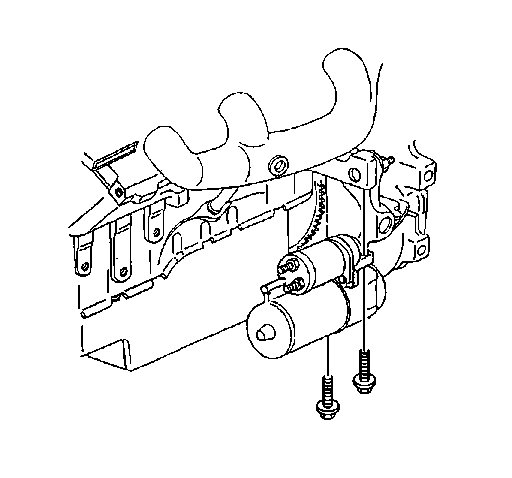
pic 3
1. Install the starter motor to the engine.
NOTE:
- Before installing the starter motor to the engine, tighten the nut next to the cap on the solenoid BAT terminal. If this terminal is not tight in the solenoid cap, the cap may be damaged during installation of electrical connections and cause the starter motor to fail later.
- Refer to Fastener Notice in Service Precautions.
2. Install the starter motor mounting bolts.
Tighten the bolts to 40 N.m (30 lb ft).
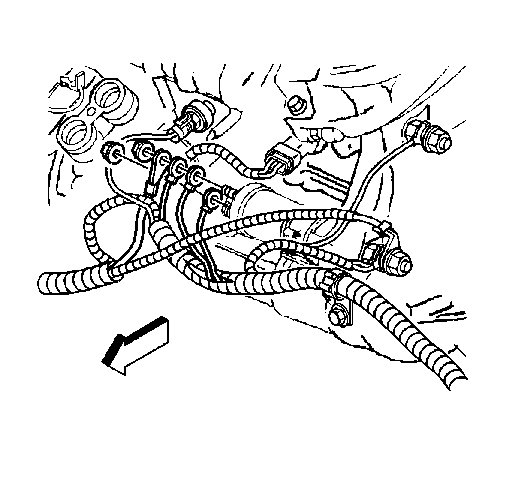
pic 4
3. Install the electrical connection to the battery terminal on the solenoid.
Tighten the battery terminal nut to 17 N.m (13 lb ft).
4. Install the electrical connections to the S terminal on the solenoid.
Tighten solenoid S terminal nut to 3 N.m (27 lb in).
5. Install the flywheel inspection cover.
6. Install the flywheel inspection cover bolts.
Tighten the flywheel inspection cover bolts to 10 N.m (89 lb in).
7. Lower vehicle.
8. Connect the negative battery cable.
____________________________________________
I hope this helps. Let me know what you find or if you have other questions.
Take care,
Joe
Images (Click to make bigger)
SPONSORED LINKS
Friday, January 29th, 2021 AT 9:54 AM
