When a fuel pump goes out it can do so one of two ways either it can quit and stop working or it can fail intermittently causing the engine to stall or not start.
What goes wrong?
A fuel pump is made as an electric motor attached to a fluid pump. As the motor brushes wear against the armature the motor will stop working which warrants replacement. Also the physical pump can wear causing weak fuel pressure which requires the same result.
SPONSORED LINKS
What's the cost?
Most fuel pump assemblies or modules as they are called will go for between $110.00 and $240.00 (US). You can find many OEM pumps for cost on Amazon or RockAuto. Labor for the job can greatly vary as the method changes per manufacturer, some will include a service port which reduces labor while others require a fuel tank removal. If you are unsure of method consult a labor or repair manual for more information.
Fuel Pump Replacement
- Disconnect the battery
- Drain fuel from tank
- Remove fuel lines and electrical connectors
- Loosen or remove the fuel tank filler neck
- Support tank with jack or wood
- Remove straps to remove fuel tank
- Undo fuel pump retainer ring
- Remove fuel pump and sender module
Let's get started
Since you will be working with fuel usual fire precautions are necessary. It's
also a good idea to wear protective gloves and eyewear. Begin with the
vehicle safety raised in
the air enough to access the fuel tank if no service port is available, use jack
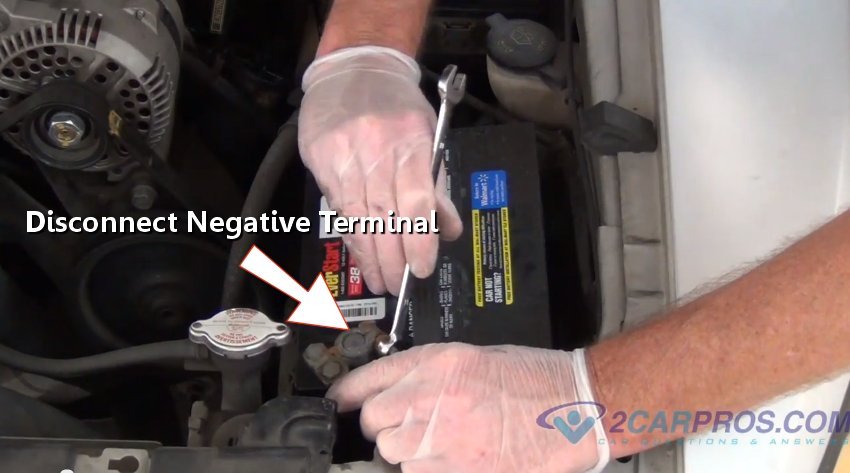
stands for additional safety. Disconnect the battery.
Remove the gas cap and insert a hard plastic line into the filler neck or remove
the filler neck from the fuel tank to draw the fuel out. Once the gas starts flowing
keep the fuel container below the level of the tank and have additional containers
ready. The video below shows a good method for removing fuel from the tank. Do not
remove the tank unless empty or close to empty. A full gas tank is heavy and can
cause injury.
Locate and remove gas tank filler neck mounting bolts or remove the filler tube
from the tank. This will aid the fuel removal especially if you had problems accessing
through the filler neck.

SPONSORED LINKS
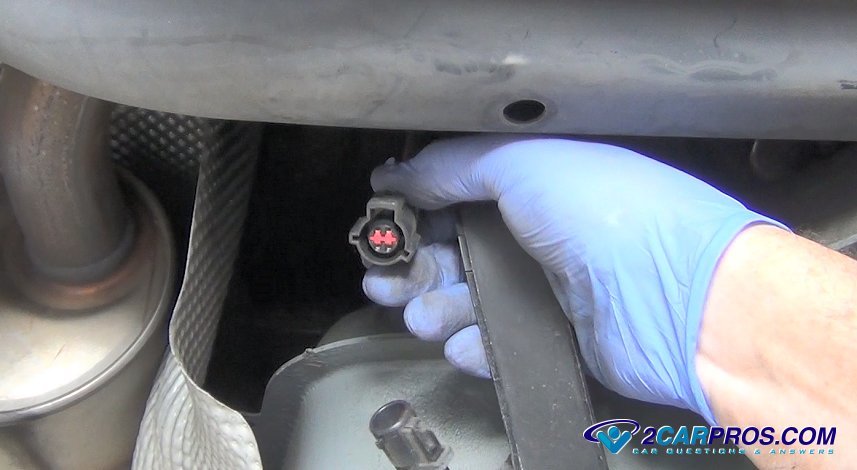
Located the electrical connector for the fuel pump and fuel level sender which
will be in the same wiring harness. If access if difficult or you can't see them
wait until the tank is lowered slightly to undo the connector. Inspect electrical
connector for burns or heated spots and replace if damaged. A burned connector can
cause a pump to fail intermittently.
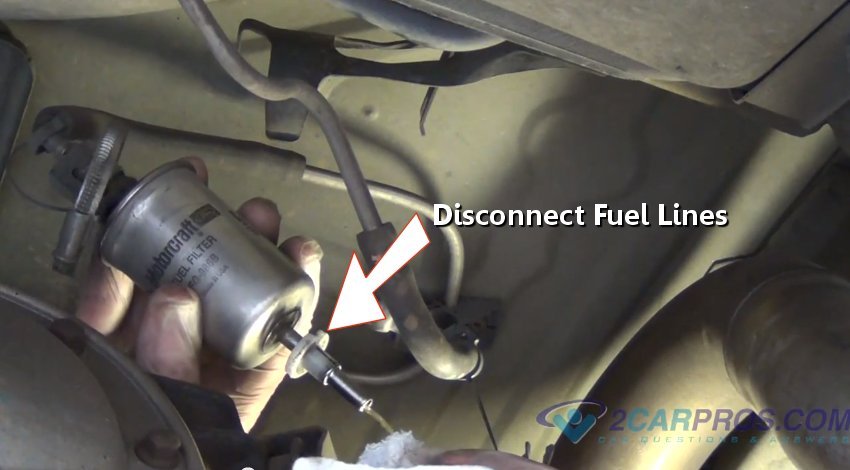
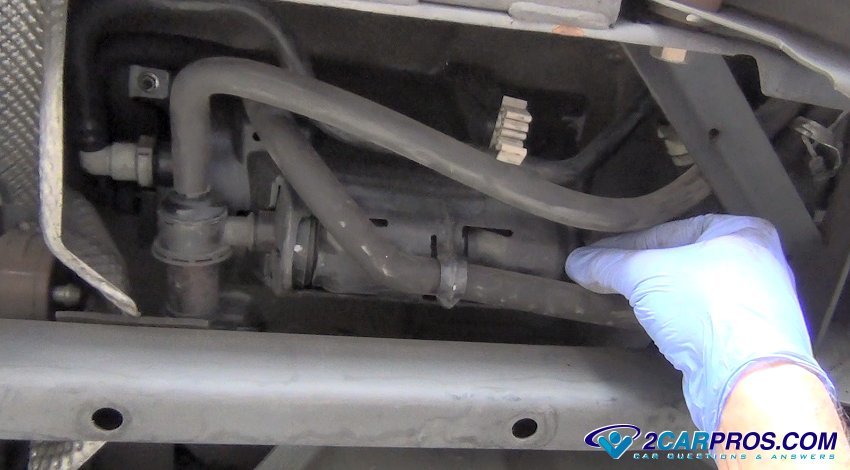
Disconnect fuel line using a fuel line removal tool. Fuel will leak at this point
so be ready with a fluid catch basin.
Here is a video that will show you how to undo the fuel line couplers.
There will be fuel vapor lines as part of the
EVAP system these will
need to be removed or disconnected.
Double check to make sure all visible hoses and electrical connectors are disconnected.
Now the tank will need to be supported by a jack or blocks of wood. A fuel tank
empty weighs between 20 to 30 pounds.
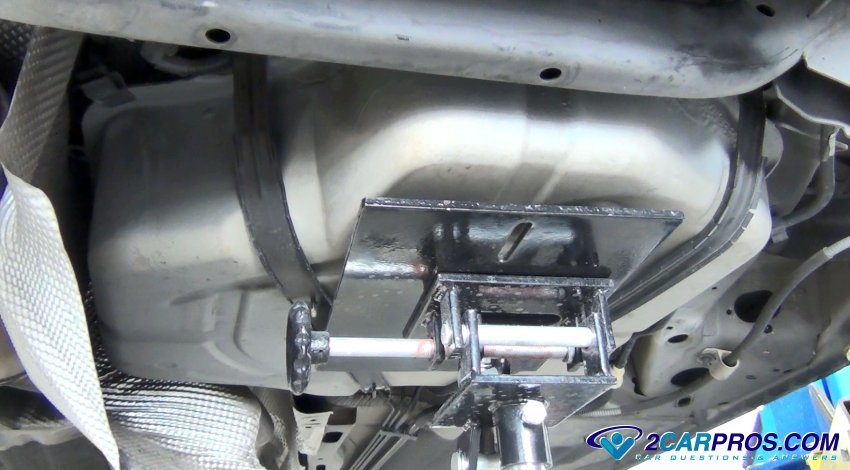
Locate and release tank holder supports, there are two in most cases. Remove
the mounting bolts at this point the tank will become loose but may not come out.

SPONSORED LINKS
Lower the tank and release top mounted fuel lines or electrical connectors if
any. Continue to remove the tank.
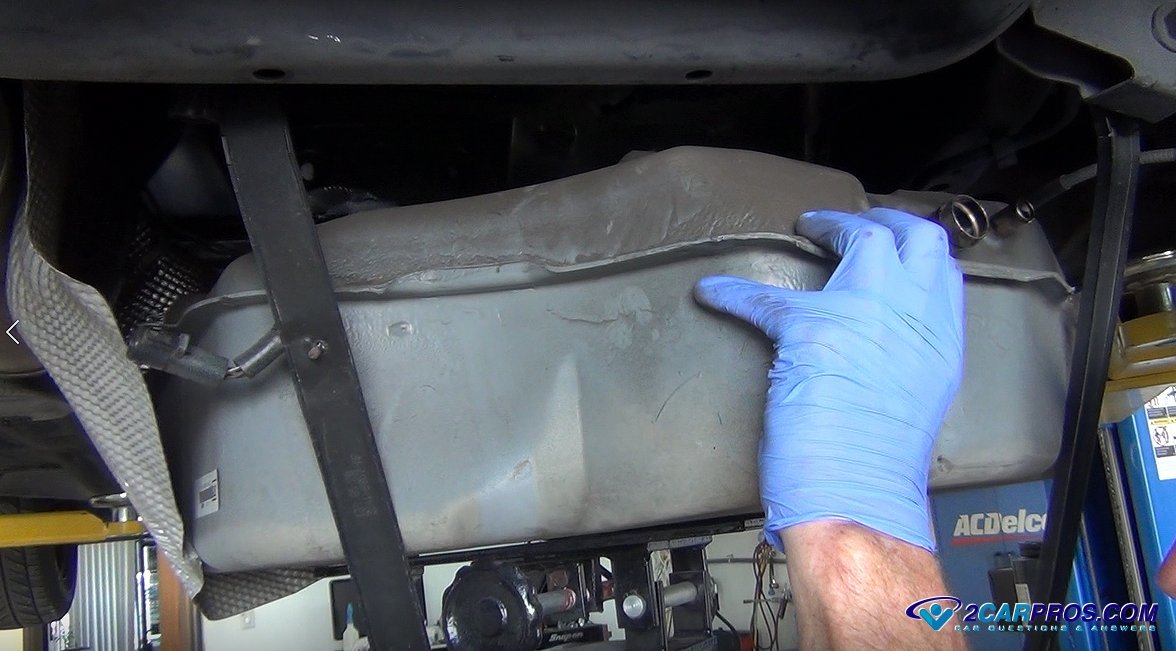
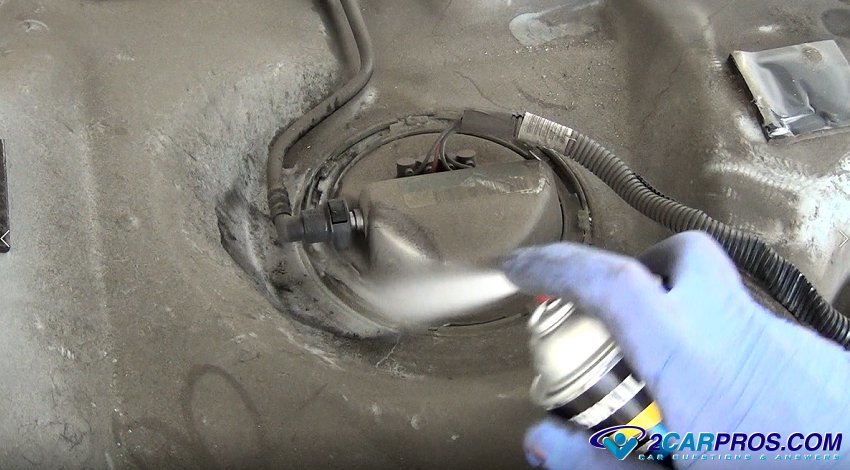
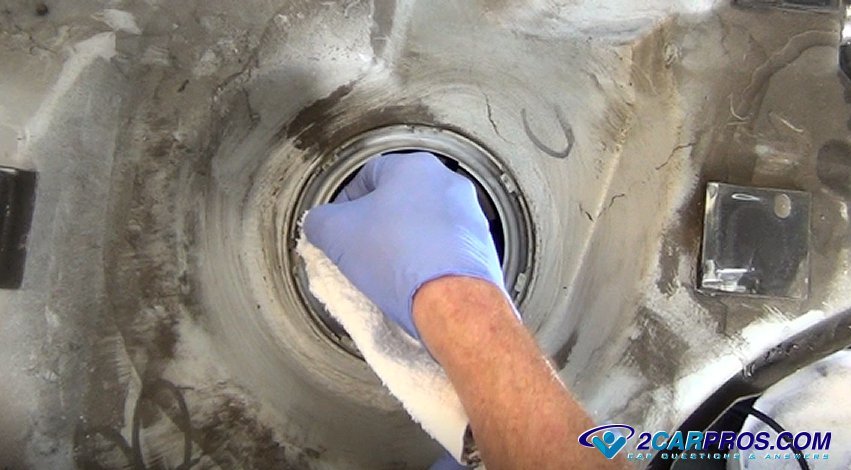
Remove the tank, this will expose the fuel pump retainer ring. Use an aerosol
cleaner to remove dirt and debris from the area. This will keep the inside of the
fuel tank clean when performing the repair.
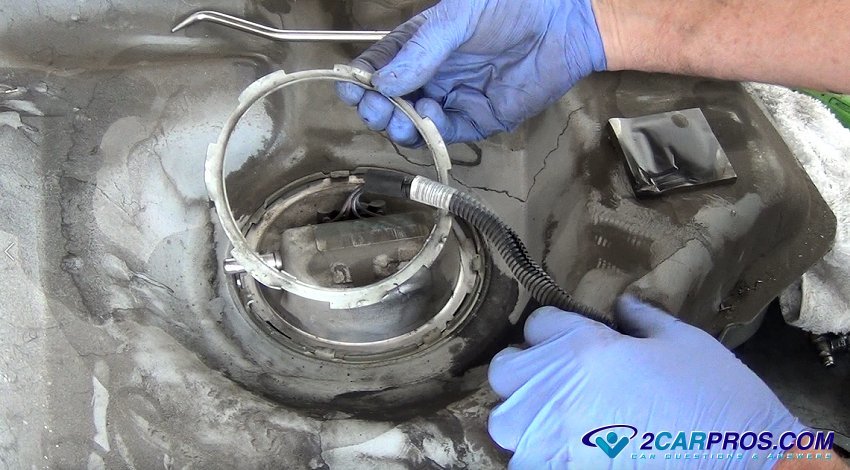
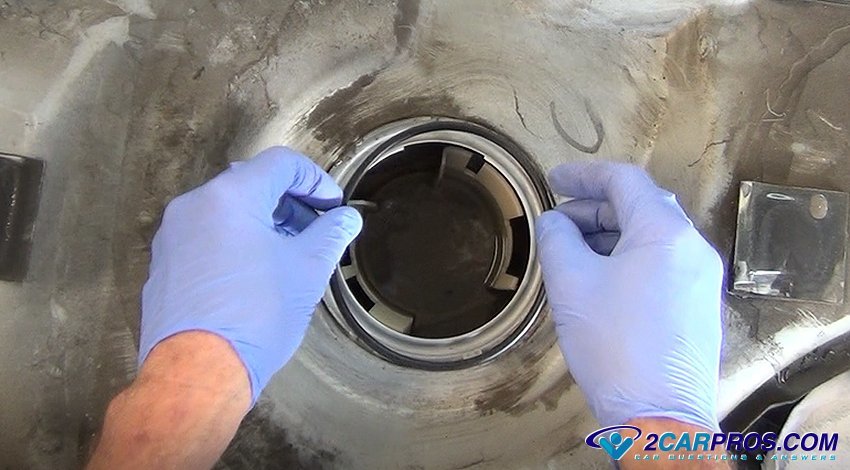
Remove fuel pump mounting bolts or retainer ring to access the fuel pump module
and remove the unit. Use a hammer and punch to remove the ring counterclockwise.
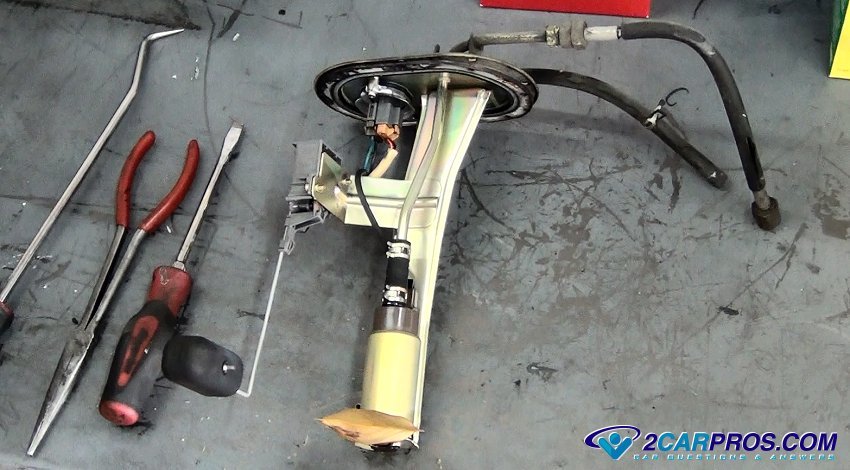
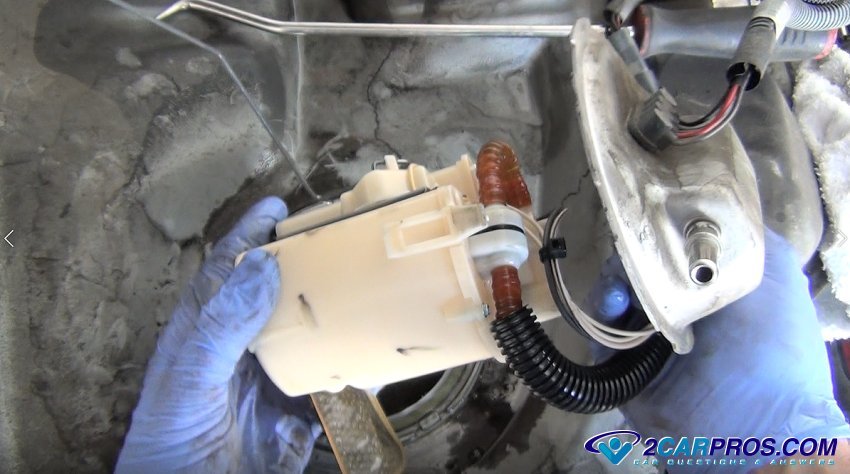
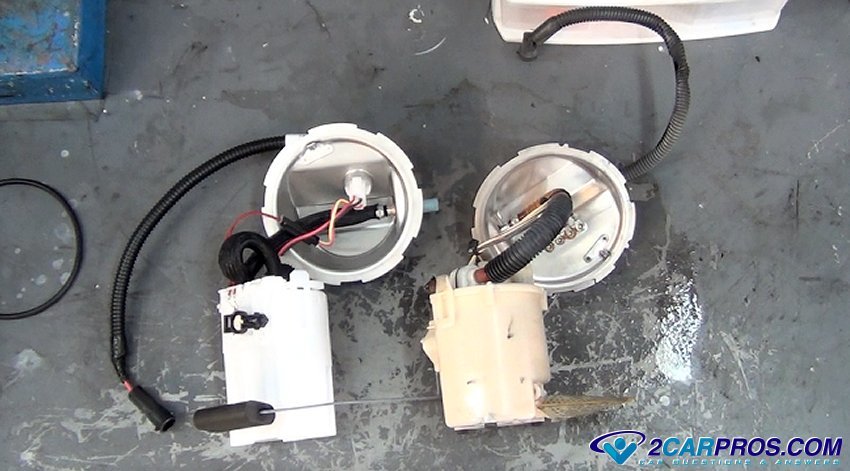
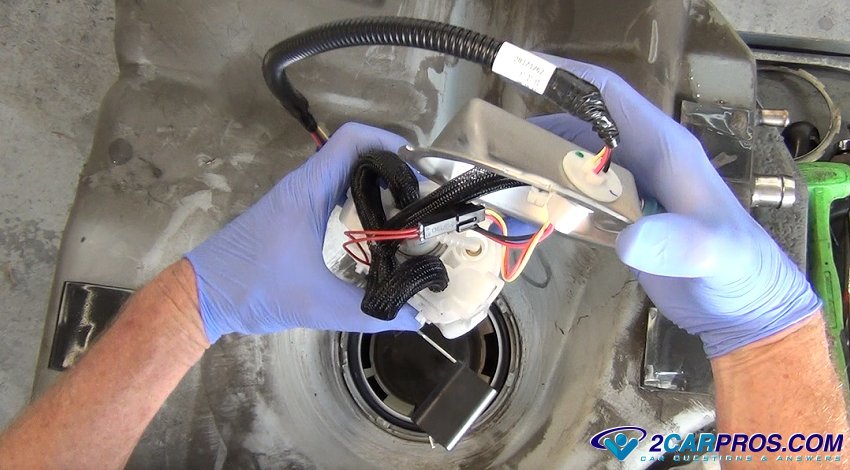
Remove the fuel pump which will be attached to the mounting plate or positioned
down inside the tank held by plastic retainer clips.
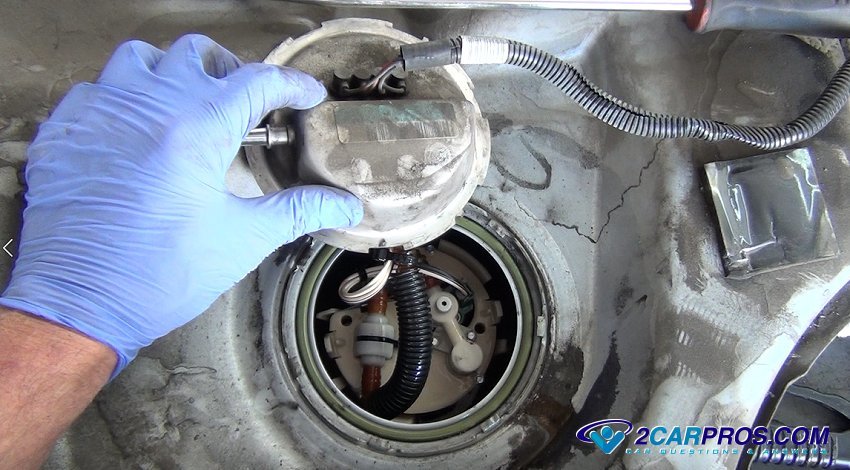
Here is a typical fuel pump removed from the fuel tank.
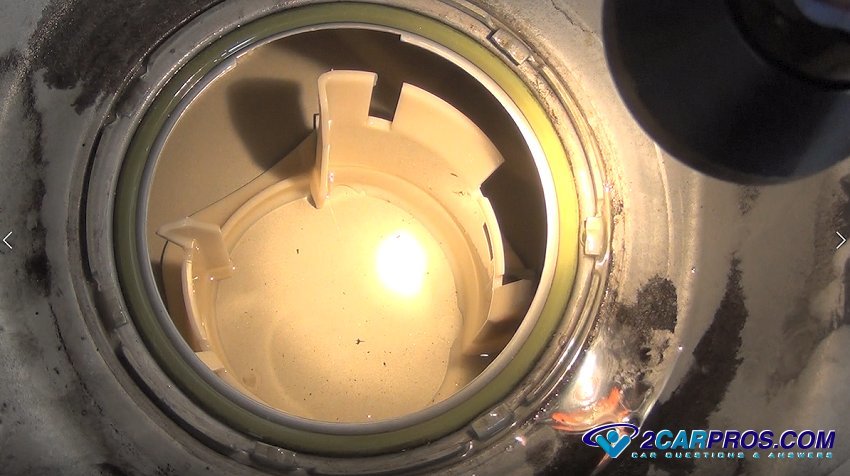
Before installing the new fuel pump use a flashlight to inspect the fuel inside
the tank and for excessive contaminates. It's normal to have some dirt and foreign
objects but excess partials or bad/rotten fuel will cause the new pump to go out.
SPONSORED LINKS
Match the old pump to the new unit, sometimes they can look a little different
as updates are rolled. Install the gas level float arm and a new primary fuel filter
(strainer on pump).
Clean mounting and seal surfaces using a shop towel and carburetor cleaner, this
will ensure a proper seal.
Install the new O ring gasket/seal before installing the new pump assembly.
Gently lower the replacement pump into the fuel tank taking note on fuel level
sender orientation and reinstall the mounting ring or bolts, (fuel pump mounting
bolts use a star pattern @ factory tightness). It makes a difference the quality
of fuel pump and there are many to choose from, we recommend OEM (factory) pumps.
Complete the job by reinstalling the tank and reversing the order of the steps
above. Add fuel before turning the key on so the pump does not start dry. If the
car has a secondary fuel filter
it should be changes as well. To help the pump last its a good idea to replace the
fuel pump control
relay.
Watch the videos!
Ford Focus
Ford Mustang
Toyota Tacoma
SPONSORED LINKS
Questions?
Our certified technicians are ready to answer fuel pump replacement questions for free. We hope you saved money and learned from this guide. We are creating a full set of car repair guides. Please subscribe to our 2CarPros YouTube channel and check back often for new videos which are uploaded regularly.
Article published 2023-06-14
SPONSORED LINKS

How to fix an engine that wont start